

- Overview
- Transcript
5.6 User Registration
User registration is a lot like user authentication—except that we create a user instead of authenticating them. We'll add the registration functionality in this lesson.
1.Introduction
1.1Introduction01:31
2.First Steps
2.1Setting Up the Project05:29
2.2Designing and Migrating the Database10:06
2.3Setting Up the Models10:48
3.Building and Querying a GraphQL API
3.1Understanding GraphQL09:42
3.2Creating and Querying Our API08:17
4.Building the Client Application
4.1Assembling the UI07:17
4.2Querying the API With JavaScript11:26
4.3Adding Arguments to Your Queries11:28
4.4Organizing Our Client-Side Queries07:53
4.5Defining Other GraphQL Types08:53
4.6Displaying Our New Data09:44
5.Incorporating Authentication
5.1Building the Login View09:42
5.2The Login Mutation11:37
5.3Authenticating the API09:17
5.4Incorporating Authentication on the Client Side09:04
5.5Displaying Auth-Appropriate Menus07:59
5.6User Registration09:33
6.Working With Complex Data
6.1Building the Project Creation UI08:31
6.2Getting a List of Users03:54
6.3Defining Input Types12:33
6.4Saving the Project09:52
7.Conclusion
7.1Conclusion01:00
5.6 User Registration
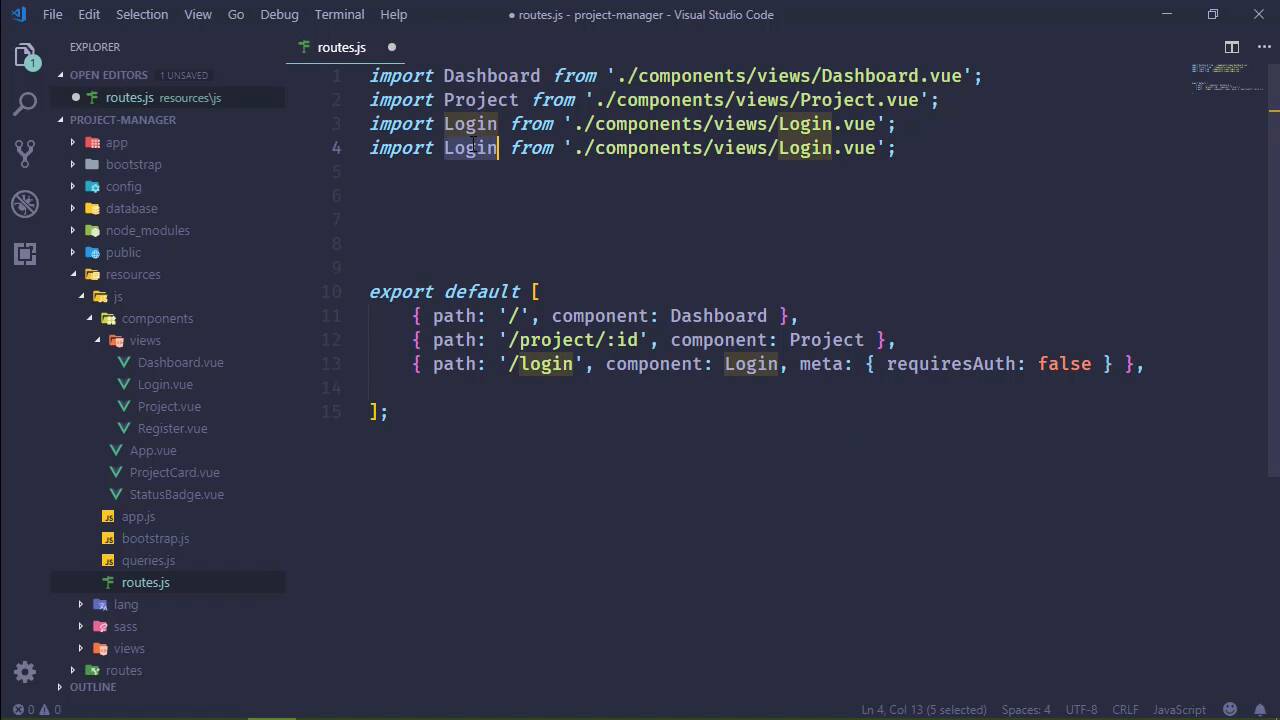
User registration is a lot like logging in a user. In fact, the big difference is that instead of checking credentials, we are saving the user. So in this lesson, we are going to have a lot of repetition, basically, in fact, we're going to be doing a lot of copying and pasting. So let's start with our mutation. Let's take our login mutation, copy it and use that as a basis for our Register Mutation. We, of course, need to change the name of our class, so let's go ahead and do that, and let's use that as the name here. Now, as far as our arguments are concerned, we still need an email address and a password, but we do need the display name of the user. And we're going to call our argument 'displayName'. That is, of course, going to be a string. Now the return Type will still be a string because we will create the user, and then we will return the API token. So that will signify that the user is authenticated, and they can use the application from there. So then the resolve is the only thing that's going to have a lot of changes, and that's just because we are going to create our user. So, let's do just that. We already have some of this code written for us. We can take the code from the credentials here and paste that in. Of course, we need to add the name, and here's the displayName argument and we also need to generate our API token. But let's encrypt the password before I forget to do that, we definitely don't want to store that in plain text, and then api_token. Now we did automatically generate that with the string class. So we called random, 60 characters, and that should be fine. So let's go ahead and add that in before I forget to do so. That is Illuminate\Support\Str. And once we have our user then we are just going to return the api_token. So I think that's it. I don't see any red squigglies anywhere, signifying that there's an error. Well, of course, I've probably forgotten something, I always do, but now we need to register that. So let's go to our config and then graphql. And this is a mutation for our guest schema. [LAUGH] We don't want authenticated users to only be the ones to register users. So let's change the name to register, and, of course, the class is going to be RegisterMutation. So that gets the server side done, now we can focus on the client. So let's start with our view components. We will take the Login.vue, and once again copy that. We'll call it Register. And we need the field for the display name. So let's go ahead and just copy and paste. We'll change email to displayName at the appropriate spots and the v model will call displayName as well. Although the label needs to be Display Name. Lets see the login text for the button, we'll call that Register. So make sure I changed everything, I did. We do need to add a displayName to our data properties. So we will have that there. Now as far as our submit form, we are going to call the register query. We need to add in our displayName. And the rest, let's see, if everything is okay and we get a token. We do need to change this here. Instead of login, our mutation name is gonna be register. We set the token. We issue the log-on event. We go to the dashboard. Now our error message, in a real application we should spend some time, parse out the error so that we give the user a meaningful error. In this case, we're just going to say an error occurred. And that should be it as far as our register component is concerned. So now that we have that, let's go to our routes and let's set up the route there. So let's just copy our login stuff and then just change what we need to change. And this is also going to have the requiresAuth set to false, so that once again unauthenticated users can access it. And that's it, we import, we setup the routes, everything's fine there. Now we need to go to our queries. So let's copy our login once again, as I mentioned, we're going to be doing a lot of copying and pasting. The name here, let's set to register. And let's say RegisterUser. Now we do need to specify the displayName attribute. Not attribute, this is a variable. And then we will incorporate that by saying displayName is equal the displayName variable. We do need to change our mutation here. This is not login, this is register. We do need to add that to our guestQueries. And I think that's it. Moment of truth, let's go to the browser, let's refresh the page and we will go to Register. So let's first of all, let's pull up the developer tools just to make sure, and let's try to register an existing user. So we should get an error at the top. We do, an error occurred. So that worked as we would expect. Now let's try to register Jim@local. Let's use password as the password and we will register. Let's see, we got 200, we got redirected, everything worked. Awesome. That’s great. We can see everything, although we should only be able to see the projects that we are currently in. So let’s very quickly do that because it doesn’t require a whole lot of extra code. Let’s start by going to our user model and we're going to add a method to get our projects. So this is going to be the inverse of the belongs to many relationship that we wrote inside of projects. So we will simply return this belongsToMany, and then App\project. So that is going to fix that. Let's go to our query, so open that up. Now, instead of just returning all here, well, we need to add some usings first. We need Auth because we're going to get the currently logged in user and we are going to use our user model as well. So, we essentially need two queries. We need to retrieve all of the projects that the user is in, so let's just call this projs, and we will use the Auth to get the currently logged in user to get the project that they're in and that's going to be the first query. The second query is going to be all of the projects that the user is currently managing. So we want to check the manager_id and compare that to the logged in user's id. And then we will get those, and then finally, we will merge those together. So we'll just say projs and then merge with the managed, and that should work. So let's pull up the developer tools to make sure that our requests aren't causing any problems and we shouldn't see anything. But let's make sure that we, okay, we got no errors as far as the query is concerned. So it looks like that at least worked. Let's log out, let's log in as admin. And we should then see our project, and we do. Once again, let's check our network. Well, let's clear everything and let's refresh. And we will see it worked so we didn't get any errors but that's what I was concerned with, if we got any errors. So, that works just fine. We are now filtering our project list based upon whether or not we are currently in that project. So in the next lesson we can start writing the code for creating the project.


