

- Overview
- Transcript
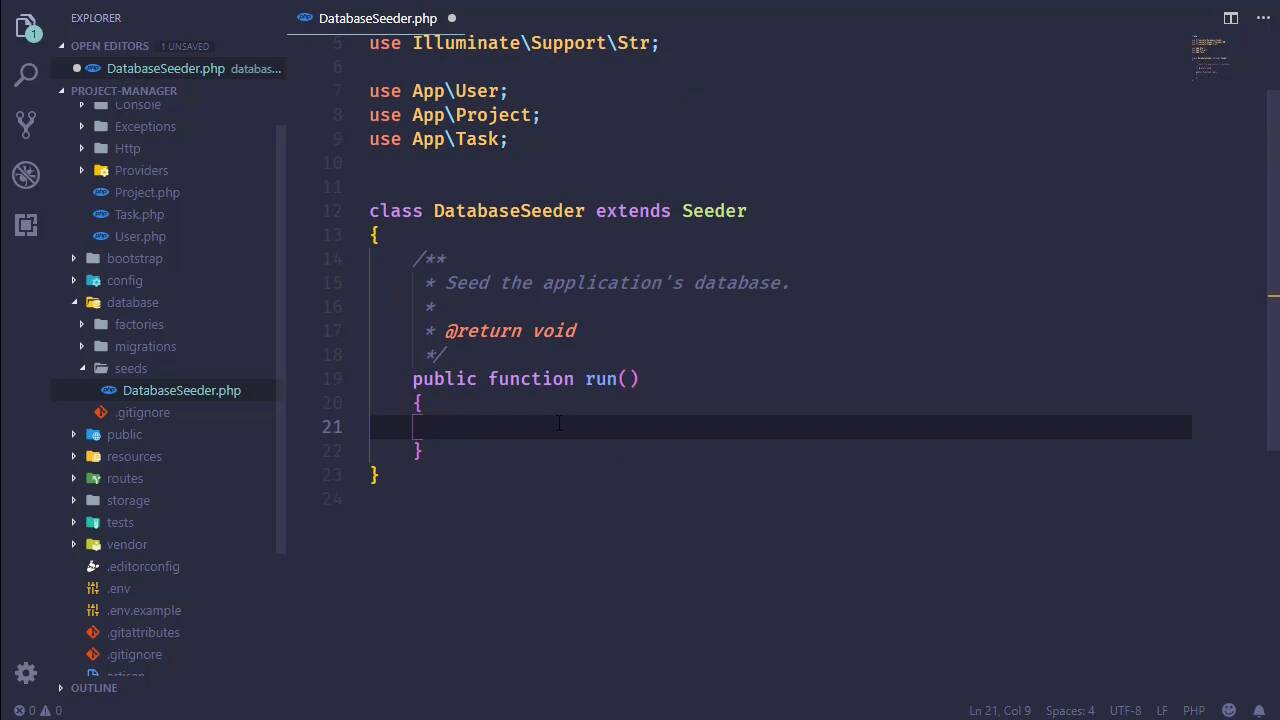
2.3 Setting Up the Models
Our app interacts with its data through Eloquent's models. Therefore, we need to set up the relationships between these models and seed our database with test data.
1.Introduction
1.1Introduction01:31
2.First Steps
2.1Setting Up the Project05:29
2.2Designing and Migrating the Database10:06
2.3Setting Up the Models10:48
3.Building and Querying a GraphQL API
3.1Understanding GraphQL09:42
3.2Creating and Querying Our API08:17
4.Building the Client Application
4.1Assembling the UI07:17
4.2Querying the API With JavaScript11:26
4.3Adding Arguments to Your Queries11:28
4.4Organizing Our Client-Side Queries07:53
4.5Defining Other GraphQL Types08:53
4.6Displaying Our New Data09:44
5.Incorporating Authentication
5.1Building the Login View09:42
5.2The Login Mutation11:37
5.3Authenticating the API09:17
5.4Incorporating Authentication on the Client Side09:04
5.5Displaying Auth-Appropriate Menus07:59
5.6User Registration09:33
6.Working With Complex Data
6.1Building the Project Creation UI08:31
6.2Getting a List of Users03:54
6.3Defining Input Types12:33
6.4Saving the Project09:52
7.Conclusion
7.1Conclusion01:00
2.3 Setting Up the Models
All right, so we have our database all setup and ready to go. Now we need to work with our models, and if we have time we will also seed our database. So let's go to the app folder, let's open up Project, Task, and User. We're not really going to do anything with User in this lesson, but I am going to copy the fillable array because we do want to define that inside of Task and Project. So you'll add that in. Of course, we will need to modify this so that we refer to title, description, and in the case of Project we have manager_id. And then, we need to define our methods. So we want to be able to refer to the tasks, the users, and the managers. So let's start with the manager. Now, our manager relationship is a one-to-one relationship. And so in this case, what we are going to say is that this project belongs to a user. And we need to specify what our property name is, not our property name, but our column name. It's manager-id, so that that will set up the proper mapping. We also need our tasks. Now, our tasks is a one-to-many relationship. So we're going to say that this hasMany, and then we will simply specify our type which is App\Task, and that will be it there. And then we need our users. So this is going to be a belongsToMany, because this is a many-to-many relationship, and so belongsToMany. And then we specify App\User. We don't have to specify the foreign keys or anything like that, because we used basically what Eloquent is looking for, so we're going to be good as far as those relationships are concerned. So let's go to our task. Now, really, we need two things. We need the user that is assigned to this task, and we also need the project that it is assigned to. So let's start with the user, and we could call it user. I also kinda wanna call it assignedTo, but when I'm thinking of an API, not a web API but just the API that we're going to be using within the application code itself, yeah, I would think that assignedTo we would eventually get used to it. But starting off, we would have to do some translation in our head, assignedTo, assignedTo, that's the user that is assigned to. So let's just call it user, that way we know, hey, this is the user. And so for this relationship we're going to use the belongsTo method, then we will simply specify the user model. And we will essentially do the same thing for the project, so let's just copy and paste the user function. We will change that to project, and then the type will be Project. Now as far as the fillable array, we want title, description and then the user_id as well as the project_id. And we might also want to say status_code. I'm not really sure if we are going to just set this by default inside of our code or if we are going to let the user automatically set the status whenever the task is created, we'll just have to wait and see exactly what we do. But if we include it here, that way we won't run into any problems later on down the road. So with our models all set up, all we really need to do then is seed our database, so let's go to our database seeder and we will do just that. Now, to be quote-unquote correct, we would create factories in order to randomly create all of our users and stuff. Bu we just need a few records, we don't need a ton of data, so what we're going to do is just manually create these records. But first of all, we need a few supporting tools here. So we want to pull in Illuminate\Support\Facades\DB. We also want the string class, or Str, that's in Support\Str. That is going to be used for generating an API key, which, by the way, since we're going to be mass assigning these, we should add api_key to User. Now, we really won't want this in our real application, so this is going to be for seeding the database and then we will come back, if we remember to, [LAUGH] and take this out. So we will have api_token here, just temporarily so that we can create our user. And let's see what else we need. Our models. So let's go ahead and pull in User, Project, and Task as well, so that we have those easily and readily available. Now, the first thing I'm going to do is truncate our tables, and this is just a personal preference of mine. Whenever I see the database I like to start completely and totally from scratch, so any existing data in the database I want to get rid of, because I want clean data. So we're going to truncate User, Project, Task. We also want to truncate our project_user. That's why we're pulling in DB, so that we can call the truncate method and truncate that. And then we will just start creating our stuff. So let's start with two users. We'll have an admin, so let's give this a name of Super Admin. And as far as the email address is concerned, now, in a real application we would want your working email addresses so that we could actually send emails. But in this case, let's use something that doesn't exist. So admin@local is a valid email address. It's not going to work, but it is valid, so that's what we're going to use. And as far as our password is concerned, we are going to bcrypt the string password so that we have an easy password to login with. As far as our API token is concerned, we will get this from the string class, we will generate a random string. Let's give it 60 characters, and that's going to be good for our admin user. Let's just copy that, use that as a basis for our second user, we'll call it user1. As far as the name is concerned, it doesn't matter, I'm gonna use mine, feel free to use yours. Email address is going to be jeremy@local, password will be the same, api will be random. So we have our users, let's create our project next. And let's see here, we have a title, description, and the manager_id. So as far as the title is concerned, let's create a project for this project, so we'll say, Project Manager Development. And the description should be fairly descriptive, but we are going to just say, Write the project manager application. And then the manager_id is going to be the admin, so we would use our admin object and get its id. That should be good enough for our project. Let's go ahead and create our tasks. So we will have a task1 and a task2. Now, the first task, let's say that we want to seed the database, that is our first task as admin here. So let's set the title to be Seed Database, the description will be to Seed the database with test data. Let's assign this to our admin, because we are the admin, we are doing that. So we're going to use our admin object once again, and get its id property. We want to assign this to our project, so we'll set the project_id to proj->id. And then, let's also set the status_code. All right, so how do we wanna do this? I don't want to use the whole word, COMPLETE. Let's do four characters, COMP. We might get away with CMP, but let's do COMP. Four characters, let's say up to four characters. And if we run across a case where we would actually want more than, well we'll just cross that bridge when we get there. So we have task1, let's create task2. Now, this will be for writing the rest of the software, so let's say Complete Development. The description will be to Write the code yo. The user_id is going to be assigned to our other user, the project will be the same. As far as our status code, this is going to be OPEN. So that's going to be fine, and then we want to populate our project users table. So let's say proj->users, and we will use the saveMany method, and we will just pass in an array that contains admin and user 1. I think that should work, I don't see any syntax errors. So the moment of truth, let's go to the command line. php artisan dbseed, and we will see what we get. Hey, that's promising. Let's go and look at the database. So we have our users, let's see if we have them. Yes, we do. Let's look at our tasks. We should have that data, we do. Our projects should be there. project_user should be there as well. Let's see, project_id 1 1 and 1 and 2. Hey, it looks like everything is ready to go, at least as far as our database is concerned. We have our model, we have our database full of data. Now we can focus on actually writing our application.


