

- Overview
- Transcript
2.2 Designing and Migrating the Database
Every app works with data. So it makes sense that we start with the design and creation of our database schema right away.
1.Introduction
1.1Introduction01:31
2.First Steps
2.1Setting Up the Project05:29
2.2Designing and Migrating the Database10:06
2.3Setting Up the Models10:48
3.Building and Querying a GraphQL API
3.1Understanding GraphQL09:42
3.2Creating and Querying Our API08:17
4.Building the Client Application
4.1Assembling the UI07:17
4.2Querying the API With JavaScript11:26
4.3Adding Arguments to Your Queries11:28
4.4Organizing Our Client-Side Queries07:53
4.5Defining Other GraphQL Types08:53
4.6Displaying Our New Data09:44
5.Incorporating Authentication
5.1Building the Login View09:42
5.2The Login Mutation11:37
5.3Authenticating the API09:17
5.4Incorporating Authentication on the Client Side09:04
5.5Displaying Auth-Appropriate Menus07:59
5.6User Registration09:33
6.Working With Complex Data
6.1Building the Project Creation UI08:31
6.2Getting a List of Users03:54
6.3Defining Input Types12:33
6.4Saving the Project09:52
7.Conclusion
7.1Conclusion01:00
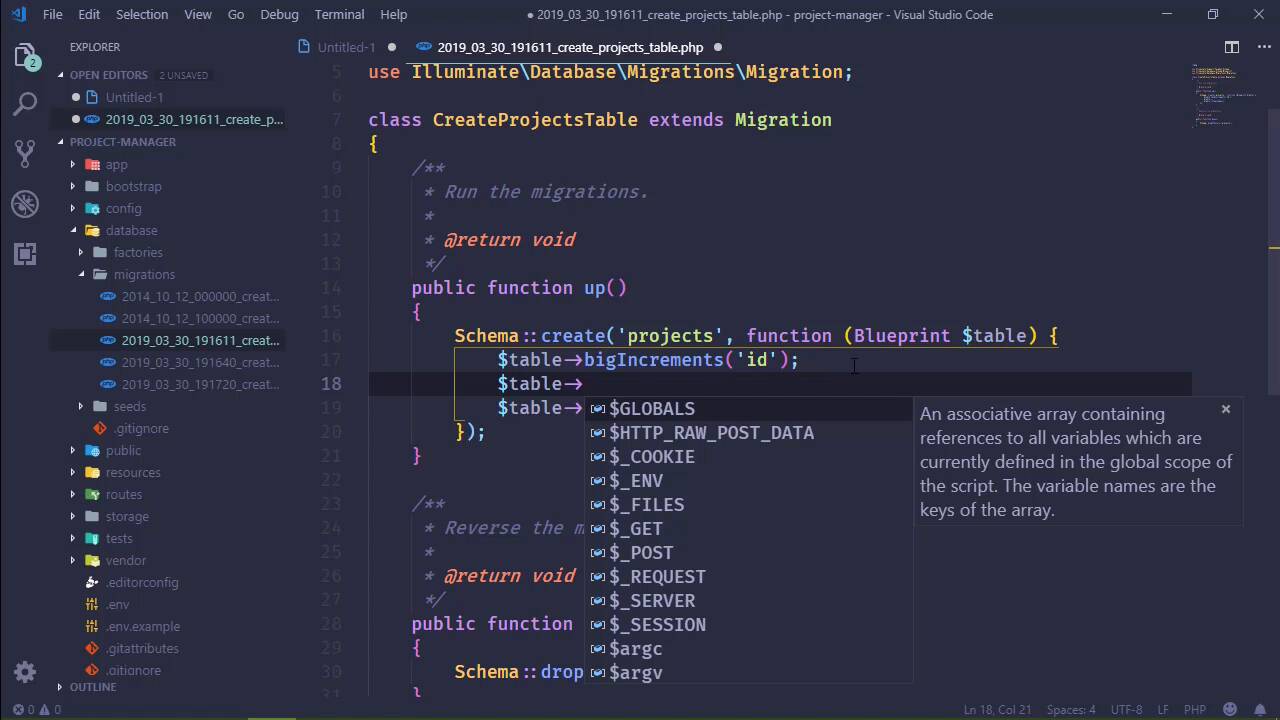
2.2 Designing and Migrating the Database
In this lesson we are going to create our database tables and before we do that we kinda need to know what type of data that we are going to be storing. So let's briefly talk about this. Now this is a project management system. So at the very least we need to store information about all the projects that we are going to be working with. So we will have a table called projects. And what will a project have? Well, we need a name. Might be helpful to have a description. A project will have a manager so that we can always refer to who's in charge of this particular project. And then we need a set of tasks, because you know a project could be very simple, it could be very, very complex. And especially for very complex projects, it makes sense to be able to assign tasks to different people so that a task can be done and completed more efficiently. So there we have tasks. However as far as a database is concerned, we won't want tasks to be on the project. So what we will do then is have a table for all of the tasks. So let's think about what we have for all the tasks. Well, once again, we'll have a name, we'll have a description, and we should also assign a task to a user. So that will be something unique to a task. And this is where we can set up the link between a task and a project. Because we could creating a linking table, or a pivot table, to essentially form the relationship between a project and the task. But that is usually for a many-to-many relationship, which isn't what we have here. We have a single project that's going to contain specific tasks. And a task isn't going to belong to multiple projects, going to be belong to a single project. So it's a one to many relationship. So in this case, all we need is just a foreign key for the project_id. And as far as a task is concerned, that's really it. Now, one thing that we may want to do is also at the project level set up a certain amount of users that we want to have access to that project. And then from that list of users that's who we would assign the tasks to. So, we could have users here. But once again, like tasks, this isn't something that would necessarily be considered part of a project. But it would be a many to many relationship, because we would have many projects that would have a relation to many users. So this is where we could set up a pivot or a linking table, something for projects and users. So, let's go ahead and do that. So, project user. And in these types of cases, all we need is the project id and the user id. So that whenever we are creating a project we could say okay, we want this user, this user, this user and then those are the ones that are going to have access there. So that's three tables that we need to create, and it should be relatively easy to do that. So, let's go to the terminal. And I've started to use the terminal inside of Visual Studio Code as opposed to a separate command line window just because it gives me the ability to have less windows open. And you can have as many terminals that you need, which will once again we'll be creating another terminal, so that we can do stuff with mpm. But first, let's do our, migrations and stuff. So the first thing we want to do is create our project. So this is going to be a model, so we will make a model. We'll call it project-m to create the migration, and that's going to give us that. The next thing we will create is our task models. So, we will use the same command except that we are going to specify task and we will tell it to create that migration as well. But then we also want to create a migration for our linking table for the project and user. So we will use artisan of course, to create that as well with php artisan make migration. And let's call this create project user table. We want to create a table called project_ user. And we will let it create that migration and while doing that, let's go ahead and pop into the database folder migrations and let's find the projects. And let's add the information that we're going to need here. So the first is going to be the name, although instead of calling it a name let's call it a title, project title. So we'll make this text and call the fields title. We need another text field for the description. And then we need a foreign key for the manager id. So let's go ahead and add that in, this will be an unsigned integer, and we'll call that manager_id. And that's going to be it as far as this table scheme is concerned. Let's go to our tasks table. This is going to be very similar. So, let's first of all grab the title and the description. And we will use those here as well. And we do need the information about the project that this task belongs to. So let's add in two unsigned integers, one for the project_id, the other for the user assigned and we will call that user_id. Well, if we were going to build this for actual use, there's several other fields that we can have like some timestamp field for when it was modified, when it was completed or things like that. In fact, thinking of that, a task should have a status. But let's do something like a status_code. And the reason why is because a status to me seems to signify one of two things, either it's completed or it's incomplete. Kind of like a boolean value. But, when you start to think about a project itself, yes, there are two states a task could be in but there might be some projects where we're waiting on something from a third party. So a task might be on hold in that case. So, it would make more sense to have a status code, something that is more than just a boolean value so that we can denote different states for a task. So let's add that to our task table as well. And let's add this before the foreign keys. I typically like to put all of the foreign keys at the end of the field list, that's just my personal preference. It might not always necessarily makes sense to do that, but that's what I typically do. And so always have a status_code there. So as far as our project and our tasks, we basically have everything ready to go. Now let's go to our project user table. And we still need an id here. Now some people would say, well for a pivot table or a linking table, no, you really don't need an id for every record. I personally think that you need an identifier for every record in every database table that you ever create. It doesn't matter if you think you need it, you need a primary key. So I'm going to have a primary key here. And this is going to be an unassigned integer. You'll have our project_id. And then of course, the user_id. So that will be our linking table there, and as far as the fields are concerned, I think that's good. And then the last thing that we're going to do is add an API token field to our users table, because that is how we are going to authenticate users. So this is going to be a string, and we'll call it api_token. I mean we could technically do this later, but since we're setting up our database, it just make sense to go ahead and do it now. And this needs to be unique, because we don't want two different users to have the same api_token. And if you read the Laravel documentation, they recommend that you not populate the api_token when the user is created. But we're going to do that anyway, because, I mean, the user is going to need to have an api_token in order to access anything within this application. So we are going to automatically populate this. But if we wanted to at a later time, I don't know if we will or not, we could add the ability to users to make changes to their api_token. So if they wanted to revoke their existing token and create a new one, then we could provide that functionality. Once again I don't know if we're going to do that, but we could do that later down the road. And with that done all we should be able to do then is migrate. So once again we're going to use artisan to migrate, hopefully everything is going to be fine, it looks like it was. So we are set up, and ready to go, as far as our database is concerned. The next thing we need to do is work with our models, and we will set those up, in the next lesson


