

- Overview
- Transcript
5.5 Displaying Auth-Appropriate Menus
We have different links based upon the user's authentication status. In this lesson, we'll show the appropriate menu to the user.
1.Introduction
1.1Introduction01:31
2.First Steps
2.1Setting Up the Project05:29
2.2Designing and Migrating the Database10:06
2.3Setting Up the Models10:48
3.Building and Querying a GraphQL API
3.1Understanding GraphQL09:42
3.2Creating and Querying Our API08:17
4.Building the Client Application
4.1Assembling the UI07:17
4.2Querying the API With JavaScript11:26
4.3Adding Arguments to Your Queries11:28
4.4Organizing Our Client-Side Queries07:53
4.5Defining Other GraphQL Types08:53
4.6Displaying Our New Data09:44
5.Incorporating Authentication
5.1Building the Login View09:42
5.2The Login Mutation11:37
5.3Authenticating the API09:17
5.4Incorporating Authentication on the Client Side09:04
5.5Displaying Auth-Appropriate Menus07:59
5.6User Registration09:33
6.Working With Complex Data
6.1Building the Project Creation UI08:31
6.2Getting a List of Users03:54
6.3Defining Input Types12:33
6.4Saving the Project09:52
7.Conclusion
7.1Conclusion01:00
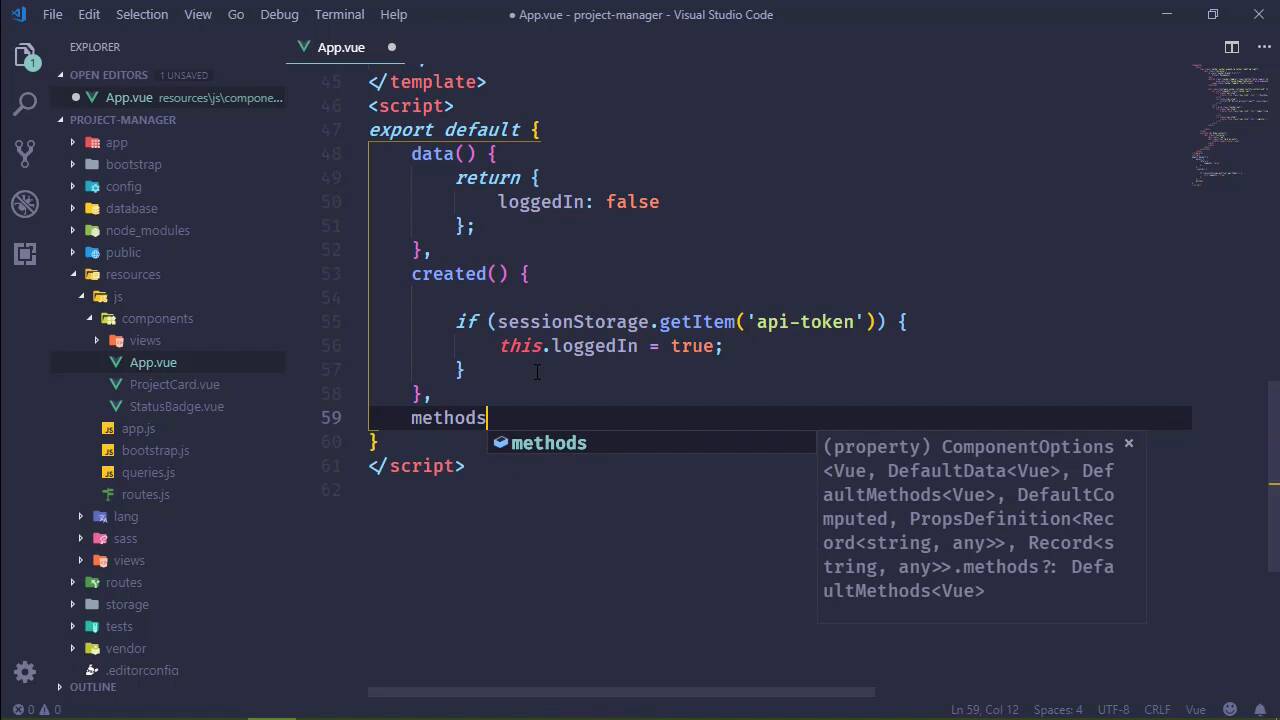
5.5 Displaying Auth-Appropriate Menus
In this lesson, we're going to continue enhancing the user experience by working on our menu. Because, of course, right now we just show one link. But we want to show different links based upon our authentication status. So let's start with our app component, because, well, that's where our menu is. And then we should decide how we are going to determine if we are logged in. Now I know in the previous lesson we hit the web service in order to determine if we were authenticated, and I think that that's fine for navigation. I don't necessarily think that that's okay for displaying the menu. So, let's do something simple and let's just say if we have an api_token then we're authenticated. So we'll start with that and and run with it. So let’s have a property called logged In, and we will initialize that as false. And then inside of the created hook we will check to see if we have a sessionStorage item called api-token. And if so then we will set loggedIn to true. Now this isn't going to be the complete solution but this will t least get us started and it gives us something that we can work with to toggle between our menus. And I'm just gonna do this. We're gonna have two navbars. Essentially one is going to be if we are loggedIn, so let's go ahead and specify that, and then the other will be v-else. So that will be unauthenticated, and let's work with that. Let's get rid of the actual link there, because we want to use our router links. So let's go ahead and add that in, now the two for this, let's make this the login. So we will go to /login, and the text will be login, we do need that nerve link class though. So let's add that, and since we're here, let's go ahead and add one for registration. And know that we don't have anything as far as registration is concerned, but at least we will have a link and we won't forget to do that later. So there we can have our register link. And for right now, well, we have the dashboard and we could have a logout as well. So let's go ahead and let's do that. I put that in the wrong spot. This needs to be in its own, li with a class of nav-item. All right, so for our loggedIn we will have the dashboard link and then logout. So let's go ahead, let's copy and paste for both of those. Now, as far as the logout, we don't really need a link, because we could just clear out our api_token, and that would be fine. So let's go ahead and set that up. And we will listen for the click event. We will of course prevent the default. And we'll call a method logout or logoff, that will work just fine. We do need that class though, as well. So that was nav-link and then the text will be logout. And at least our logout will be pretty simple. And for the dashboard, we have just the route and then Dashboard. So that should be fine. Lets go back to the browser. Lets refresh the page and we should see dashboard and logout. Lets write that method called logoff, to go ahead and log us off. But we also need to do something more than just clearing out the api_token. We should probably redirect the user back to login page. Now, lets first of all say, session storage, remove item, an api_token, and then we will use our router to push to login. Although it helps if we write the actual method, doesn't it? So there we go. Thankfully we live in a day and age where our development tools tell us when there's an error and I just happened to see that error with a glance. All right, so if we click on logout, that should clear our api_token and it takes us back to the login form. Let's make sure the api_token is cleared out. So lets pull the developer tools and application we have no api_token. So we are good there. So the next thing that we need to do, is notice up here at the top, we have dashboard and logout. Now if we refresh the page, then, of course, we're going to see the appropriate links. But what we need to do then is signify whenever we logout and login. Because if we attempt to login again, we will see the same type of problem. The links are going to be the same Login and Register. So one thing we can do is issue and events. If we log in at any time we can issue an event, and here we could be listening for the event inside of the created. And if that event occurs then we would set our login to true. And we can fix the logoff just very quickly. We can say this, loggedIn = False and that would fix that. All right so as far as events are concerned, we can use a global event. I mean because really, as far as logging in is concerned, the entire application needs to know if we are logging in. There might be other things that need to kick off as we develop them. So what we can do is just create a global bus. And let's do this. We'll say Vue.prototype and then we will have our own event. Let's do this appEvents, and we will simply new up Vue. That's going to give us that appEvents so that instead of our created we can do this. appEvents and on and let's listen for the logon, or is it two Gs? That looks wrong. Logon, that looks wrong too. Let's say log-on. And when that occurs, we'll of course just set our loggedIn to true. All right, so anytime that we log in we of course want to emit this log-on event. And right now that is only inside of our login. So let's go to our login view. And if we have a token, we set that. And then here is where we would emit that. So we would say this, and then appEvents, and then emit, log-on. And I think that should work. So let's refresh here, let's logout. We should see that that does indeed change and let's log back in and hopefully we will see our menu change as well, there we go. All right, so we have a working menu that is going to change based upon our authentication status. And now that we have a link for our registration, well, let's implement that in the next lesson.


