


- Overview
- Transcript
5.2 The Login Mutation
In this lesson, you'll learn about mutations and how we use them to change the state of our app.
1.Introduction
1.1Introduction01:31
2.First Steps
2.1Setting Up the Project05:29
2.2Designing and Migrating the Database10:06
2.3Setting Up the Models10:48
3.Building and Querying a GraphQL API
3.1Understanding GraphQL09:42
3.2Creating and Querying Our API08:17
4.Building the Client Application
4.1Assembling the UI07:17
4.2Querying the API With JavaScript11:26
4.3Adding Arguments to Your Queries11:28
4.4Organizing Our Client-Side Queries07:53
4.5Defining Other GraphQL Types08:53
4.6Displaying Our New Data09:44
5.Incorporating Authentication
5.1Building the Login View09:42
5.2The Login Mutation11:37
5.3Authenticating the API09:17
5.4Incorporating Authentication on the Client Side09:04
5.5Displaying Auth-Appropriate Menus07:59
5.6User Registration09:33
6.Working With Complex Data
6.1Building the Project Creation UI08:31
6.2Getting a List of Users03:54
6.3Defining Input Types12:33
6.4Saving the Project09:52
7.Conclusion
7.1Conclusion01:00
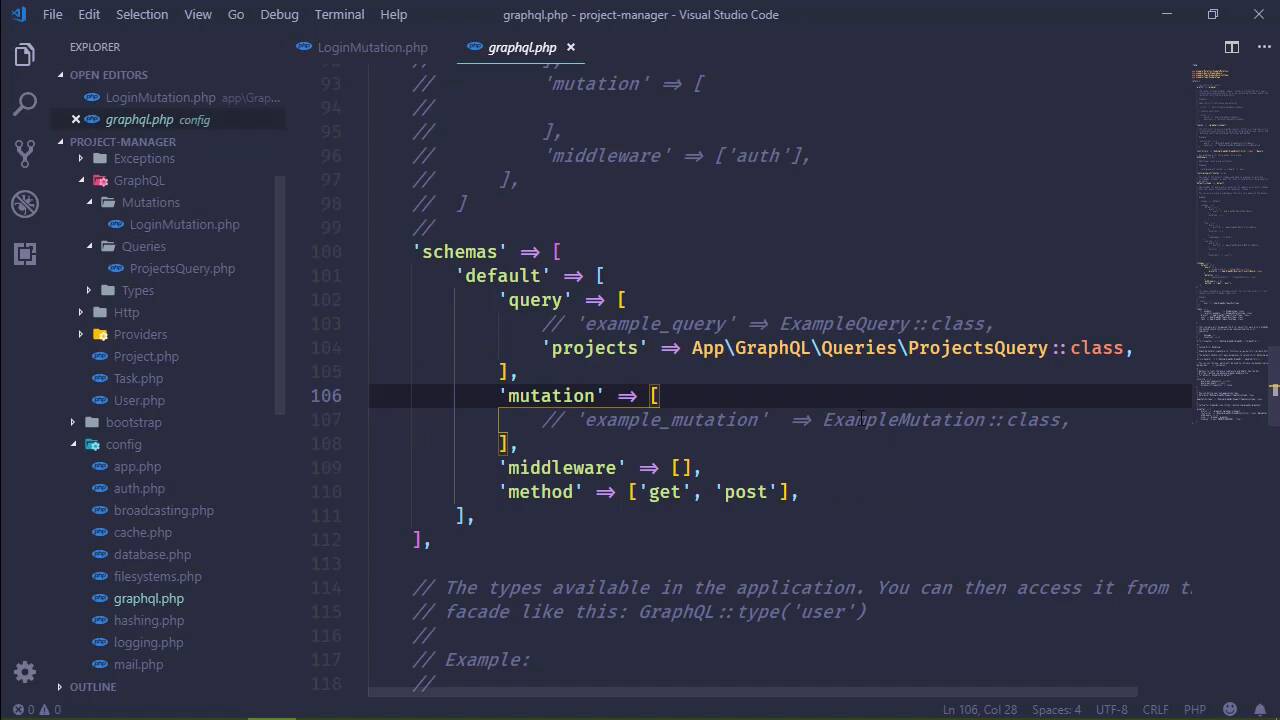
5.2 The Login Mutation
Everything we have done thus far has been for getting data from the server. So, that is the quintessential definition of querying. We are retrieving information or requesting information. Well, when it comes to logging in, we really aren't requesting anything. We are sending data and we are saying, hey, authenticate this user, and essentially change the state of the application. And in that case, it's no longer a query. As far as GraphQL is concerned, it's called a mutation. So anything that is going to change the state of the application, that includes the data in the database, that would be a mutation. So in this lesson, we are going to create a login mutation so that we can login using an email and a password. So let's go to app > GraphQL. And I've gone ahead and made this mutations folder, but you will need to do that on your end or you can put this wherever you want. But I'd like to divide my project into separate sections. I want all of the mutations together, all of the queries together, and all of the types together. So inside of mutations I'm going to create a new file, and I'm gonna call it loginMutation.php. And let's just open up our ProjectsQuery and let's use that as a basis, because there's going to be a lot of repetition. Of course we need to make a few changes, like the name space, this is going to be mutations. Since we're going to be working with authentication, we can go ahead and use auth. And we need to change our model here from project to user, but we will still need GraphQL and the definition type. But instead of query here, we're going to need mutation, and then of course we will change our class name. So this is log in mutation. It is going to extend mutation, and we still have attributes. So let's get rid of description and let's just have our names. So this is just going to be login. We still have arguments because we are going to be sending an email address and a password. So, let's define those. The email is going to be a string, and then we will have the password, which will be a string as well. And we also have a type. Because even though we aren't really querying anything, this is still going to be the result of issuing an HTTP request. So we can still send data back. And in our case, we want to send back the API token. So, we aren't going to return a list of really anything, instead we're just going to return a string. So if we successfully log in, we will return the API token and then the client will do whatever it needs to with that. Otherwise, we can return really anything else. Because anytime that we navigate to a different page in our application, we are going to have to check to see if the user is actually authenticated. So it really doesn't matter what we send back as long as we send back the API token for the user that logged in. So that's the type. And then we want to resolve this mutation or I would say query, because it makes more sense to resolve a query. But we are resolving the request there, how's that? But in this case, we want to log in with our username and our password. So let's first of all get the credentials. So we will have our email and we're going to grab that from our args, which is of course going to be called email. And we will do the same thing for password. So we will have that. Now before we do anything else, we need to think about our authentication because we will essentially have two types. We will be logging in with normal web authentication using an email address and a password and then we will be using API authentication for, well, just about everything else. So it kind of makes sense to modify our authentication configuration so that our default authentication is actually API instead of web, because really we are just logging in one time using the Web Guard, everything else is going to be API. So this will alleviate some typing on our part if we just switch the default guard to API, that sounds great. All right, so, we're done there. Now when it comes to checking these credentials then, we have to say that we want to use the Web Guard. So we are going to use Auth. And here we're going to specify the Web Guard. And we are going to attempt to log in with the provided credentials. And if that is the case, well, then the user is of course authenticated and we will return the API token for that user. So once again we have to specify the Web Guard, we will get the user and then we will return the API token. Pretty simple. Otherwise, it really doesn't matter what we return but we will return null. So there we go. We have our login mutation. So we need to register this inside of our GraphQL config. So let's find that. Let's go to where we have our queries but this is not a query, this is a mutation. So we are going to call this simply login, and that is app, GraphQL, mutations, and then log in mutation class, there we go. So, this should work whenever we actually execute this. Now let's go to our JavaScript and let's add that query. So, open up queries. And now we're faced with another decision. Now we've used the term query here but now we are making a mutation. So, do we want to create another method called mutations strictly for mutations? Well, if we were actually writing this, fleshing it all out, making an actual product and supporting it, maintaining it, I would say, yes, because that would just make sense to do, we would have a method for mutations, we would have a method for queries. But in this case, no, we can use this query method to perform queries and mutations, and that's fine with me. All right, so, we are going to add a login mutation in this case. So the key here for our queries object is going to be login, and it's going to look somewhat like a normal query except that we begin with mutation. So it's kinda like this single project where we specified query, well, now we are specifying mutation, and then we follow that up with a name, so we can call this login user. And we can have variables. So we will have an email variable and a password variable. Because, remember, whenever we wrote the code inside of our login view, let's go ahead and open that up, we are passing in the email and password as variables. So we are just specifying that here. And then we are saying that we want to execute the login mutation on the server. And for the email arg, we have this email variable for the password arg, we have the password variable. And in this particular case, we aren't really wanting any other type of information, like any other properties like we've done for our queries, instead we are just going to retrieve a value, which may or may not be the API token. So we're not going to continue on with a pair of curly braces and then property names because there's no properties there, we will just have a single value. So, with that done, we can go to our login view and we can actually do something whenever we retrieve the, well, whenever we login and hopefully retrieve the API token. So let's first of all create a variable cult token, and we will need to retrieve that. So we will have res.data, which is from then we have data, which is from GraphQL, and then login, which is the name of the mutation. And since we don't have any other properties or anything like that, this is all that we have to do to get the data that's coming back. And if we have a token, then we want to store that in sessionStorage. So we will say sessionStorage, set item, and let's just call this API/token, then of course the value is going to be the token. Otherwise, the login attempt was not successful. So this would be where we would want to set an error message, and we could say that the email address and/or password is incorrect. And I don't think we actually displayed that, did we? I know we created the element but, nope, we didn't. So, let's do that. And something else, too. If we are logging in, then we want to go to essentially the main page, which would be our dashboard. So after we store our API token, we could use the router to push going to the dashboard, and I think that's great. So let's give this a try. Let's refresh the page. Let's pull up the developer tools because we want to look at the application tab and the sessionStorage. If we get an API key here, then we know that we logged in. If we get an error message, we know that's, well, it didn't work. So, let's first of all try something that is not going to work. So, I'm going to type in an incorrect password. If we tried to log in, we get a message, the email address and/or password is incorrect, that is what I expected. So let's have a valid password now. We log in and we get our API token, and we can see that we were redirected back to the dashboard. So, that's great. That's exactly the behavior that I wanted. So now we have the ability to log in our users with email address and password. So now we need to focus more on the API authentication, which is going to cause some problems, but we will be able to work around it, and of course we would do that in the next lesson.


