
 Lessons: 67Length: 8.9 hours
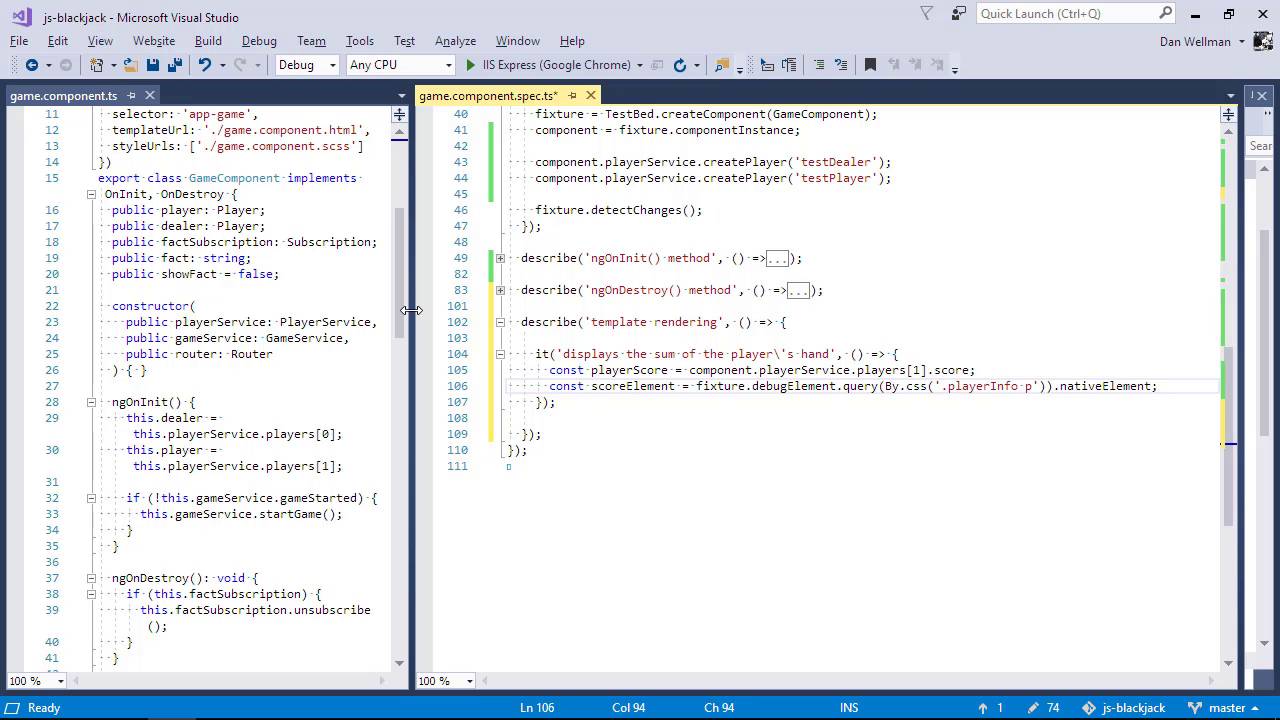
- Overview
- Transcript
8.5 Unit Testing Component Templates
In this lesson you'll learn how we can test the template part of a component as well as the class part. This will let us make sure that the template behaves in the way that it should and renders the data correctly.
1.Introduction
1.1Introduction00:48
1.2Get Started With Angular-CLI11:09
1.3Developing With Angular-CLI13:17
1.4TypeScript vs. JavaScript06:54
1.5Angular Modules From the CLI04:31
1.6CLI Options05:21
2.Get Started With Angular
2.1Bootstrapping the Application04:30
2.2The Application Module04:15
2.3The Application Component08:06
2.4Component Styling03:06
2.5Global Styling05:11
2.6Creating a Component With the CLI09:34
2.7Creating a Service With the CLI07:56
3.Core Concepts
3.1Component Trees06:20
3.2Dependency Injection06:52
3.3Content Projection05:38
3.4Component and Directive Lifecycle Methods06:31
3.5Component-Only Lifecycle Methods05:28
3.6Decorators07:36
3.7Models16:55
4.Template Deep Dive
4.1Basic Data Binding With Interpolation05:35
4.2Property Bindings07:07
4.3Attribute Bindings03:29
4.4Event Bindings08:16
4.5Class and Style Bindings05:44
4.6The `NgClass` and `NgStyle` Directives05:04
4.7The `*ngIf` Directive04:41
4.8The `*ngFor` Directive09:29
4.9Inputs05:33
4.10Using Pipes in a Template07:31
4.11Using Pipes in a Class08:27
5.Forms
5.1Handling User Input With Template Reference Variables07:06
5.2Template-Driven Forms11:10
5.3Template-Driven Forms: Validation and Submission14:00
5.4Reactive Forms11:26
5.5Using a `FormBuilder`08:01
5.6Reactive Validation With Built-in Validators14:53
5.7Creating Custom Validators for Template-Driven Forms12:18
5.8Creating Custom Validators for Reactive Forms08:26
5.9Observing Form State Changes12:40
5.10Working With the `@HostListener` Decorator05:41
6.Routing
6.1Defining and Configuring Routes07:53
6.2Rendering Components With Router Outlets10:14
6.3Using Router Links for Navigation05:25
6.4Navigating Routes Using the Router06:24
6.5Determining the Active Route Using an Activated Route07:16
6.6Working With Route Parameters10:42
6.7Using Route Guards07:36
6.8Observing Router Events10:55
6.9Adding Child Routes08:45
7.Using the HTTP Client
7.1Sending an HTTP Request10:52
7.2Handling an HTTP Response11:22
7.3Setting Request Headers12:33
7.4Intercepting Requests09:04
7.5Finishing the Example Application12:33
8.Testing
8.1Service Unit Test Preparation10:45
8.2Unit Testing Services13:24
8.3Component Unit Test Preparation12:35
8.4Unit Testing Components07:27
8.5Unit Testing Component Templates06:58
8.6Unit Testing Pipes04:41
8.7Unit Testing Directives04:56
8.8Unit Testing Validators04:48
8.9Unit Testing Observables11:37
8.10Unit Testing HTTP Interceptors06:16
9.Building for Production
9.1Building for Production03:40
10.Conclusion
10.1Conclusion01:32
8.5 Unit Testing Component Templates
Hi, folks. As we know, an angular component is more than just the class that backs it. It has a template as well, probably with numerous bindings and which changes what is displayed in response to user interaction. Is what is testing the class, we can and should also test that the template behaves in the way that we expect. So we already a spec file for the game component and we added a few tests to it in the last lesson. Let's add some more tests now for the template. So one of the things the template does is render the total score of the cards in the player's hand and let's just scroll down, and we can see that the template for the game component has been rendered. So it should be pretty easy to test the rendering of the game component, seeing as it is being rendered in the test. So let's add a describe for all of our template tests. So we can keep all of the template tests in their own describe just to keep the test file nice and organized. With a bigger template or a more complex class, we could split the class tests and template tests into their own files. But to keep things simple, let's just keep them in the same file here. So now, let's test the score first of all. We know already that the fixture variable contains the test harness and that provides tools to make testing easier. One of the things it does is provide access to the dome elements within the template and we can use these to inspect the elements, and check that they contain the right elements or additional dome structures. So first of all then, let's get the player's score. We already initialized the dealer and the player earlier in the course and we did that in that game component file, so we know that the player is the second item in the player's array. So we can just reach into the player service and get the score of the player. So next, we want to get the element from the component which displays the score. We can bring in another angular utility to help with this. The by class allows us to easily select elements from the page using either a CSS selector or a directive. We can use it to select the rendered element from the page using CSS. So we can get the elements which the score is rendered into and we do that using that using the debug element property of the fixture, and that has a method on it called query. So we can pass in a query and that will return an element from the templates. And in this case, the query is a CSS query which we can get using the by class that we imported and we can just pass that a CSS selector that matches the element that we want to get from the page. And then to actually get the inner DOM element, we can use the native element property. So we should now have access to the element that contains the players score in in the template. The paragraph that we've selected which should be within the school element variable now doesn't just contain the actual school, it also includes some text. So we'll need to clean this up and parse it into a number And now, we can test the score that we've extracted from the component is the same as the score of the player. Let's see what the output of this test is and we can see that the test is passed. Another thing that the component does is display the cards in the player's hand. We can also test for this in a similar way. So we do a similar kind of thing as we did before. We get the element that contains the text that we want to test and then we can test that the text has the value that we expect. So in this case, each rendered card on the screen should have text content which says either the queen of hearts or the nine of spades or something like that. So it will say either the name or the value of the card and then the suit of the card. So we can just get both of the cards that have been rendered on the screen and check their text content. So let's save this now and go back to the browser and we can see that this passes too. So we're quite confident now that the template is being rendered in the way that we expect. So in this lesson, we saw how we can add unit tests for a component's template in order to test that the correct things are being displayed when the user interacts with the page. We saw how we can use the fixture API to query the rended content for different elements and how we can use these to check that the correct data has been rended. Thanks for watching.


