- Overview
- Transcript
6.9 Adding Child Routes
In this lesson, I'll show you how to use child routes in Angular. Child routes are used to decompose large apps into separate modules; best practice is to split routes into functional groups that are implemented as child routes in their associated module.
1.Introduction6 lessons, 42:00
1.1Introduction00:48
1.2Get Started With Angular-CLI11:09
1.3Developing With Angular-CLI13:17
1.4TypeScript vs. JavaScript06:54
1.5Angular Modules From the CLI04:31
1.6CLI Options05:21
2.Get Started With Angular7 lessons, 42:38
2.1Bootstrapping the Application04:30
2.2The Application Module04:15
2.3The Application Component08:06
2.4Component Styling03:06
2.5Global Styling05:11
2.6Creating a Component With the CLI09:34
2.7Creating a Service With the CLI07:56
3.Core Concepts7 lessons, 55:20
3.1Component Trees06:20
3.2Dependency Injection06:52
3.3Content Projection05:38
3.4Component and Directive Lifecycle Methods06:31
3.5Component-Only Lifecycle Methods05:28
3.6Decorators07:36
3.7Models16:55
4.Template Deep Dive11 lessons, 1:10:56
4.1Basic Data Binding With Interpolation05:35
4.2Property Bindings07:07
4.3Attribute Bindings03:29
4.4Event Bindings08:16
4.5Class and Style Bindings05:44
4.6The `NgClass` and `NgStyle` Directives05:04
4.7The `*ngIf` Directive04:41
4.8The `*ngFor` Directive09:29
4.9Inputs05:33
4.10Using Pipes in a Template07:31
4.11Using Pipes in a Class08:27
5.Forms10 lessons, 1:45:41
5.1Handling User Input With Template Reference Variables07:06
5.2Template-Driven Forms11:10
5.3Template-Driven Forms: Validation and Submission14:00
5.4Reactive Forms11:26
5.5Using a `FormBuilder`08:01
5.6Reactive Validation With Built-in Validators14:53
5.7Creating Custom Validators for Template-Driven Forms12:18
5.8Creating Custom Validators for Reactive Forms08:26
5.9Observing Form State Changes12:40
5.10Working With the `@HostListener` Decorator05:41
6.Routing9 lessons, 1:15:10
6.1Defining and Configuring Routes07:53
6.2Rendering Components With Router Outlets10:14
6.3Using Router Links for Navigation05:25
6.4Navigating Routes Using the Router06:24
6.5Determining the Active Route Using an Activated Route07:16
6.6Working With Route Parameters10:42
6.7Using Route Guards07:36
6.8Observing Router Events10:55
6.9Adding Child Routes08:45
7.Using the HTTP Client5 lessons, 56:24
7.1Sending an HTTP Request10:52
7.2Handling an HTTP Response11:22
7.3Setting Request Headers12:33
7.4Intercepting Requests09:04
7.5Finishing the Example Application12:33
8.Testing10 lessons, 1:23:27
8.1Service Unit Test Preparation10:45
8.2Unit Testing Services13:24
8.3Component Unit Test Preparation12:35
8.4Unit Testing Components07:27
8.5Unit Testing Component Templates06:58
8.6Unit Testing Pipes04:41
8.7Unit Testing Directives04:56
8.8Unit Testing Validators04:48
8.9Unit Testing Observables11:37
8.10Unit Testing HTTP Interceptors06:16
9.Building for Production1 lesson, 03:40
9.1Building for Production03:40
10.Conclusion1 lesson, 01:32
10.1Conclusion01:32
6.9 Adding Child Routes
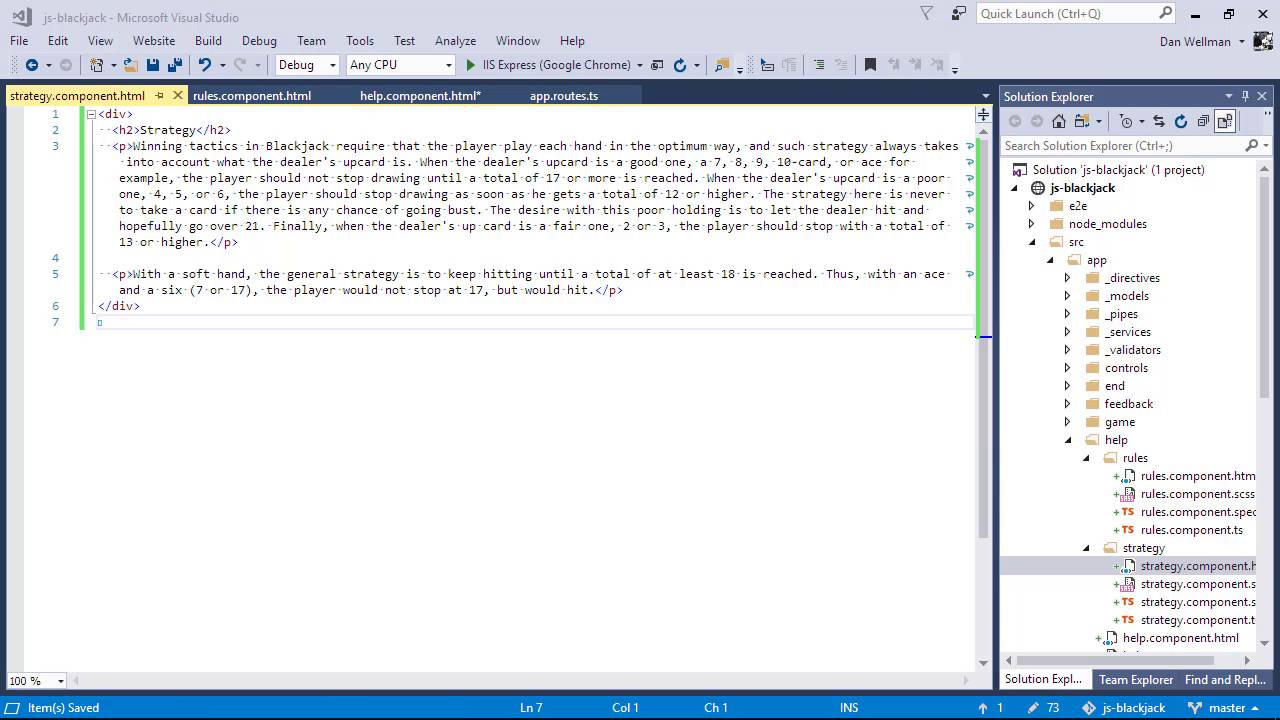
Hi folks. In this lesson, we're going to take a quick look at child routes. Child routes are used as part of the architectural set-up of an application. The recommended Angular way for large applications is to divide the application into feature areas. Where each feature is an angular module with its own route component and its own routing module, its own router outlet and child routes for the different states of the feature. The example application that we're building in this course isn't really big or complex enough to warrant this type of architecture. Nevertheless, we can still take a little child roots to see how we can add and make use of them adding child roots starts with the root configuration just like regular roots. First of all then, let's open up the app.roots.ts file. So, we can see our existing root definitions there. Remember that each root is an object with keys for path and component, which maps a URL segment to a component, as well as these properties. Another property that any root object may have is children. Let's say that we wanted to divide our Help feature into a couple of smaller features. We already have the game rules, but what if we wanted to add something about strategies for playing the game. Let's start by adding a couple of new components to the Help folder using the CLI. Great. So we have our two trial components of the help component. So let's go back to the app.roots.ts file. First of all, we can import the two new components. And now we can add child routes for these two new components to the existing help route The children property takes an array and the child routes are added as objects in exactly the same way that the top level routes work. Each of them has a path and a component property. We can also add a default empty root for our child roots. We can just map the default root to the rules component like we did with the other default root earlier on just to ensure that the user isn't facing an almost empty screen. So let's make some changes to the existing help component. So first of all, let's move the content from the Help template into the Rules template. We don't need to make any changes at all. We can literally just lift and shift it and now let's open up the strategy component template. And, I've got some copy for this component in a file on my desktop. And I'm just gonna paste that straight into the strategy component template. Okay so we've got the rules and strategy components now. Let's go back to the help component itself. We'll need a router outlet to render the child components into. And we'll probably want some way for the user to switch between the two job components. So let's add a simple navigation element and let's add that above the router outlet. So we have used the routerLink directive once again and let's also make use of the routerLinkActive Directive so that we can give the roles and strategy year rows active states. So the first link goes back to the start components. Notice how we use a relative length for this one that just goes back up the tray and out of the out components all together We can use this because angular supports directory style path navigation. The other two links have root to link directives that point to each component with absolute URL's and the active class gets added with the root to link active directive. So let's take a look in the browser now. Will be redirected to the rules component and from here we should be able to switch between rules and strategy or we can choose to go back to the game. Great, so the routine itself is working. We just need to tidy up the styling slightly, let's add some styling for the nav component, and as this component is inside the help component, we can add the styling directly to help.component.scss. Okay so that should tidy up the navigation. So let's go back to the help component once again. So the navigation is tidier now, but the styles that we added for the rules content isn't being picked up. This is because the styles are scoped to the help component, but this content is now in the child rules component. So this is probably the biggest problem with scoping the styling. It's a small price to pay for the other benefits we get. So I'm not gonna make too much noise about it and it's pretty easy to fix. So let's give the containing div a class name in both the rules and strategy components. And then let's move the content styling into the _app.scss file, and change the div selector to point to the new class name. And let's just check that things are looking good back in the browser So in this lesson we've seen how easy it is to add child routes. We've made a major architectural change to the application, but only some very minor changes to the actual code itself. This is awesome, throughout the child routes, we used the children property of an existing route which is an array, and we populated this array with the new child routes. We then added a new in the parent route, and added a simple nav complete with router link and router link active directives. Thanks for watching.


