
 Lessons: 21Length: 2.6 hours
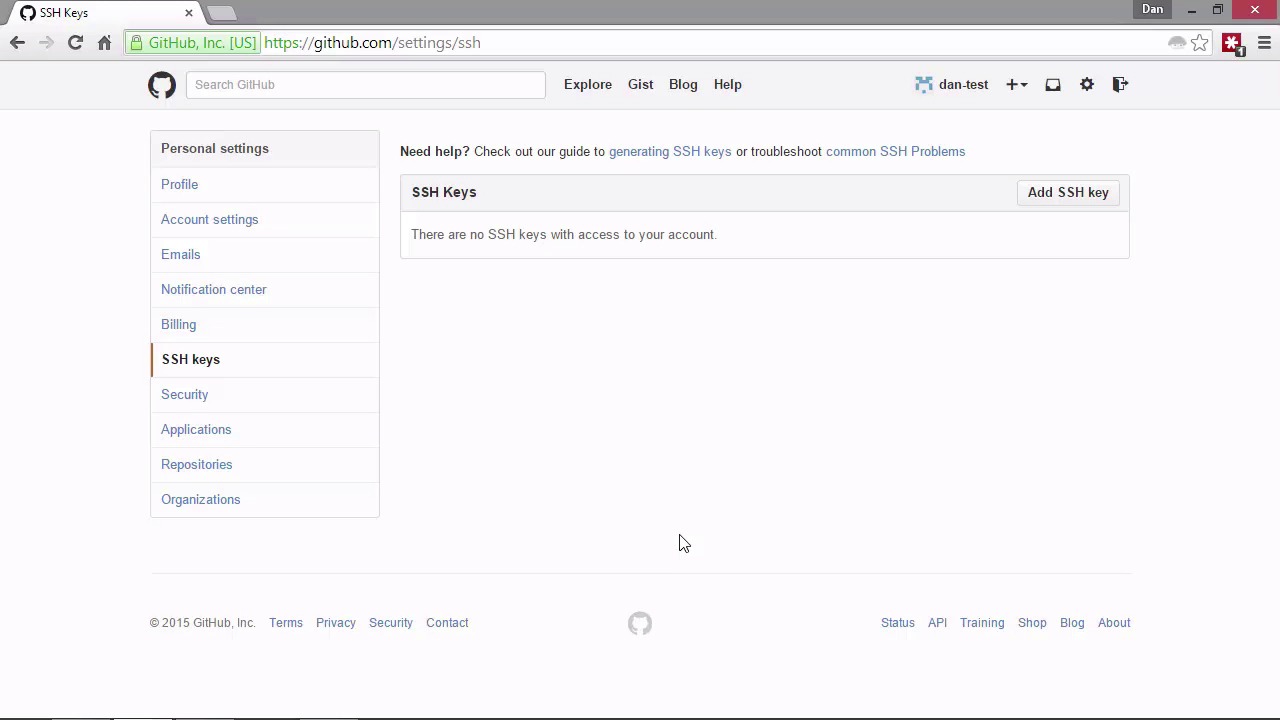
- Overview
- Transcript
4.2 Working With Remotes
GitHub is essentially a service for storing our remote repositories. What are remote repositories, and why are they essential? In this lesson we’ll set GitHub up as a remote so that we can push to it.
Related Links
1.Introduction
1.1Introduction02:59
1.2Installing and Configuring Git08:00
1.3Git Concepts05:40
2.Git Basics
2.1Initializing a Repository07:05
2.2The Staging Area and Status Command05:12
2.3Making Commits10:34
2.4Ignoring Files08:06
2.5Viewing the Log09:46
3.Branching and Tagging
3.1Creating Branches08:02
3.2Fetching and Pulling09:20
3.3Diffing Files05:13
3.4Merging Branches07:03
3.5Tags06:38
4.GitHub and Remotes
4.1Setting Up GitHub10:42
4.2Working With Remotes10:12
4.3Creating GitHub Pages11:57
4.4Contributing and Contributors06:43
5.Intermediate Usage
5.1Stashing Changes10:45
5.2Cleaning Up Merge Conflicts03:46
5.3Rebase07:33
6.Conclusion
6.1Conclusion01:16
4.2 Working With Remotes
Hi, folks. In this lesson, we're gonna pick up right where we left off in the last lesson and set Github up as a remote repository for the project that we've been working on locally throughout the course so far. So remember, a remote repository, or just remote for short, is just another copy of our local repository on a different computer. Now this might be accessible via the Internet if it's a hosted service, like Github. Or it maybe on some server on our home or work network for example. So we created our remote repository already. But before Github will allow us to post to it, we need to set up our computer as a trusted computer. So we can do this by creating a public and private RSA key-pair. You may already have a key that you can use. I certainly do because I have my own personal Github account. But if you don't have a key, let's just walk through the process of creating one so that you can see how to do it. All the tools that we need to do this come with Git. And we need to use a tool called ssh-keygen. So in the command line, we can run this command to generate our keys [BLANK_AUDIO] So, it asks us which file we want to store the key in and whereabouts it should be stored. So by default it will put these in a folder called .ssh in your user directory. And by default the file will probably be called id_rsa. So you, you can just press enter to go with the default there, and it will then ask you to enter a passphrase. So it's recommended that you do use a passphrase, and you use a very secure pass phrase because this RSA key is gonna be your identity as far as Github is concerned. So if this key is compromised, then somebody could go into Github and masquerade as you. That's obviously a bad thing. Now like I said, I already have an RSA key pair which I'm using in my main account. So I'm not actually going to choose a passphrase or create a key but I'd recommend that you do if you don't already have one and you will still be able to follow along and it will actually be much easier than what I'm gonna have to do in the next couple of lessons. But don't worry about that for now, so. Choose your passphrase and enter it. And once you press enter the first time you will need to press enter again to re-enter the same passphrase. So you can have an empty passphrase if you want. Don't do that, I've just pressed it so you get to see the next step. But like I say I'm not actually gonna carry on and create this key. So once you've pressed enter again there. That should create the key for you. And if you go and have a look in your .ssh folder, you should find that there are now two files there. One that has a .pub extension, which is the public version of the key, and another file that doesn't have an extension, which is the private version of the key. So the public key we can share with anyone, that's fine. The private key, don't lose it and don't share it with anyone. Otherwise you'll have to generate a new key and store that in Github again. So once you've added the key, one thing that you'll probably want to do is add it to the SSH agent. Once again, I'm not gonna actually do this because my agent already has a key in it but to do that, I just need to. I just need to [SOUND] quit this and I'm actually gonna restart the console now. [BLANK_AUDIO] So now that you've created your key, you need to add it to the agent. And before you can add it to the agent, you need to start up the agent. So I'm just gonna run this command now. You can run the same command. As the sss-agent command and we just process the -s. And that should start the agent up and you'll see some outputs very similar to what I see on my screen there. It gives you the ID of the agent that's running. That's fine. So now you're gonna want to add the key that you've just created to the agent's. And to do that you use the ssh-add command. And then you would need to put in the path to the file that you'd like to add. So like I said, I'm not actually gonna do this. My agent already has a key in it and that's associated with Github, and I don't want to break anything of mine that's currently running so I'm not going to press enter. But when you press enter. The key should get added to the agent. So now we can add the public part of our key to our Github account. So lets go back to our Github account and if you just go into the settings area which you can get by clicking on this clock here. Then that will take you to this page. And on this page in the left hand menu. There is an item that says SSH keys, you click on that. Then because your account should be a new account just like this test account is, then you shouldn't have any ssh keys all ready. You can have multiple ssh keys in your Github account if you want. You've just generated a key so what you'll need to do now is just go and grab the public version of the file. If you open the file in your text editor, there'll be a lot of text in there that's the, the hashed version of your public key in our save format. So if you just copy everything that's in that file and then come back to this page and click on the Add SSH key button here. Then you can give the key a title, and then you'd paste the contents of that file, the whole contents into the text area here. And then you just click on the Add key button. And everything should get added to Github and then your accounts will now be connected with your command line. So if you want to test everything you set up correctly you can go back to the command line now and run this command. Now this command is actually gonna fail for me because I haven't done any of this set up. But for you, it should succeed. And the command we just run ssh -T. And then git@github.com. So I'm gonna run the command now. But for me, it's gonna fail. It says permission denied. We don't have access to go to git@github.com. But for you it should say welcome and then the user name that you chose and it should just say that you can access the sites but that shell access has been denied. That's completely normal. We don't need shell access to Github. So now all we need to do is set the remote repository for our repository, our local repository that we've been working on. Now for you, this process should be very smooth. For me, it's gonna be a bit of a pain. Let's just do it and we'll see. So in the last lesson, once we'd set up our repository on Github, we saw a page that showed us different options for adding a remote. Let's just go back to this page now. [BLANK_AUDIO] So now let's go back to our repository page. And here are all the instructions and in the middle section it says with, that we can push an existing repository from the command line. And it gives us the commands that we need to run to do that. So let's just copy the first of these commands. And we can just paste that straight into our console. And let's just take a look at this command by using the remote command and that tells Git that we want to work with a remote repository and in this case we want to add one. So we then need to give the remote a name and by convention we call it origin. And then we need to specify the URL for this remote repository. So I'm gonna hit enter now. And that should be fine. So that should be associated now. And let's come back and run the second command now. We can just copy that from the instruction page here. [BLANK_AUDIO] And let's just take a look at this command before we run it. So we're using the push command this time and we specify the -u flag. And the -u flag just sets a tracking reference to the specified upstream branch. And this is really, really useful because git will tell us when our remote branch has changes in it so that we know when we need to pull those changes in. So the very first time that we do a push to a remote repository, we probably want to specify this -u flag so that it adds this tracking reference. So then we specify the name of the remotes which is called origin and we specify the name of the branch on the remote repository. So that's the remote branch that we want to post to. And in this case it's the master branch. So I'm gonna run that now. And when you run that, because you've just set up your key and git knows that you're using this authenticated computer, you should just be able to push and it won't ask for your username. For me, it is asking for my username. I'm just gonna pop that in. And it's asking for my password now as well so I'm going to enter the same password that I entered when I set up the dan-test github accounts. [BLANK_AUDIO] And we should then get some output to tell us how many objects we've pushed the gits. And it tells us that it's using delta compression and it's compressing objects. It's compressed all of the objects. It's writing the objects. It's written all of the objects, et cetera, et cetera. And because we specified the -u flag it tells us that the branch master on our local is now set up to track the remote branch master from the origin. So let's come back to Github now and let's just refresh the page for our repository. And now we can see all of the files that we worked on locally and which we've just pushed. So when you push, basically what you're doing is saying, take all of these committed changes and have them. Take them and store them. And that's, that's what it's done. And if we just scroll down slightly we can see below the file list for our repository we can see the readme that we added is automatically displayed by Github. So that's quite a nice feature. So in this lesson we saw how to setup Github using the command line SSH tool. And we should now be able to push to our remote repository up on Github. We also learned how to push any committed changes in our local repository to the remote repository using the push command. Thanks for watching.


