
 Lessons: 21Length: 2.6 hours
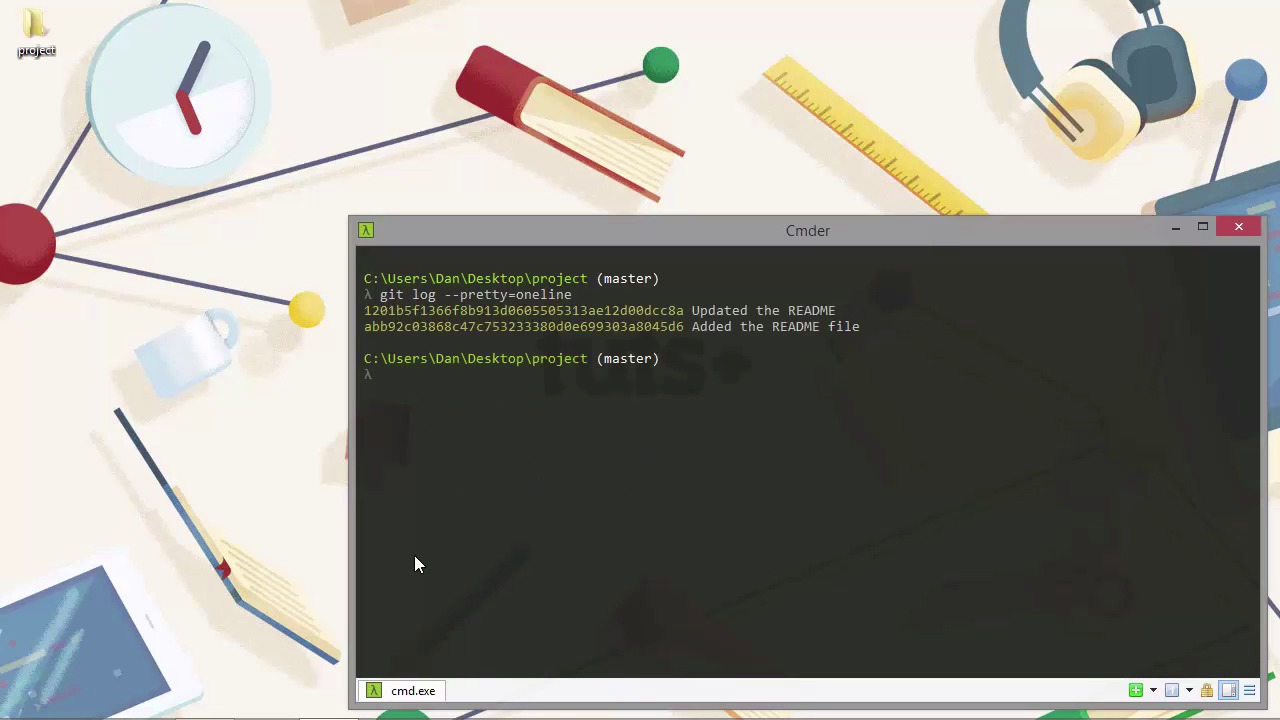

- Overview
- Transcript
2.5 Viewing the Log
Git provides a useful log that can give us information about different commits that have been made in our repository. Let's see what the log looks like and the different options we have for viewing it with git log.
1.Introduction
1.1Introduction02:59
1.2Installing and Configuring Git08:00
1.3Git Concepts05:40
2.Git Basics
2.1Initializing a Repository07:05
2.2The Staging Area and Status Command05:12
2.3Making Commits10:34
2.4Ignoring Files08:06
2.5Viewing the Log09:46
3.Branching and Tagging
3.1Creating Branches08:02
3.2Fetching and Pulling09:20
3.3Diffing Files05:13
3.4Merging Branches07:03
3.5Tags06:38
4.GitHub and Remotes
4.1Setting Up GitHub10:42
4.2Working With Remotes10:12
4.3Creating GitHub Pages11:57
4.4Contributing and Contributors06:43
5.Intermediate Usage
5.1Stashing Changes10:45
5.2Cleaning Up Merge Conflicts03:46
5.3Rebase07:33
6.Conclusion
6.1Conclusion01:16
2.5 Viewing the Log
Hi, folks. In an earlier lesson, we looked at the Git log command very briefly as part of another example. But I just wanted to come back to this command, and spend a little while looking at it in a bit more depth. Because there are a few different things that we can do with it in order to get different information presented to us. So, the Git log command is essentially is a way to view the history for the repository. Which files were changed at which times, and which dates, and by which contributors, that kinda thing. So, let's just remind ourselves, first of all, what the default output for this command looks like. So, by default, it shows us the full commit hash for each commit, that's the line shown in yellow, and then below that it shows the author, and the date. And then below that again, it shows the commit message. These logs are shown in reverse chronological order, so the most recent commit is shown first. The logs take up a bit of space in the command line window. So, one thing that we can do is shorten that slightly using the --oneline flag. I'm just gonna clear my screen because it will probably scroll even if I use the oneline flag, and let's just run the log command with this flag now. [BLANK_AUDIO] So, that's much better now is, it's much more condensed. We can see that this time, we have the shortened seven digit version of the show one hash, and just the commit message. We don't see any information about who made the commit, or what day the commit was made on, but that might be all we need. In our case, we've only made two commits, so it's not that bad, but in big projects that have been running for a long time, the log can be huge. So, if we want to limit the number of entries shown, which we can do using the minus sign, followed by how many commits back we want to log. For example, to show just the latest commit, we could do this. [BLANK_AUDIO] So, we pass minus one, and it just shows us the most recent one commit. If we just want to see the most recent two commits, we could do git log -2, and we can combine that with the oneline flag as well. If however, we actually want to show more information in the log, we can do that as well using the -p flag. So, this time we see a lot more information, so we see the, the commit with the full hash again. We see the Author and the Date, and the commit message. This time we see a bit of a dif as well, so it shows us exactly which lines changed, and how those lines changed. We can see that there were two lines removed, and two lines added in this commit. And then it goes on to show us the first bit of the second commit. But because it's so long rather than automatically scrolling, it's just left this colon with a flashing cursor at the bottom here. So, I can press that a few times, and that will just keep on showing me new lines of the log. >> [BLANK_AUDIO] So, the -p flag, which is short for patch, and which can be used to create a patch file, gives us all of the information that Git has about a commit including diffs of what actually changed. So, don't worry about the diff too much. We're gonna come back, and look at diffs later in the course. So, if the -p flag gives us a bit too much info, but we still want to include a summary of the changes that we made, we can use the --stat flag. And this time we see, a bit more information than default, but less information than when we're creating a patch. So, this time we see the full commit hash again, and the Author and the Date, and we see the commit message. And this time we just see a small version of which file was changed, and how they changed. So, we can see that there were four changes in total, there were two additions, and two removals in the first commit. And there's just a little text summary at the bottom, which basically says that same thing. Another simple option is --decorate. I'm just gonna clear my screen again, and now, let's run log with the --decorate flag. So, again, we see slightly different information. So, we can see now, that we have full the commit hash, but after the commit hash, we have the word Head, which is shown in blue, followed by the word master, which is shown in green. So, this just tells us that this is the most recent commit, it's what Head is pointing to, and it's on the master branch. One more useful option that we have with log is the --pretty flag, which allows us to specify exactly, how much information we want to show. So, earlier on we used the --oneline flag which truncates at the commit logs to a single line each. Well, we can also use one line with pretty. [BLANK_AUDIO] So, this gives us almost the same as earlier, except that we see the full commit hash this time, and we can also use a couple of different modifiers with the pretty flag in order to show more information. Or less information, or whatever information we want to show basically. So, to get a slightly longer summary for each log, we can do this. [BLANK_AUDIO] So, this time we see the full commit hash, and the Author, but not the Dates, and the commit message. And if you want to show a bit more information again, then we can use the full option with the pretty flag. So, again, this gives us the full commit hash, and this time we see the Author and the committer. Now, in this case, they're both the same, because I was the Author, and I was the one that actually did the commit, but that won't always be the case. Because Git is all about sharing code, then we might have one person that actually writes the code, but a different person that committed it, like the owner of the repository, maybe. So, if we want to show the maximum amount of information possible with the pretty option, then we can use the fuller option instead. [BLANK_AUDIO] And this time we get the full hash. We get the the Author and the Author's date, and we get the committor and the committor's date, and we see the commit message. So, this is all of the information that pretty can show by default. That's pretty awesome, but what we can actually do is customize exactly what information is displayed in the log by providing our own format for pretty. There are a whole load of placeholders that we can specify in order to output custom information. If you run git log --help, and scroll down to the pretty format section, let's just do that quickly. [BLANK_AUDIO] So, it opens up a help file in our browser, as we saw earlier in the course. Let's just scroll down to the placeholder section. [BLANK_AUDIO] And as you can see, there are many, many placeholders, so that we can show a lot of different information if we choose to. Wow, I mean, there are tons, and tons of different options. We're not gonna use all of those in this lesson, but let's just play around, and add a few of them. [BLANK_AUDIO] So, the option that we need to specify this time is format, and this lets us supply our own formats. [BLANK_AUDIO] So, now we've got the shortened commit hash followed by the pipe symbol, and then we've got the name of the Author followed by the email address of the author in brackets. And then, we use a colon for a separator this time, and then show the commit message. So, that's quite customizable. And we can even play around with the exact colors if we feel like it, and if our console supports it. So, let's say, we wanted to make the email address blue for some reason. Let's just do that. [BLANK_AUDIO] And we can do that with the %C, and then the name of the color that we want to use. [BLANK_AUDIO] And then, when we want the color to stop being blue, we just need to reset the color. And we can use the %Creset flag for that. [BLANK_AUDIO] So, let's run that command now, [SOUND] and it's exactly the same, except the email address is blue. Wonderful. So, there's one more thing that I want to show you, but it's not gonna give us much information at this stage. It's the --graph flag that can be used with the log. [BLANK_AUDIO] So, what this does is shows us a commit graph. Now, in this case, because we've only made two commits, and they've been made on the same branch, our graph is pretty linear. But as you can see, in addition to the normal log information, next to it, we have some asterisks, and a red line that joins these asterisks. So, we'll come back and look at the graph in much detail later on, but when you have got lots of different branches and those branches have lots of different commits. It can be useful to run the graph, so that you can see exactly, when these other branches branched off of the master branch, and how many commits they each had, and when they were merged back into master. Graph can present that in a really useful visual and attractive way. So, in this lesson we learned all about the git log command, which lets us view the history of our repository, as a series of commits. As we saw, there are numerous flags that we can use to control how this log is displayed. We can even create our very own custom formats using the --pretty flag, showing all of the information that we want. Thanks for watching.


