
 Lessons: 21Length: 2.6 hours
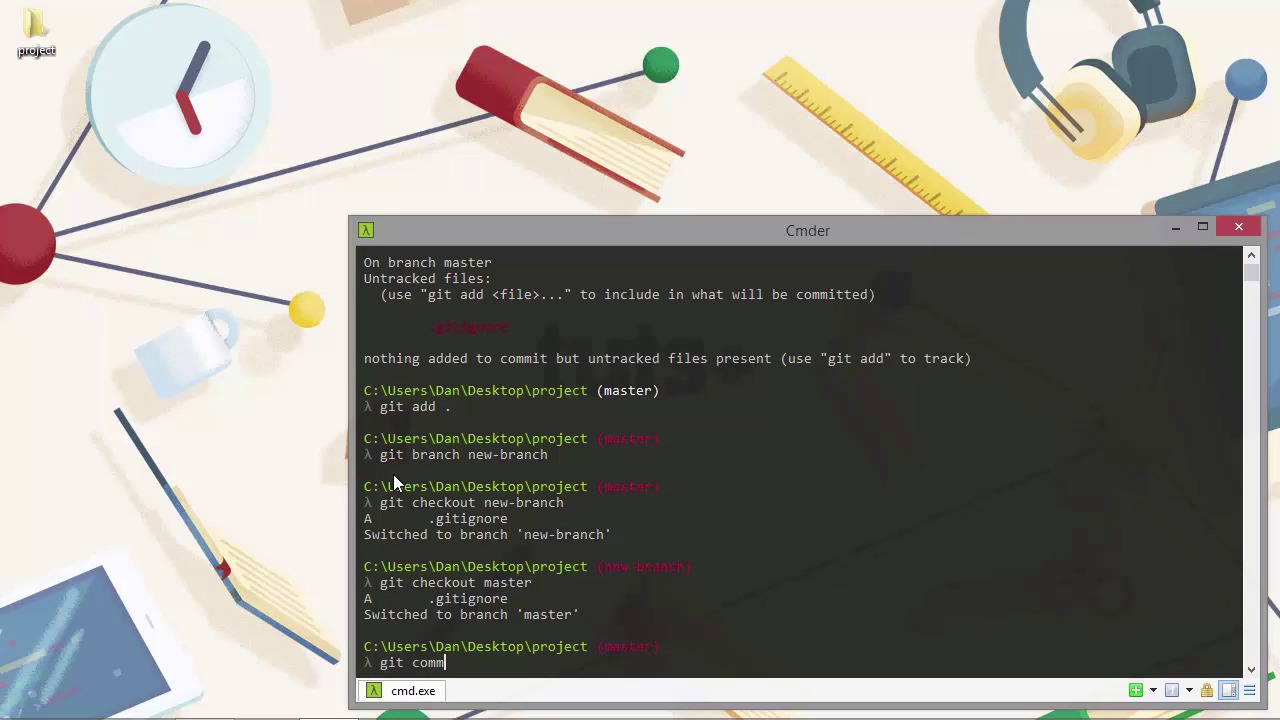
- Overview
- Transcript
3.1 Creating Branches
Branches are one more fundamental aspect of Git that we're probably going to make heavy use of in all but the smallest of projects. In this lesson we'll see what branches are and how to create and switch between them with git branch and git checkout.
1.Introduction
1.1Introduction02:59
1.2Installing and Configuring Git08:00
1.3Git Concepts05:40
2.Git Basics
2.1Initializing a Repository07:05
2.2The Staging Area and Status Command05:12
2.3Making Commits10:34
2.4Ignoring Files08:06
2.5Viewing the Log09:46
3.Branching and Tagging
3.1Creating Branches08:02
3.2Fetching and Pulling09:20
3.3Diffing Files05:13
3.4Merging Branches07:03
3.5Tags06:38
4.GitHub and Remotes
4.1Setting Up GitHub10:42
4.2Working With Remotes10:12
4.3Creating GitHub Pages11:57
4.4Contributing and Contributors06:43
5.Intermediate Usage
5.1Stashing Changes10:45
5.2Cleaning Up Merge Conflicts03:46
5.3Rebase07:33
6.Conclusion
6.1Conclusion01:16
3.1 Creating Branches
Hi folks. In this session, we're going to look at branches. Branches are a really useful and important feature of Git and we'll use them all the time. So, we start out by default with a master branch when we initialize a repository and, so far, in this course, this is where we've been working. We've added a couple of files and it, if we run Git status now, we should see that we have an untracked file. [BLANK_AUDIO] So that's the Git ignore file that we added earlier in the course. So let's just add this file to the staging area now. And we can just use the dot because we want to add everything. We know that this is the only change, so we haven't yet committed this file to the master branch yet. So now let's say we want to add a new feature, but the project is live and we don't want to develop on our master branch anymore. The master branch is stable and represents what's actually being released. So what we can do instead is create a new branch in order to develop the new feature on. And that won't make any changes to the files in the main master branch. We can change the files in the new branch as much as we want and it won't affect the very same files in the stable master. To create a new branch, we need to use the branch command. [BLANK_AUDIO] The branch command should be followed by the name of the branch. There are some restrictions to what characters we can use with branch names. We can't use a double dots or a backslash. And we can't use the S key control characters, tilde, hats, colon or the space character. We also can't end the branch name with either a forward slash or dot log. Other than that, though, we're good. And we don't have to quote the branch name. So once the branch is created, we then need to switch to it which we do with the checkout command. We're checking out the new branch. [BLANK_AUDIO] Again, we just specify the name of the branch after the checkout command. As you can see, we get a summary of what is contained in the master branch, which isn't committed. As you can see, there's add dots gets ignore file. And the line starts with a capital A, which means it's been added. Sometimes before we switch to a new branch, we will need to commit any changes on our current branch before Git will let us switch to the new branch. If the changes will be overwritten and lost, Git won't let us lose those, it will just not let us switch branches until we have added and committed them. So as you can see, commander here has updated the text above the cursor to show which branch we're on. Other consoles can be configured to display this kind of information as well, but I'll leave that up to you to find out how to do that if you want. I do know that there are some good guides up on NetTuts and various other places around the internet that show you exactly how to do that. So if that's something that you want or need to do, then feel free to go out there and find out how to do that yourself. So, I just want to remind you that the text shown in brackets here is in red and that means that we have uncommitted changes. And that's an important point to note here. So, just because the file was added in the master branch, if we commit while we're in a different branch, that file which was added will actually be part of the commit in this branch. Even though we added it in a different branch. That's just something about Gits which you should be aware of. Often, it's best to commit changes before switching branches so that you don't get confused about which branch particular commit or files should be contained within. So there is actually a shortcut that we can use, which will let us create a new branch and switch to it with a single command. So let's just delete the branch we created, and then recreate it again using this shortcut version. So this might seem like a bit of a chore, but it's quite handy from my point of view because it lets me show you how to delete branches in quite a tidy and neat way. Before we can delete the branch, we just need to switch back to the master branch, because we can't delete the branch that we're already on. Now that we're back on master, let's just commit that gitignore file. [BLANK_AUDIO] And now, let's delete that new branch. So we still use the branch command, we just need to pass the dash d flag to tell Git to delete the branch, and we specify the branch that we'd like to delete after the dash d flag. And as you can see, Git gives us some output to say that it deleted the branch, new branch and it shows the shortened hash that the branch had. This is quite interesting, because even though the branch has been deleted, the file that Git used to store the compressed version of the content that was in that branch, is actually retained. We can see that if we cut out the file using the displayed short hash. [BLANK_AUDIO] So we can see that the tree that contained this file has a hash. There's the hash for the parent commit, and we can see that's I was the author and I was the comitter, and we can look at the commit message. That pointed to the last commits in that branch. Now, we didn't actually make any commits in that branch, but because we branched off of master, it shows us the last commits in the branch that we branched from. So now to create and switch to a new branch at the same time, we can use the checkout commands with the dash b flag. [BLANK_AUDIO] And now you can see that the text shown in brackets above the cursor shows that we've switched to the new branch instantly. So we don't use the branch commands to create the new branch this time, we use the check out command, but supply the dash b flag. And then the name of the new branch. Great. And this time, as you can see, it didn't give us a summary of any changes that had been added, because we committed those changes before creating the new branch. So let's say we add a new feature now, in our new branch, let's just create a new file called feature. And if we just open up Explorer, we can see that's the working directory is shown and that because we just added this new feature file in this branch, our working directory is associated with the branch that we're currently on, and we see that feature file. So let's just get that new file added and committed. [BLANK_AUDIO] And this time, we couldn't use the add and commit at the same time shortcut because the file wasn't tracked. We can only use git commit dash am to add and commit at the same time if Git is already tracking the file. A useful option with the branch command is dash a, and that shows us all of our branches. I'm just gonna clear the screen quickly before I run this. So the flag this time is dash a, and that just shows us all of our branches. And the new branch is shown in green, and it has an asterisk there. And that just means that that's the branch that we're currently on. So now, our branch is ahead of the master branch by one commit. And our head, which points to the latest commit, remember, now points to our new branch. We can carry on making commits in our new branch, without affecting the master branch at all. And we can even switch back to the master branch, if we need to, and make changes in commits there. Also without effecting the files in this new branch. So, in this lesson we learned about branches in Git. We saw that we can branch off from the master branch any time we like and add new files or change existing files without affecting the copies of those files on the master branch. Branches are isolated sandboxes that we can create and delete as necessary. We also saw the handy shortcut, dash b flag, that we can use with the checkout command to create the new branch and switch to it instantly. Thanks for watching.


