
 Lessons: 34Length: 3.4 hours
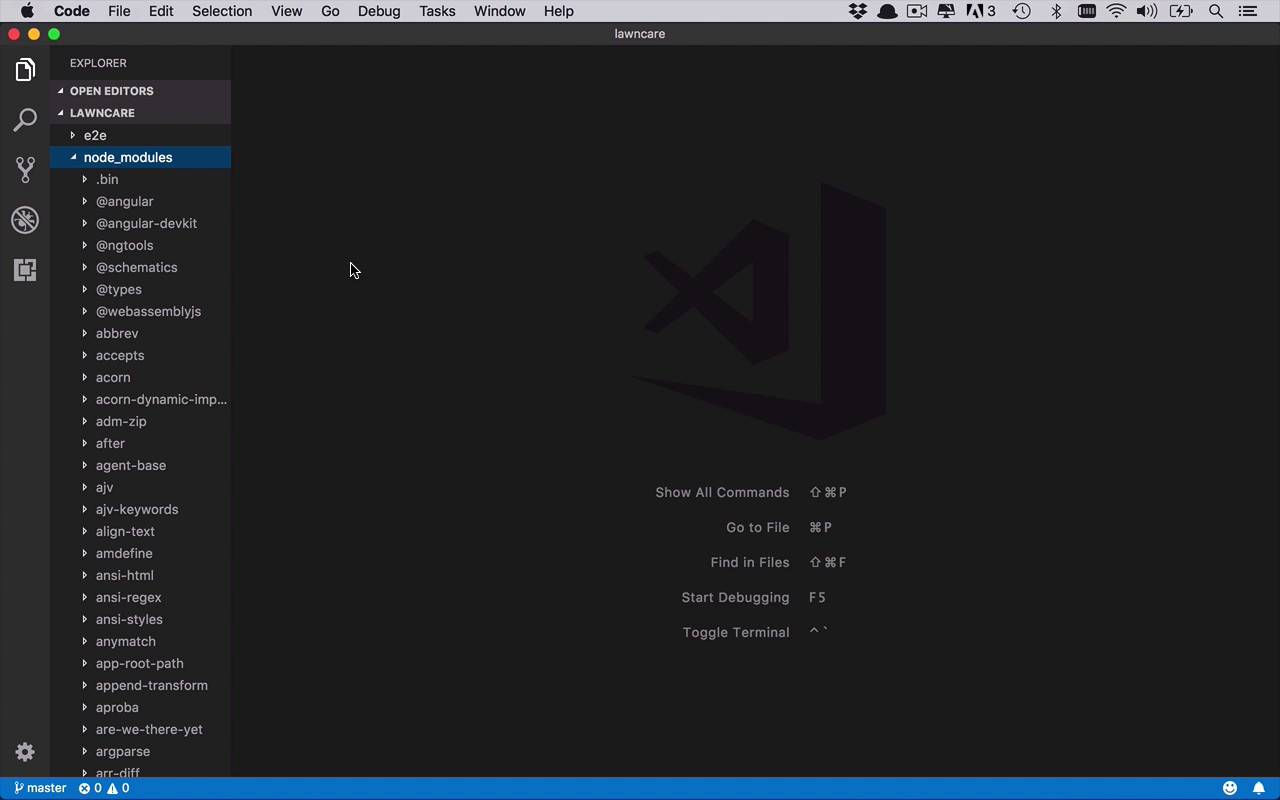
- Overview
- Transcript
2.1 Creating the App Structure
The first step is simply to build the basic app structure. As in most things, organization will set you free. And since you'll be working with several layers of a web app in one workspace, having some organization and direction will be very helpful later on. So in this lesson, let's create our app structure using the powerful Angular command-line interface (CLI).
1.Introduction
1.1Introduction01:02
1.2Prerequisites06:19
2.Getting Started
2.1Creating the App Structure11:46
2.2Creating the Server-Side Entry Point10:14
2.3Starting the Angular and Express Apps08:48
3.Setting Up the Mongo Database
3.1Getting MongoDB Up and Running06:08
3.2Connecting to MongoDB06:47
3.3Creating the Database Schema07:49
3.4Creating a Simple Data Access Layer07:09
4.Creating an API With Express
4.1Handling Requests in Express09:57
4.2Taking Advantage of the Express Router05:52
4.3Adding the `GET` Handler to the API05:34
4.4Adding the `POST` Handler to the API03:18
4.5Adding the `PUT` Handler to the API02:17
4.6Adding the `DELETE` Handler to the API02:18
5.Building the Front-End Angular App
5.1Creating the Front-End Models06:57
5.2Creating an Angular Service07:31
5.3Making HTTP Requests From the Service08:33
5.4Setting Up the User Interface09:05
5.5Creating All the Components05:28
5.6Adding Routing to the App08:18
6.Creating the App Components
6.1Adding the View Lawn Markup05:55
6.2Adding the View Lawn Code06:51
6.3Adding the Add Lawn Markup04:34
6.4Adding the Add Lawn Code07:41
6.5Adding the Edit Lawn Markup03:06
6.6Adding the Edit Lawn Code04:11
6.7Adding the View Application Markup02:54
6.8Adding the View Application Code07:46
6.9Adding the Add Application Markup02:16
6.10Adding the Add Application Code04:49
6.11Adding the Edit Application Markup04:20
6.12Adding the Edit Application Code05:39
7.Conclusion
7.1Conclusion03:18
2.1 Creating the App Structure
So the first thing that we wanna do is we want to build out our application structure. Now, when it comes to full stack JavaScript applications because everything's kind of self contained, there are two basic thought processes when it comes to creating this structure. You can do it all by hand which is perfectly viable. And you can create the folder structure by hand and add in all of the kind of basic infrastructure files that get things up and running, and you can absolutely do that. Or you can use some sort of tooling, a CLI typically, a Command Line Interface that can do it for you. In this course, I'm gonna take advantage of a CLI. Now, there's a couple different ones you can use. You can actually download a mean Command Line Interface from min.IO. But I'm actually gonna be using the Angular Command Line Interface or the Angular CLI in this course. Because we're gonna be using Angular, and it creates a very nice structure for you with a lot of the things that we're going to take advantage to get the application up and running. And then all we have to do is really augment it just a little bit to be able to inject the server-side JavaScript that we're gonna need for Express. So let's go ahead and start by creating a very basic structure, but before we wanna do that, we need to make sure we have all the necessary toolings. Now because you've already downloaded and installed Node, you should already have npm. But if you already have it and you maybe haven't used it in awhile, it's always a good idea to update whatever version you have. So in order to do that, you're gonna open up a command line prompt or a terminal here like I've got, and you're simply gonna run a command. You're gonna run npm install-g which means global npm. So the cool thing about npm is you can actually install it and update it with itself. So if you simply run this command, it's actually going to go out and it's going to download the latest version of NPM and install it for you using NPM, so that's pretty cool. So it only should take a few moments til it goes out and realizes whether or not you have the latest version or not. And then it will go ahead and install whatever the latest version is. So that's pretty cool. So now we have now NPM updated to the latest version. The next thing that I wanna do is I want to download and install the Angular CLI. And like I said before, that's what I'm gonna use to build out the basic structure here. Now if you already have Angular installed or you already have the Angular CLI installed, once again, it's gonna be a good idea to update it to the latest version. Now every time I create an Angular application or a mean application, or node, or whatever, I always run these two commands. I always update NPM, and I always update Angular CLI. It's just a habit I've gotten into cuz I wanna make sure I have all the latest and greatest, and the most recent bits, so that I can build a very quality application with the latest versions of the tooling that are out there. So I'm gonna run NPM install -g and then I'm gonna specify @angular/CLI. So once again, this is gonna go through the same process, it's gonna go out and pull down all the latest bits of Angular's CLI, and it's going to update whatever is necessary. So as you see right now, I was updating one package, so that worked out pretty well. So I'm currently running the Angular CLI 6.0.5, all right? So now we can go ahead and clear this out. So now, we've downloaded the basic things that we need to go ahead and build out this structure. So I'm gonna be building out this application on my desktop. As you can see right here, I'm relative to my desktop. And so, now I wanna use the Angular CLI to create the structure of my application. So the way that we do that is we say ng which is the kinda entry point to the Angular CLI. I wanna create a new application, and now I wanna give it a name. In this case, you can call it just about anything you want, but we're gonna be building out this kind of lawn care maintenance application since that's kinda what the newest thing that I'm into around the house. I like to track the different things that I'm putting in my lawn, the different fertilizers and all these kind of stuff. So I wanna build out this application to help me track that. So we're just gonna call this lawn care but you can call it anything you want. So what this is gonna do is it's going to create a basic folder structure as you see right here, created this lawn care folder. And then, within there, it's going to create the entire structure of an Angular application that's gonna have everything in it that we need and you can see all the files that it's creating in there. And as you can see, a lot of them have the .ts extension on the end which means that they are typescript files. Because the latest versions of Angular into five and actually six now has been released, so you can get access to that and create Angular six applications. All of that is by default running using typescript. So once again, you're gonna need to know about Typescript. So we now have all of this downloaded and installed and we've got the basic structure here. So let's go ahead and take a look at it. So the way that we're gonna do that is we're gonna do that using codes. So I can simply go into my lawn care directory and I can say code. And then I can use the relative path of this current directory using the period and it's gonna go ahead and open up my application in Visual Studio code. So now let's take a look at what we have going on here. So we have a couple of folders and a few files in here. So we have e2e which is basically going to stand for end to end testing. So you can kind of create tests that go all the way from the front end to the back end and you can create those in this e2e folder which we're not gonna spend too much time worrying about in this course, but you could definitely do that if you wanted to. Node modules, now this is where when you downloaded and installed NPM and you start to integrate third party libraries into our application which we're gonna do in the next lesson. This is where all of those files and libraries and dependencies live. So all those are gonna show up in the node_modules. So once again, we're really not gonna need to care about this too much, it's kinda managed on its own. So it just pays to know that it's there. Now we have this src folder which is a source folder. And this is where your Angular application is going to live. This is where you're gonna find all the files that are gonna run it, your CSS files, basic test files for unit testing. And then within app, this is where your actual Angular code is going to be living. So this is where you're gonna see things like your components, your services, and things like that. We're gonna get into building out those in upcoming lessons. So we're gonna spend a lot of time in here. Assets, this is where you would typically find things like images and maybe additional style sheets and things like that. So it's kind of a traditional assets folder, that's where you would put all of those extra files. Environments, this is where you can define different types of environments. So this is where you would create kind of your configuration files to specify what type of configurations and things you want to do in different environments. So I can create separate files to define what I want everything to look like in my prod situation or in my pre-prod, maybe a test, or a stage, or a QA environment, or something, or whatever have you. You can create different environments for each one of those. We're not gonna spend a lot of time in here. We're typically gonna be developing this kind of in a debug mode, maybe in a test mode. So we're gonna do a lot of logging and things that you probably wouldn't wanna do in production. But we're not gonna worry about that too much and this is just a lot of the supporting cast as far as your Angular applications, we'll dig into some of these as we go along. Then down here, we have a couple other files in here that we're not gonna mess around with too much. The .editorconfig is kind of a nice way to be able to configure the way that your editor is working. This is kind of a cross-editor tool, it's pretty nifty. You're able to kind of define how you want your editor to work. And if you are using a text editor that supports editor config, you can create all of these different configurations for your text editor as far as spacing. Do you wanna use indents or spaces and things like that? And, you can actually take this editor config, if you're using it in Visual Studio Code and transfer it over to Atom or Notepad++ or other editor config compatible text editors. And it will read that and use it, and then you can just have that same experience and configuration in different text editors which is kind of a cool thing as well. Forget ignore, that's obviously going to be forget, it's going to ignore different types of files and locations for this particular application. We're not gonna worry about that too much. Angular.JSON this is gonna be a lot of configuration, things that are gonna happen for Angular. We're not gonna be in here either. The read me, obviously that's gonna be for GitHub as well so we get some default stuff in here. TS config that's gonna be the TypeScript configuration. So you can come in here and change some things if you want, we're not gonna touch this very much at all actually in this particular course. And then ts leads so you can have your configuration here for linting, so you can specify what are issues in the structure of your typed script. And have your text editor to pick those things up and give you all the red squigglys and all that kind of stuff. And then, finally, one of the last files here is the package.json. Now, in here, you're gonna see a number of different things. You're gonna have the dependencies that you're gonna have for your application. There's typically two sections here. We have the dependency section which is going to be your production level dependencies. These are the dependencies that need to get deployed with your application once you actually deploy it out to production or wherever. And then you have the dev dependencies which are only going to be local on your development machine. So it's kinda nice,it keeps things separated so you don't incorporate and bundle too many things, too many dependencies that aren't necessary for your application to run out to your different deployment environments, test UA stage production, whatever have you. So that's kind of a nice little feature. The other thing that we are gonna change a little bit as we go along in the process of creating this application and running it and testing it is the script section here. So this just kind of shows you the different scripts that are available out of the box with this particular Angular template. So you can run things like npm start, npm build, npm test, npm lint, npm e2e. And what that's going to do is it's gonna say okay if you run that particular script, then this is the command that I'm gonna run, I'm gonna run ng builder, ng server, things like that. And so, we're gonna augment this just a little bit based on some other tooling we're gonna install in a little while. So just so you can see, you can add to this and create whatever sort of scripts that you want. And then you can change the existing ones however you see fit. So that's the basic structure that you're gonna start with. Now once again, like I said before, you could create all of this on your own and you can create whatever sort of structure you want and then bring in Angular and put it wherever you want. And bring in all these other libraries and software and put them wherever you want. But it takes a lot of work to kind of cruft all of this up by hand. So if the tooling is there, why not use it? And that's the way we're gonna be creating this application today. All right, so now that we have the basics here, in the next couple of lessons, we're gonna start bringing in these third party libraries and augmenting our kind of basic structure here to fit better into the application we're going to be building throughout the rest of this course


