- Overview
- Transcript
6.9 Adding the Add Application Markup
This will be shown when the user clicks on the Add Application button in the View Application component. The component will display a simple modal dialog that will allow the user to create a new application and associate it with a lawn.
1.Introduction2 lessons, 07:21
1.1Introduction01:02
1.2Prerequisites06:19
2.Getting Started3 lessons, 30:48
2.1Creating the App Structure11:46
2.2Creating the Server-Side Entry Point10:14
2.3Starting the Angular and Express Apps08:48
3.Setting Up the Mongo Database4 lessons, 27:53
3.1Getting MongoDB Up and Running06:08
3.2Connecting to MongoDB06:47
3.3Creating the Database Schema07:49
3.4Creating a Simple Data Access Layer07:09
4.Creating an API With Express6 lessons, 29:16
4.1Handling Requests in Express09:57
4.2Taking Advantage of the Express Router05:52
4.3Adding the `GET` Handler to the API05:34
4.4Adding the `POST` Handler to the API03:18
4.5Adding the `PUT` Handler to the API02:17
4.6Adding the `DELETE` Handler to the API02:18
5.Building the Front-End Angular App6 lessons, 45:52
5.1Creating the Front-End Models06:57
5.2Creating an Angular Service07:31
5.3Making HTTP Requests From the Service08:33
5.4Setting Up the User Interface09:05
5.5Creating All the Components05:28
5.6Adding Routing to the App08:18
6.Creating the App Components12 lessons, 1:00:02
6.1Adding the View Lawn Markup05:55
6.2Adding the View Lawn Code06:51
6.3Adding the Add Lawn Markup04:34
6.4Adding the Add Lawn Code07:41
6.5Adding the Edit Lawn Markup03:06
6.6Adding the Edit Lawn Code04:11
6.7Adding the View Application Markup02:54
6.8Adding the View Application Code07:46
6.9Adding the Add Application Markup02:16
6.10Adding the Add Application Code04:49
6.11Adding the Edit Application Markup04:20
6.12Adding the Edit Application Code05:39
7.Conclusion1 lesson, 03:18
7.1Conclusion03:18
6.9 Adding the Add Application Markup
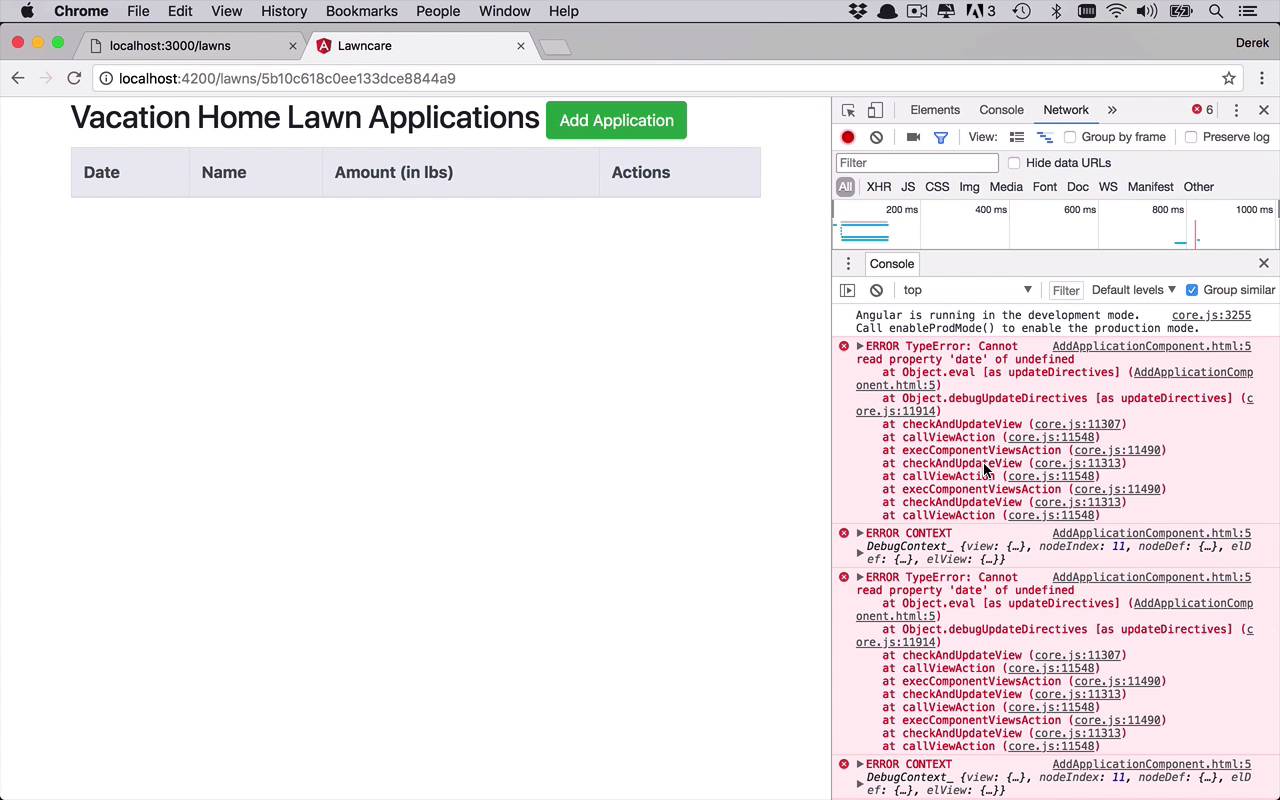
Now it's time for us to be able to add an application to the lawn. So the first thing that we're gonna do is we're going to uncomment our add modal here, so we can at least see the modal, and save this. So once again, once we go in here and we go and check out an application, we click Add. We're gonna see this guy pop up, just like we have seen before for the lawns. So now, we can go into the code to add an application and go ahead and drop some code in here. Once again, this is gonna be a fairly simplistic form. We're gonna have a couple pieces of data here once again. We're going to have the date, name, and amount for the new application. We're gonna have a submit button at the bottom and then that is going to trigger this onSubmit function. So once again, not a whole lot of new things, we've kind of seen most of this before. So what we're gonna wanna do now is we're going to want to make sure that we can see this properly. So let's go ahead and open up our application. Once again, we're gonna have the same problems, because we're trying to read properties of an undefined object since we haven't put that in there yet. But if I click on Add Application, then we're now gonna see that we can see in our modal what we will actually have to input to get an application into the lawn. And one other thing that's kinda nice too, is that we can have these nice little inputs based on dates. So once again, before we've only been dealing with the text input types, but you can use anything you want. In this case, we're gonna use dates. Now, this will introduce a bit of a little gotcha that we'll talk about in the next lesson, and how we're gonna handle, or in an upcoming lesson on how we're gonna handle the binding going from an existing application into this modal when we try to edit it. But we'll get to that when we get there. So we'll be able to select dates like this and enter in whatever sort of Fertilizer we want to and how much we put in there, maybe 20 pounds. And then we'll go ahead and hit Save. And then we'll persist it to that one. So now that we're able to create this modal, let's go ahead and create the code behind it so we can actually assign some applications to a lawn.


