
 Lessons: 34Length: 3.4 hours
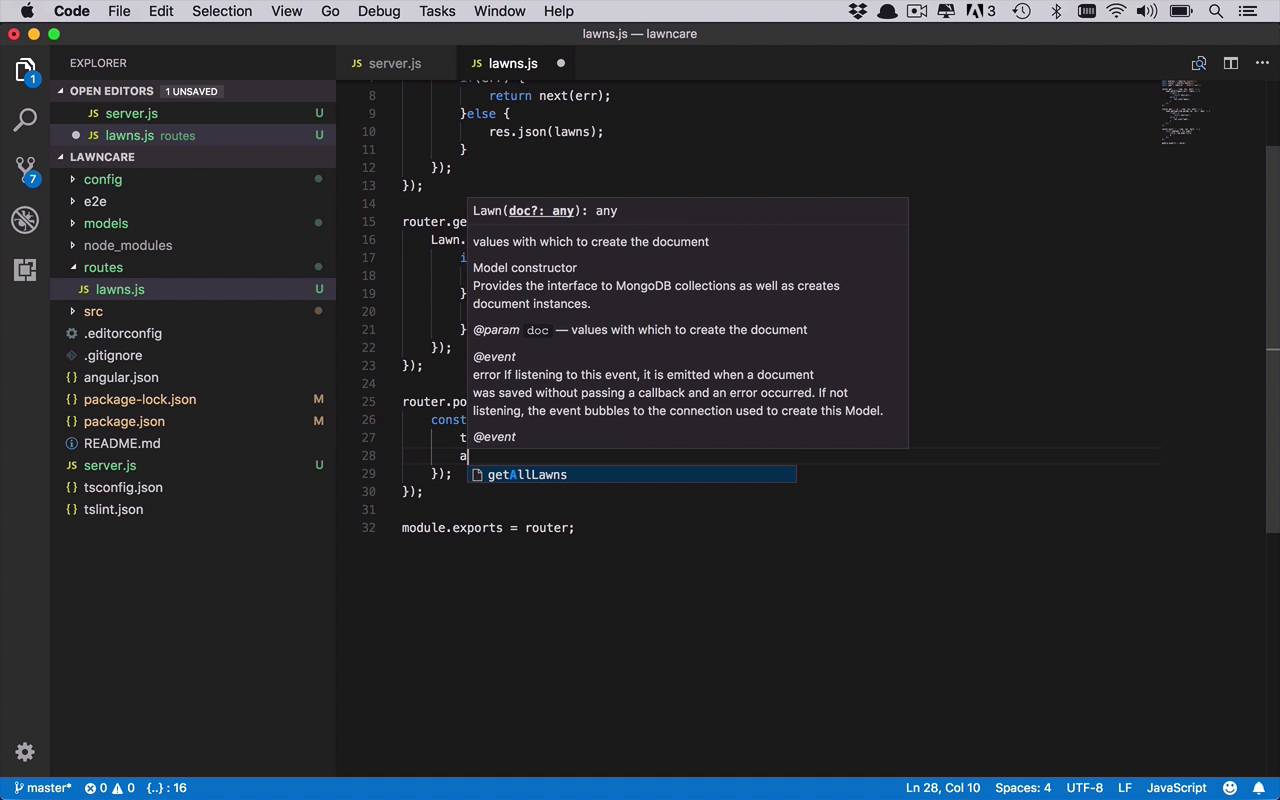

- Overview
- Transcript
4.4 Adding the `POST` Handler to the API
Getting data from an API is only one small piece of the puzzle. You'll also need to create new objects in the app via the database. In the world of APIs, this is handled via a POST request. That is what you're going to create in this lesson.
1.Introduction
1.1Introduction01:02
1.2Prerequisites06:19
2.Getting Started
2.1Creating the App Structure11:46
2.2Creating the Server-Side Entry Point10:14
2.3Starting the Angular and Express Apps08:48
3.Setting Up the Mongo Database
3.1Getting MongoDB Up and Running06:08
3.2Connecting to MongoDB06:47
3.3Creating the Database Schema07:49
3.4Creating a Simple Data Access Layer07:09
4.Creating an API With Express
4.1Handling Requests in Express09:57
4.2Taking Advantage of the Express Router05:52
4.3Adding the `GET` Handler to the API05:34
4.4Adding the `POST` Handler to the API03:18
4.5Adding the `PUT` Handler to the API02:17
4.6Adding the `DELETE` Handler to the API02:18
5.Building the Front-End Angular App
5.1Creating the Front-End Models06:57
5.2Creating an Angular Service07:31
5.3Making HTTP Requests From the Service08:33
5.4Setting Up the User Interface09:05
5.5Creating All the Components05:28
5.6Adding Routing to the App08:18
6.Creating the App Components
6.1Adding the View Lawn Markup05:55
6.2Adding the View Lawn Code06:51
6.3Adding the Add Lawn Markup04:34
6.4Adding the Add Lawn Code07:41
6.5Adding the Edit Lawn Markup03:06
6.6Adding the Edit Lawn Code04:11
6.7Adding the View Application Markup02:54
6.8Adding the View Application Code07:46
6.9Adding the Add Application Markup02:16
6.10Adding the Add Application Code04:49
6.11Adding the Edit Application Markup04:20
6.12Adding the Edit Application Code05:39
7.Conclusion
7.1Conclusion03:18
4.4 Adding the `POST` Handler to the API
Now we're gonna switch gears and move to the post action within our routes. And in this case we wanna use post when we're gonna be creating a new lawn in our systems. So let's go ahead and take a look at that one. Now, this one's gonna be a little bit different because we're gonna be dealing with the body of a request this time. So let's see what that's gonna look like. So we're gonna start once again with our router. And we're gonna handle a post request this time. And typically when you're adding a new object to a collection you're gonna be executing a post and you're gonna be doing it at the route. So at the same one, at the same path anyway that you are issuing a get to get everything is the same one that you're gonna be using when you're trying to create a new version. Now, it doesn't have to be that way, but that's pretty typical of APIs. So we're gonna have our request, our response, and next, just like we've done before, and the body now. So in this case we need to take the information that's being passed in the request in the body and create a new instance of a lawn, and then pass it into our data access layer and use our add lawn function that we created in a previous lesson. So let's go ahead and see how we can do this. So let's create a const. This is gonna be our new lawn. And we're just gonna create an instance, a new instance of a lawn. Now, to do this we're gonna need to pass in the object with all the properties filled in. So we're gonna need a title. And the title is gonna be in the request.body.titles. So this is how we're expecting this data to be coming across from whatever source it may be coming from. We're also gonna need an address. So we'll have the address, which is gonna be coming in from the request.body.address. And then, finally, we're gonna be dealing with the size, which is gonna be, once again, coming from the request.body.size. Now, at this point we're going to assume that the UI or the API, or wherever it is this data's coming from, doesn't really have any applications associated with it yet. So we're not gonna add that in here, it's just gonna kind of be empty when you first create this new lawn. So now that you have this new lawn object, we wanna use our data access function. So we're gonna have our lawn.addlawn, and then let's go ahead and pass in that new lawn, that new instance of a lawn object. And then we're gonna have our callbacks. So we're gonna have the error if something goes wrong. And then we'll have our instance, our new, fully populated instance of our lawn, that's not only fully populated with what we passed in. But it's also going to have that unique identifier that the consumer of our API or our front end can use to do other operations later on, like updates and deletes. So then we'll go ahead and do our normal processing here, if(err), then we'll go ahead and return next(err). And if not, if there is no error, then we'll simply do response.json(newlawn). So now that we have all of this taken care of, we can go ahead and save this and we're done with our post. We can now create new instances of lawns in our API. Now we can move on to the updates.


