
 Lessons: 14Length: 1.3 hours
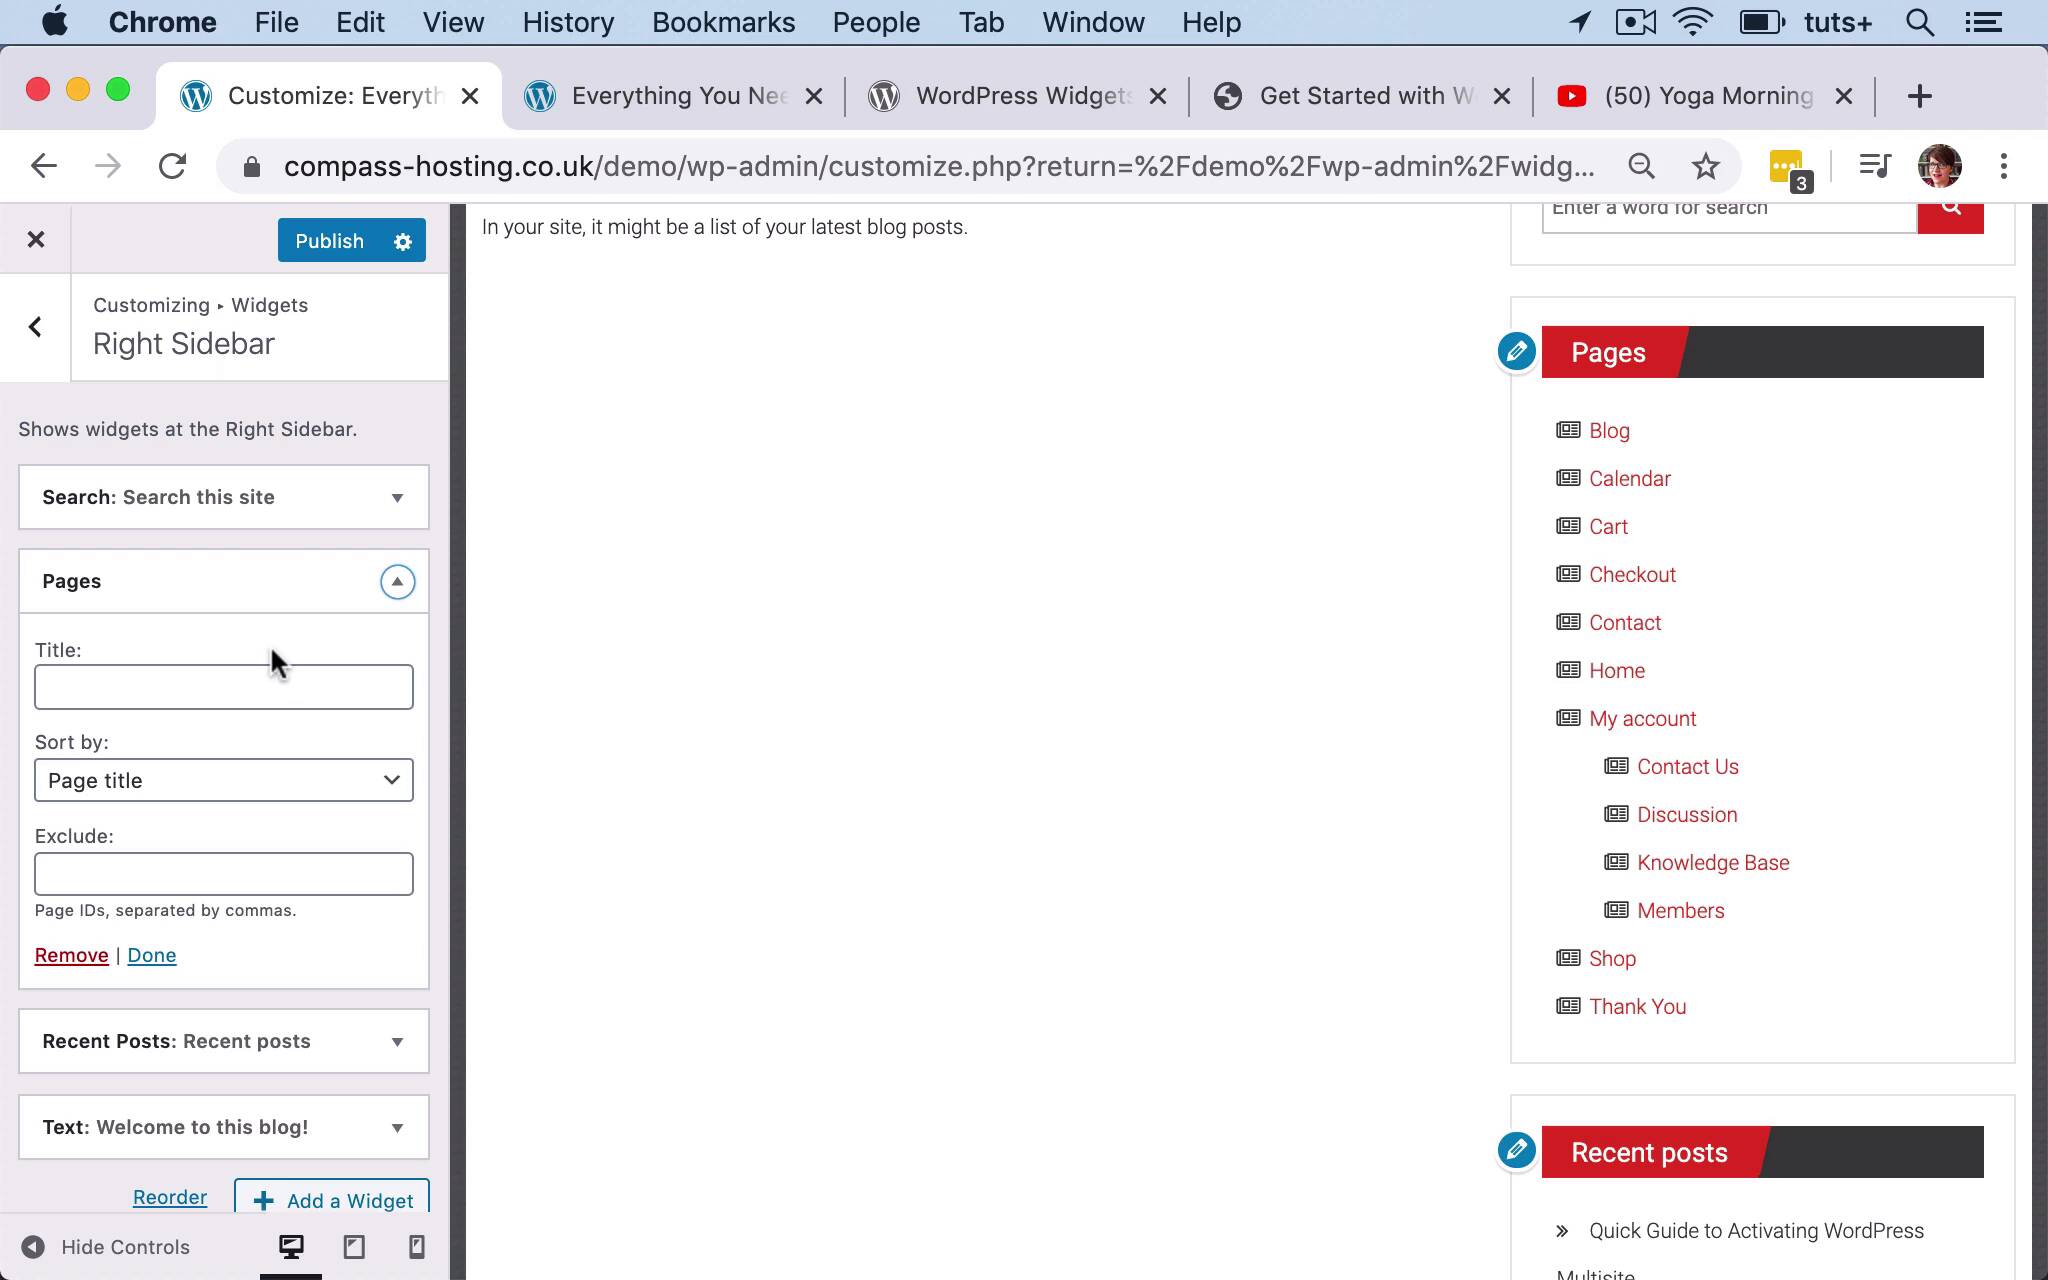
- Overview
- Transcript
3.2 Adding Widgets via the Customizer
In this lesson, you'll learn how to use the Customizer to preview widgets as you add them.
Related Links
1.Introduction
1.1Introduction00:53
2.Understanding WordPress Widgets
2.1What Is a Widget?06:54
2.2Examples of Widgets13:05
3.Adding Widgets to Your WordPress Site
3.1Adding Widgets via the Widgets Screen03:38
3.2Adding Widgets via the Customizer05:59
3.3Adding Extra Widgets via Plugins07:43
3.4Adding Widgets to Posts and Pages05:11
4.Widget Areas
4.1Understanding Widget Areas05:50
4.2Add a Widget Area to Your Theme: Registering the Widget Area07:03
4.3Add a Widget Area to Your Theme: The Theme Template Files07:13
5.Coding Your Own Widget
5.1The Widgets API03:36
5.2Coding a Call-to-Action (CTA) Widget06:52
5.3Coding a Query Widget03:54
6.Conclusion
6.1Conclusion02:34
3.2 Adding Widgets via the Customizer
Hello, and welcome back to this Tuts+ course on WordPress widgets. In this part of the course, I'm gonna move away from this widget screen and into the customizer and show you how to add and manage widgets using the customizer. So to access the customizer from the back end of your site from the admin screens, you click on Customize in the appearance menu. To access the customizer from the front end, you click on Customize up here in the Admin bar. So here we are in the Customizer showing the front page of our site. So you can see all of the widget areas that have already been added to my site, either in the side bar here and the footer down here as well. So to access widgets, we click on surprise, surprise, Widgets in the Customizer. And you can see that we have all of these widget areas listed in our menu. Now there's a note up here that the theme has three other widget areas but aren't displayed on this page. So if I do go to pages where those widget areas are relevant, they'll be shown in this menu here. So let's take a look at Footer Sidebar Two, there's nothing there at the moment. My Footer Sidebar One, I've got a Navigation menu. But in Footer Sidebar Two, I've got nothing. So I'm gonna add a YouTube widget again. So I'll click here on Add a Widget. And I can either scroll down through all my widgets, which you'll see are the exact same widgets that I had available to me in the widget screen. Or I can start to search, so Video, I'm gonna Add Video, so this, you can see, is exactly the same. So I'm gonna paste in the link to another yoga video, click on Add to Widget. And then, because we're in the Customizer, you can see the changes that you've made. So the great thing about working with widgets in the customizer is you can see what you're doing as you work. So here we can see my yoga video, and there's no heading at the moment, so let's add Yoga. And now I've got a heading which I think looks a lot better because it lines it up with the navigation menu next to it. Now, this navigation menu title, I don't particularly like. Let's give it something more meaningful. So I've got two ways of editing that, I can either go back through this Customizer menu here or even easier, I can just click on that pencil. And it takes me straight to the editing pane for this particular widget. So I'll add Popular, and as you can see, so you see it's even as I edit, it's showing up the changes as I make them. So let's remove this widget, the Pages widget, which I added in an earlier part of the course. And again, I've clicked on the pencil, it's taken me to the editing pane for the right sidebar, which is the widget area that this is in. And I'll simply click on Remove and that's removed. Now, I do have the option of moving that to the unused widgets area that I used in the previous part of the course. But I can't do that in the customizer. So if you wanted to do that you would have to go into the widget screen to do so. But in this case, I don't want that pages menu at all. So I've just removed it. So that's how you add a widget to a widget area in the customizer, and how you edit existing ones. You could also move them around, so you can see that recent posts and search sites have moved and then move Welcome to this blog! So you can move from here, you can click on Reorder. And you can also move in between widget areas. So let's say I want to add the Recent posts widget to my third footer widget area. So to do that, I click on the Reorder link here. And then I click on this little icon, the move icon against recent posts and it gives me a list of the other widget areas. So I'll do Footer Sidebar Three, select that, click Move. And then there it is, down in my footer. So it's come out of my sidebar and it's moved into my footer. And the customizer has taken me to the editing pane for that particular widget area, Footer Sidebar Three. So you can see there that I can not only edit my widgets and add them, I can also move them around within widget areas or between widget areas. And I can see what I'm doing as I go along. Now it's very important to note that the changes you make to your widget areas or to anything else here in the Customizer are not saved to your live site. The point of the Customizer is to give you somewhere to play with your site to experiment and to see what works without your visitors being able to see the changes that you're making, just in case you make a mistake or you mess things up or it just doesn't look right. So if you've decided once you've done this that you want to save those changes, unlike in the widget screen where your changes are automatically saved. You may remember I've been adding widgets and then going straight into the live site. Here you have to click Publish. So once you're happy with your changes to your widget areas, make sure you click Publish, that button will then change to Published. And then when I refresh the live site, you can see here's my recent posts widget, and just the two widgets in the sidebar widget area here. So that's how you use the Customizer to edit the widgets and the widget areas in your site. In the next part of the course, I'm gonna show you how to install a plugin to add extra widgets to your site. See you next time and thanks for watching.


