
 Lessons: 16Length: 2 hours
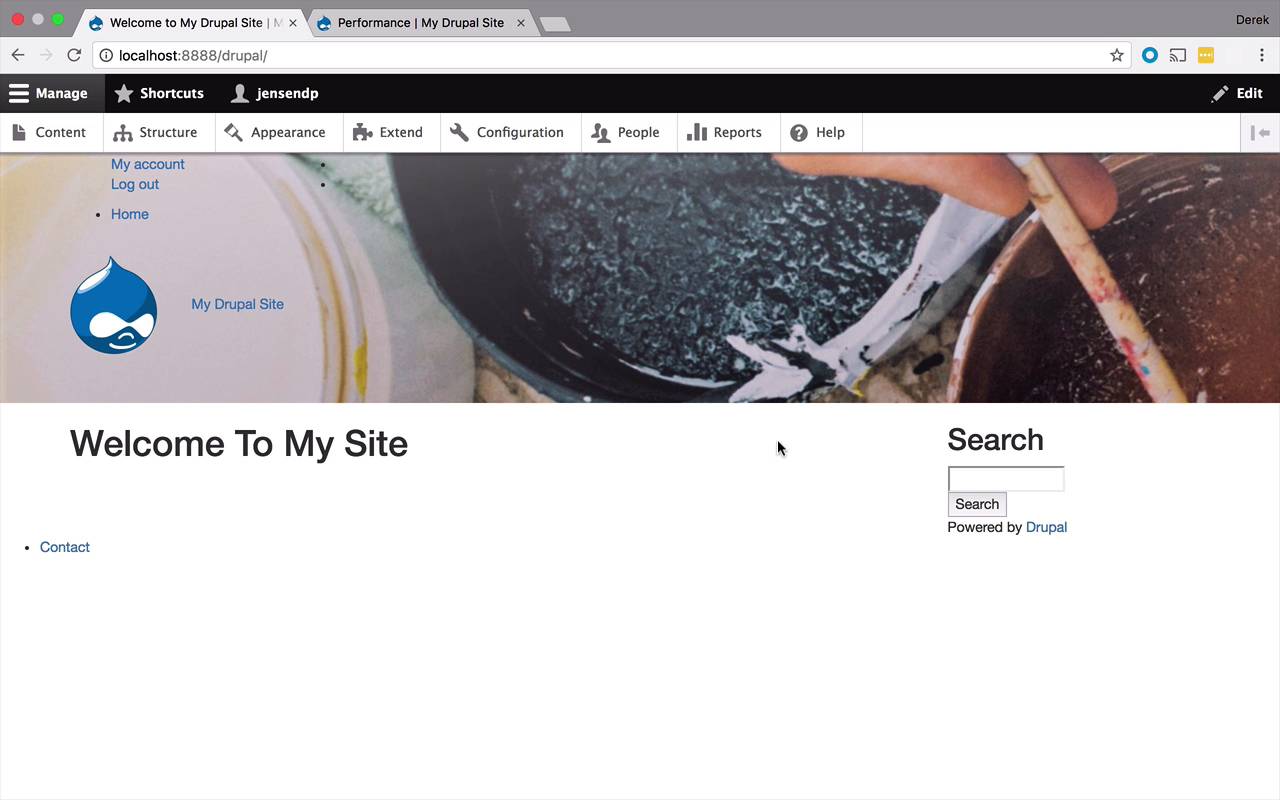

- Overview
- Transcript
2.10 Style the Navigation
In the previous lesson, we were able to give our header some style, but the navigation still looks a little rough. In this lesson, we're going to create a new region to contain our navigation blocks and style them to make them fit our design.
1.Introduction
1.1Introduction01:07
1.2Prerequisites07:24
2.Building a Custom Theme
2.1What Are Themes?07:29
2.2Create Your First Theme06:55
2.3Regions, Blocks, and Debugging10:59
2.4Introduction to TWIG14:00
2.5Add Custom CSS05:47
2.6Add External Libraries07:35
2.7Add Basic Styles08:16
2.8Create a Main Page05:57
2.9Style the Header14:13
2.10Style the Navigation06:46
2.11Using Partials05:02
2.12More Partials and Content07:23
2.13Adding Styles to Views07:25
3.Conclusion
3.1Goodbye01:12
2.10 Style the Navigation
The next part of the header that I want to play around with a little bit is the navigation. Right now we have a couple different things showing up in here within the navigation. We have like our main site navigation. That's where you see Home. We kinda have this weird floating dot out here, so we need to fix this definitely. We also have our user menu in here too. Where you can login, logout. So basically what I wanna do is I want to combine these things a little bit. And then I wanna push them off to the right over here. So I wanna have a link for all of my content pages that I create or that other people create within my theme. And then I wanna have the user actions off to the right for my account. Logout, login, those types of things. So basically what I wanna do here, I wanna create a mechanism where I have these in a place where they are easily accessible where I can apply classes to them, and preferably boothstrap classes to them. So they can look and feel the way I want them to. So the way that we're gonna do that is I want to be to come into my blog header, and I like to specify or get a hold of that navigation specifically. I don't wanna have to deal with it within the header, I just want the navigation. So the easiest way to do that is to go into your definition of your theme and just create a new region. So in this case, I'm just gonna call it navigation. You could call it anything you want, main navigation, site navigation, something like that, that's fine. And the human readable version here is gonna be navigation just like that. So, let's do save there, and then we'll come back over to our site, let's clear the cache and then when we come back to our site, we can now go into the structure. And black layout and at the very bottom now, we should be using navigation which we do. So now, what I wanna do is I'm gonna grab Main navigation out of my header and I'm gonna bring that down in the Navigation. And then, I'm also going to grab the User account menu. And I'm gonna bring that down and I am going to stick that above my Main navigation. So let's Save those blocks. Now, if I were to come back to my site everything is gonna disappear. And the reason for that is because I've created a new region, and I've put blocks within that region, but I haven't actually specified in my templates any sort of reference to that navigation yet. So that's what we have to do next. So in order to do that, I'm gonna come to my front page, and what I wanna do is I want this to line up the same way as my header does with the container. So I want everything within my navigation to be kind of indented a little bit, so that's what I'm gonna do now. So within my container, I'm gonna create a new div, and I'm going to apply the class to this of navbar. So one of the nice things about Bootstrap is it has some very nice features when it comes to navigation. So I'm gonna include that within my styling here. So I wanna use some of that Bootstrap navigation. So the next thing that I wanna do is within here, I'm gonna say page.navigation just like that. So now, if I were to save this, come back to my site, refresh, we should now see everything popping back up together again. But, problem here is once again everything is kind of strangely formatted. So what I wanna do is I wanna combine these, I want them to be horizontal and I wanna push them over to the right over here. Well, once again Bootstrap is gonna be your friend when it comes to this. So the way you get access to the main navigation or to the navigation is by once again using a base theme. So we're gonna go into themes, table, templates. And this time it's going to be in navigation. And the menu.html.twig file is the one that it's using for this. So I've already copied that and pasted it down into my theme. So you can see that right here. So this is what the file looks like. And all you see in here really is you have an unordered list and you also have the definition of some list items. And you can see in here that you have the ability to specify attributes, and so on and so forth, through the UI. But what I wanna do in here, is I'm simply going to create a class in here, and I'm gonna specify a class for the unordered list. This is going to be nav navbar-nav, and like I said, I wanna push it over to the right, so we're gonna say navbar- right. Go back over to our site. Let's refresh and, that's not gonna do it. Let's go ahead and clear our cache. We'll come back over to our site and refresh. And now everything has been pushed over to the right. So that's a little bit better. But the next thing that I'd like to do is, it's a little bit difficult to read. So I just wanna give some stylings. I wanna make it wide just to make it pop out just a little bit more. So let's go back over here to our style.css right here. And then we can come in here and just add some quick styles. So I'm going to say for my nav bar, for the list items, and the attributes within I wanna remove any sort of text decoration, and I wanna make the color white. So pretty simple stuff. So let's go ahead and Save that. Let's go ahead and Clear our cache, come back to our site. Let's go ahead and refresh, and now they should pop out as white. So that's definitely looking a little bit better. So you could change the text of your My Drupal Site to be white too to match, or whatever have you. But either way, that's looking a little bit better. You're gonna notice that down here because we kinda made some global changes to the navbar stuff that the menu has been changed to be over here. So that could cause a problem, but actually, in the next couple of lessons, we're actually gonna remove this and do something different with the footer. Which you will see momentarily. But for now, I think we're doing pretty good. One thing, one problem that we have introduced to this point, is if we go to page.front, and we've been doing a lot of work here on the header. But you'll notice, if I come back in here and I were to go in here and let's say, add a page node. And just give this some text, like this. And if I were to save and publish at this point everything is a little strange here now, we have a little bit of the same formatting, we have the same image, but things aren't styled the same, we don't have our menu. So things have kinda gotten out of whack, because what we've done so far is we have been doing all of this work on our page front.html.twig. So that's that main page of our site. And we've kinda left page.html.twig alone. That's still kind of has our old legacy header here. Now what we could do to fix that is grab this code, copy it, paste it, and dump it over here. But then you're gonna have to do that for every single page. And I'm gonna show you a better way to handle that in the next lesson.


