
 Lessons: 16Length: 1.1 hours
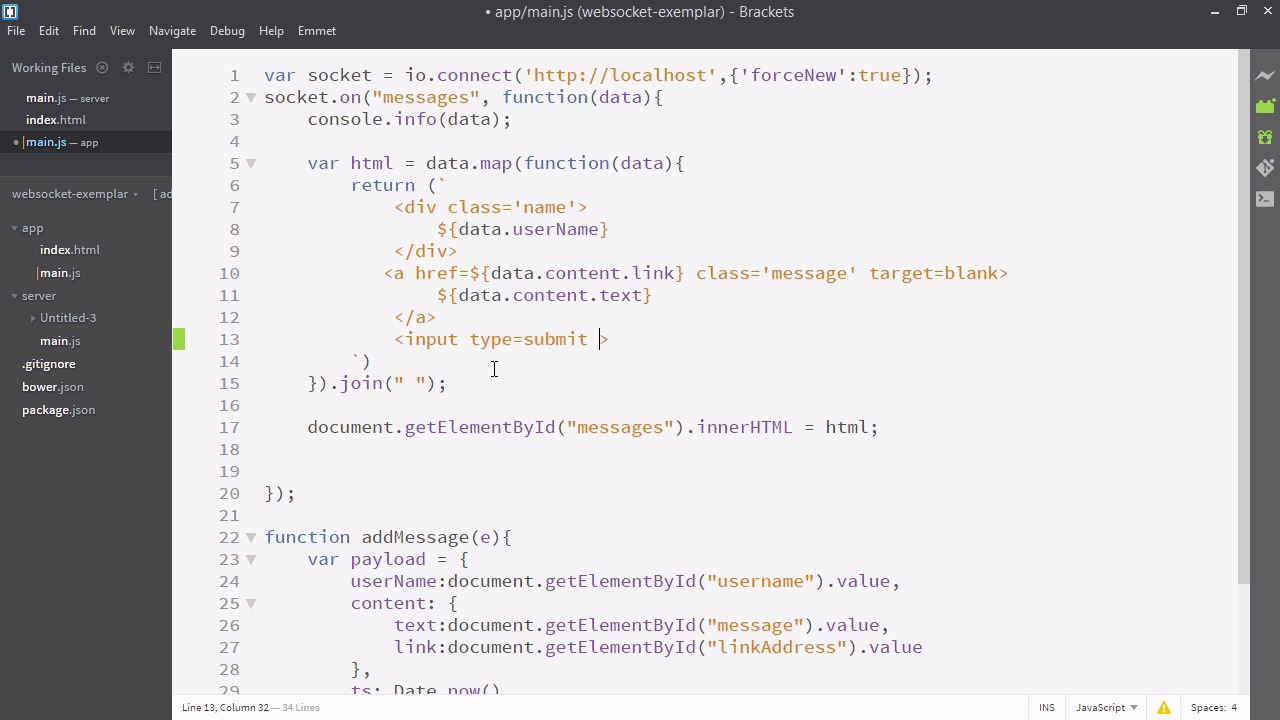

- Overview
- Transcript
3.4 Displaying Likes
In this lesson, we’ll add a button which displays the number of times a message has been liked.
Related Links
1.Introducing WebSockets and Socket.IO
1.1Introduction01:23
1.2What Are WebSockets?04:43
2.Scaffolding a Socket.IO Application
2.1Installing Node.js and App Dependencies02:59
2.2Creating an Express Server04:35
2.3Adding WebSockets to the Back-End03:00
2.4Connecting the Front-End Application to Socket.IO04:47
3.Building the Front-End Application
3.1Receiving Socket.IO Events03:20
3.2Displaying Messages06:22
3.3Creating Messages and Updating Collections07:50
3.4Displaying Likes02:31
3.5Providing Users With Unique Ids03:41
3.6Updating Like Counts05:03
3.7Propagating Like Counts to Connected Users04:12
4.Completing the Application
4.1Adding Moment.js04:13
4.2Adding Styles03:09
5.Conclusion
5.1Conclusion05:52
3.4 Displaying Likes
Welcome back. In the previous video we added the ability to add items to our collection of messages from our Front-End. Using just this part of WebSockets you can already make a full app. In the following videos we'll just be looking at some JavaScript strategies to better work with WebSockets. Specifically what to do if multiple users are signed on and want to interact with your collection at the same time. So what we're going to do is we're going to add the ability to like these posts that have been added to the message board. So let's navigate over to our text editor. So here I am in main.js in the app folder. The first thing we're going to want to do is update our Generated HTML for each piece of data so that it displays the number of likes as well as a button to like that particular message. Here within this template string let's add an input field. And we'll give it a type of submit And we'll give it a class of likes count, for styling. And we'll give it a value, and for this value, we'll use a template. So whatever we put inside these curly brackets will be interpreted as JavaScript. And we'll say data.likedBy, cuz you remember it had that field, and the length of that array, so it'll count the number of people who like it. And we'll just put that inside quotes. And after our template we'll just have a word for likes, like likes, or hearts, or enjoys. You can choose your own word. For this one, I'm going to go with likes. And one more thing, let's go ahead and add liked by to our pay low that we made on the bottom. And that can be an empty array for the most part. So let's restart our application in the terminal and see what happens. Okay, so you can now see that the number of likes displays next to each message. Clicking it doesn't do anything because we need to add that functionality. We'll do so in the next upcoming videos.


