

- Overview
- Transcript
4.3 Validating User Input
Never trust user input! That is a fundamental rule of any kind of client-server application, and it holds doubly true on the web. Learn how to validate user input in this lesson.
Related Links
1.Introduction
1.1Introduction01:53
1.2Set Up Your Environment05:37
2.Basic Routing
2.1Routing Requests07:07
2.2Working With Query Data09:37
2.3Route URL Parameters07:24
2.4Routing to Controllers08:22
2.5Creating a View08:10
3.The Blade Templating Engine
3.1Introducing Layouts08:15
3.2Working With Static Resources05:03
3.3Generating URLs for Routes03:26
3.4Organizing Views09:41
3.5Using Blade Directives07:37
3.6Showing and Linking Data07:31
3.7Setting Up the Database03:57
4.Working With Data
4.1Creating Migrations and Models10:08
4.2Saving Database Records08:57
4.3Validating User Input07:38
4.4Updating Data07:04
4.5Using Type Hints and Request Classes08:50
4.6Using Mass Assignment06:08
5.Conclusion
5.1Conclusion01:03
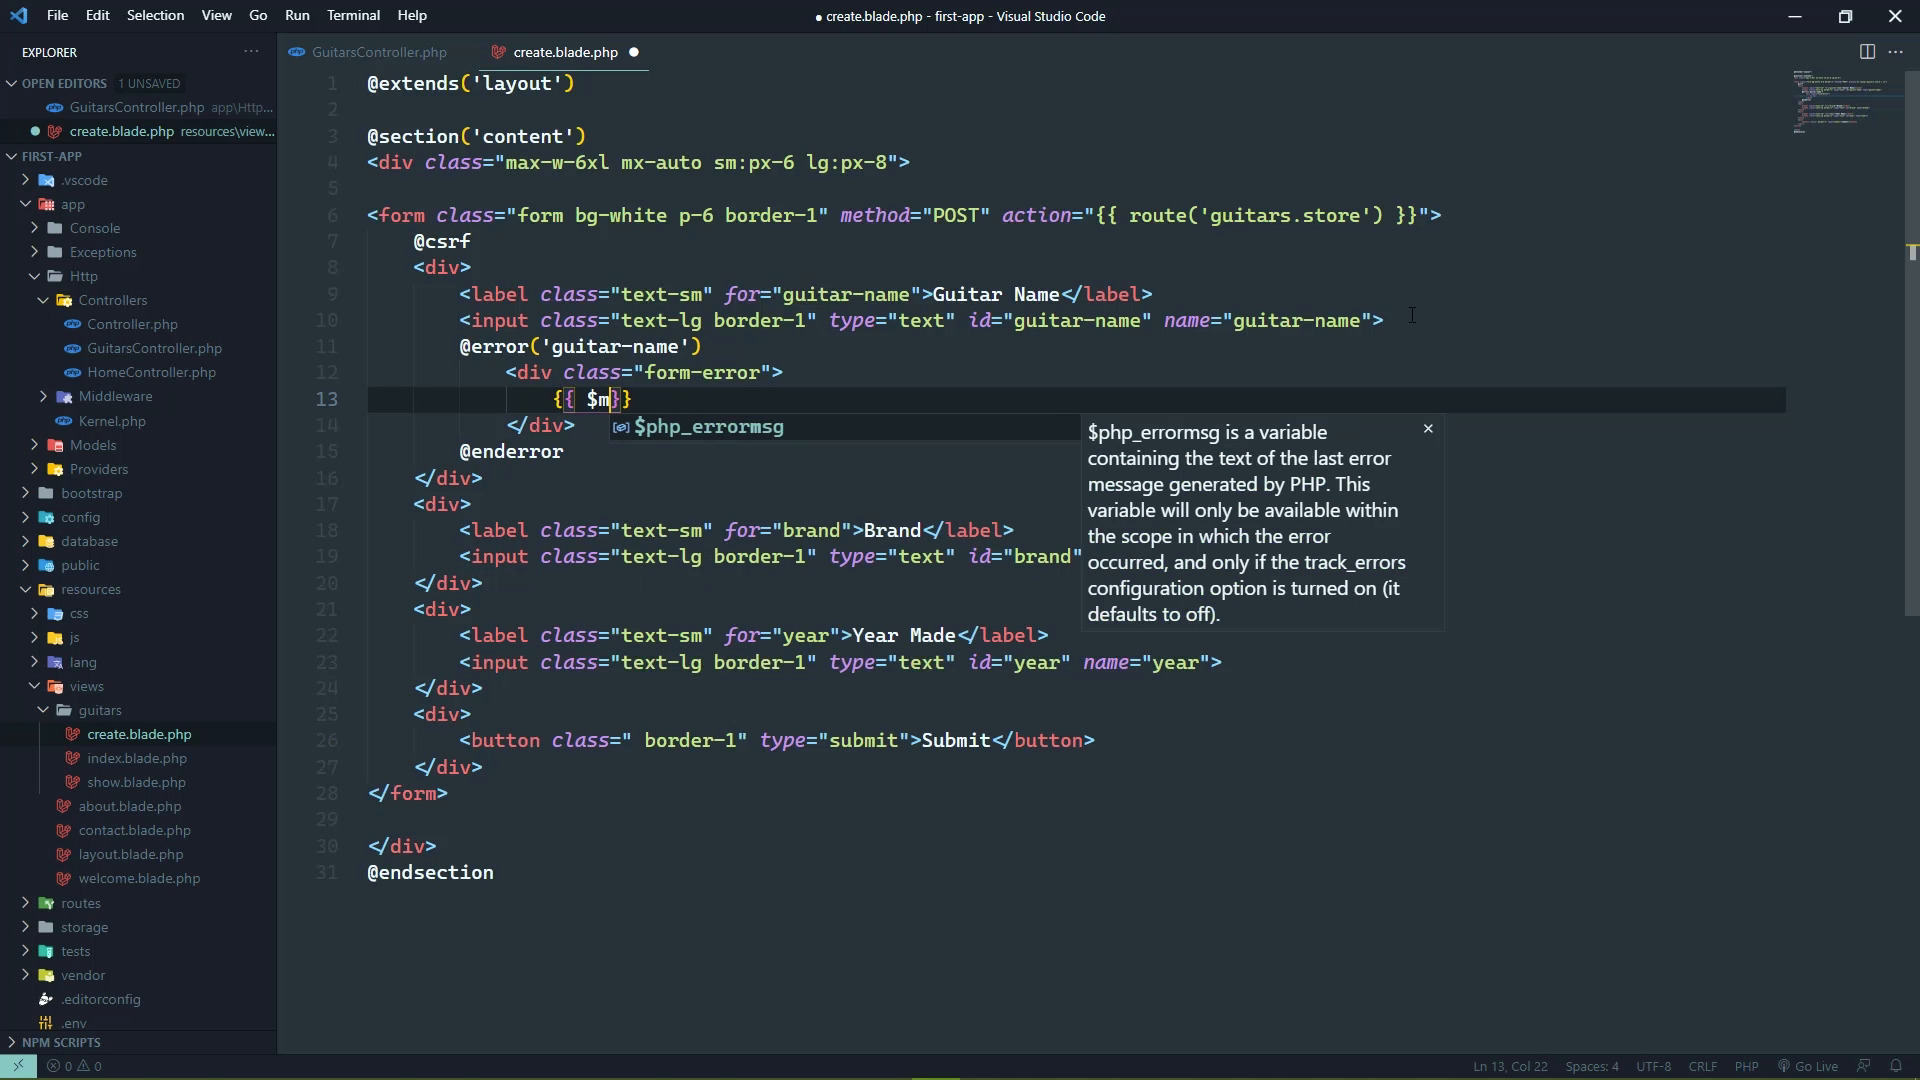
4.3 Validating User Input
The first rule of user input is to never trust user input. The second rule of user input is to never [LAUGH] trust user input. We should never trust user input. We should always sanitize the inputs which we did not do in the previous lesson, we should have done that so let's go ahead, and let's strip those tags. But that's not enough, we also need to make sure that the data that the user provided is what we expect, because the user can provide anything. And it's up to us to be sure that it meets our expectations, like for example, they could just submit a blank form. Now that's going to error out thankfully and it's not going to create a blank record, but they could fill out everything correctly. But they might have something that is not a year, in which case, our application is going to fail. So yes, there is client side validation, but that can be circumvented. It's just JavaScript, and there are some clients that might turn JavaScript off completely. So our application that's running on the server is the gatekeeper, it is what is accepting the data. It's what storing the data. So we need to validate it before we do anything with it. So thankfully, Laravel makes it very easy to validate our data. With the request object, we have a method called validate. And then we pass in an array, where the keys are the form field names. And then the values for these keys are nothing more than the types of validation that we want to perform. So for our guitar name, really the only validation that we can do is make sure that we actually have a value because a guitar name can be anything. And really the same is true for the brand as well. So we would have guitar name, then we would have brand, and both of those would be required. But then we have the year, now the year is a little bit different because yes, we do need a year. But we also need to be sure that it is an integer value. So we have two validations that we need to perform here. And we can specify that by separating the validations with a pipe character. So in this case, we want to be sure that the year is in the request, but we also want to make sure that it is an integer. Now, an alternative way of specifying that is to use an array which this is what I prefer to use. So that each element in the array is the type of validation that we want to perform. And there are tons of validation, I will have a link in the description for the video. You can also write custom validation which we're not going to get into. But the key thing here is that for the majority of our purposes, the built-in validators are going to give us the functionality that we need. So by just validating our input, we can go back to our form, we can submit this. And we're going to see that there is no error, it just looked like that nothing happened. But, in fact, something did happen, the server did receive the information, it did validate it. So we need to show the validation errors. So let's go to our view, and we do that with a blade directive simply called error. And we can use this like a function to where we pass in the name of the form field that we want to get the error for, but then we also need to use the enderror. And so inside of this directive, we just have the markup that's going to display our error. So let's say that we are going to have a div with a class of, we'll just call it form-error, we don't have this class, but we will add it. And then we want to display the message for the error for this form field, and we have a special variable called a message. It's built in and it is scoped to this particular error. So what we can do then is take this error directive, and we can paste it everywhere else. And then just change the name of the form fields, so that we have the error for the brand. We leave the message alone, because once again that is kind of scoped to this error directive. And then we will do the same thing for the year. Whenever we go back to the browser, we should be able to just refresh this, and it will, well, not alone. Let's resubmit this, and then we are going to see the error messages pop up. Now of course that doesn't look very good, so let's open up our CSS file. And let's add that class, and we'll make this some kind of child of form. And the class is form-error, let's set the font size to something smaller. So let's do 0.75 rem, let's make the color red. Let's also make the font bold so that it kind of stands out. So with that, we should be able to resubmit this and we are going to see, there we go, the guitar name field is required. The brand field is required. The year field is required. So if we fill these out, we already have a Starla, let's say a Vela S2, and the brand would be PRS, but let's put something that is not a numeric value for the year. If we submit this, we are going to see all of the errors for the guitar name and brand go away. But we see that the year must be an integer, but also notice that we've lost the values for the fields that were good. So what we can do then, is use a special directive. Well, it's not really a directive. It's a function that will get us the old value for that field. So for each one of these fields, we're going to use the value attribute. And we're going to call this old function and then pass in the name of the form field. So in this case, it'll be guitar name. And then let's just copy and paste this wherever we need to. For the brand, we'll change it to simply brand, and then of course the year will be the year. So now let's go back, let's fill this back out so that we have the Vela S2, the brand is PRS. And then once again, we will have something other than an integer value. Whenever we submit this, those values will be retained. And yeah, we didn't change that old value to year did we? So there we go. If we submit this, we're going to see the same thing. But now we can change this so that let's say 2016 for the year. And whenever we submit this, then everything is going to be validated, it is saved into the database so handling user input is actually very easy. We simply use the validate method to validate the user input. We specify the validators that we want to use and Laravel does the rest. If it encounters any validation errors, then we can simply display those using the error directive. We specify the field name that we want to display the error for, and then the message. And of course, we also want to repopulate valid fields with the old value. So we use the old function to get that value. But of course, once validation passes, we are good to go. We can store that information in the database. So in the next lesson, we are going to look at how to edit our data. It's actually very similar to saving.


