

- Overview
- Transcript
3.7 Setting Up the Database
We need to configure our application to use a database. I'll walk you through the steps of doing so in this lesson.
1.Introduction
1.1Introduction01:53
1.2Set Up Your Environment05:37
2.Basic Routing
2.1Routing Requests07:07
2.2Working With Query Data09:37
2.3Route URL Parameters07:24
2.4Routing to Controllers08:22
2.5Creating a View08:10
3.The Blade Templating Engine
3.1Introducing Layouts08:15
3.2Working With Static Resources05:03
3.3Generating URLs for Routes03:26
3.4Organizing Views09:41
3.5Using Blade Directives07:37
3.6Showing and Linking Data07:31
3.7Setting Up the Database03:57
4.Working With Data
4.1Creating Migrations and Models10:08
4.2Saving Database Records08:57
4.3Validating User Input07:38
4.4Updating Data07:04
4.5Using Type Hints and Request Classes08:50
4.6Using Mass Assignment06:08
5.Conclusion
5.1Conclusion01:03
3.7 Setting Up the Database
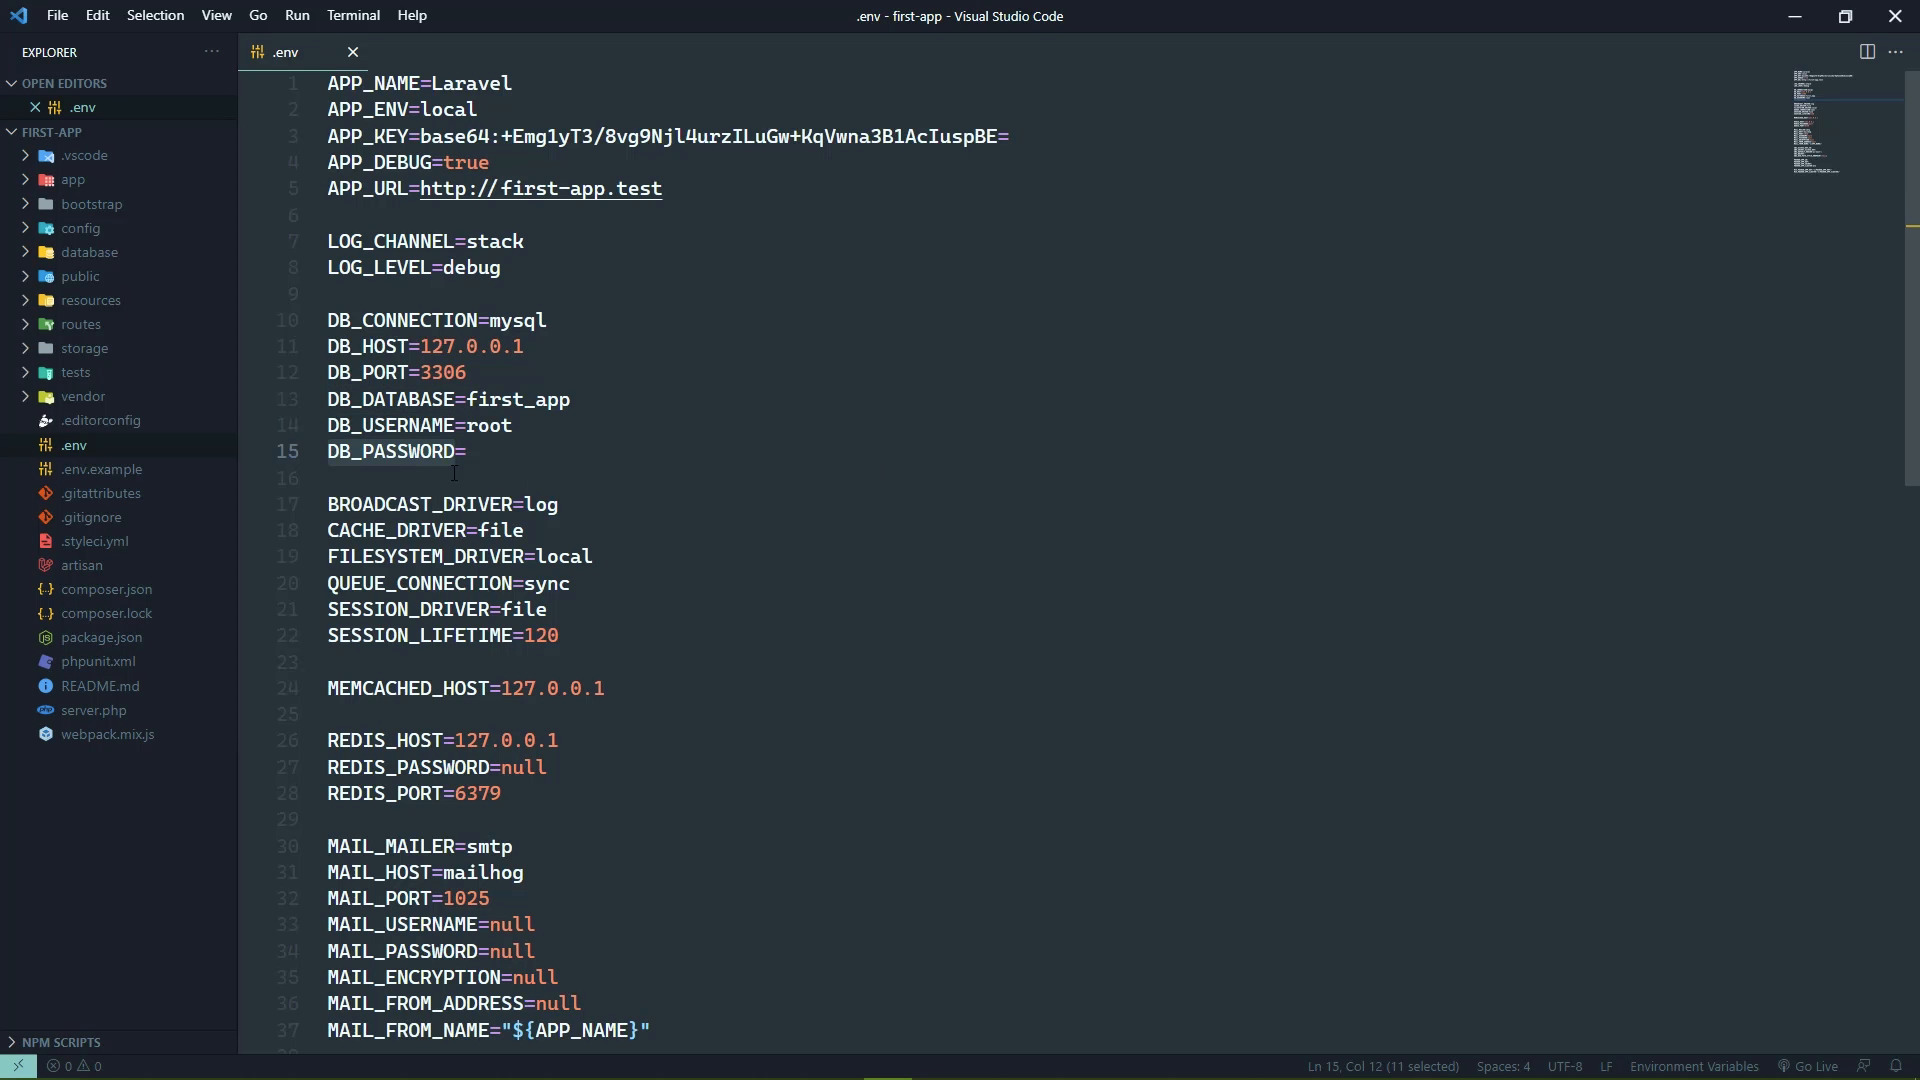
In this lesson, we are going to configure our projects to connect to a database. And the first thing we need to do is make sure that the database is up and running. Now if you are using XAMPP or MAMP, just fire up the control panel and make sure that the database engine is running. Mine isn't, so I'm gonna start that. I'm also going to start Apache because my management tools are web based. Now if you manually installed MySQL or you use composer, then MySQL is probably running right now. So then the question becomes, how do we manage it? Well, you can use the built-in command line tooling if you want to go that route. When it comes to working with databases, I prefer a graphical interface. So I'm going to use a web based management tool called phpMyAdmin. It's been around for a very long time. Now that doesn't mean that it's antiquated and hasn't been updated because it has, it works very well, it's rock solid. And it's my go to tool for managing a MySQL database. If you don't want to go that route, there are other options. You can download the MySQL Workbench from the MySQL website, it is free. You can download and install it and connect to your database. There are many other tools available as well. But really once we create our database, we aren't really going to be using the tools because everything else is going to be done using Artisan. So let's go to our project, first of all, because we need to configure our project to know where our database is. So open up the .env file, and we are interested in the settings that begin with DB underscore. There's a connection which is the type of database that we are going to work with. The host, which is the machine that the database is running on and its port, the database that our project is going to connect to, the username and the password. Now of course most of these are going to be different based upon your configuration. But I should also point out that MySQL that's just the default, there are other options. If you go to the config folder, and then open up database. If we scroll down a little bit, we are going to see the different kinds of connections. So there's SQLite, there's MySQL, there's Postgres, there's Microsoft SQL Server. So if you wanted to use any of these, then you would just use these keys as the value for the DB connection. And then of course your host and port username password settings would need to change based upon your database server. So these are supported out of the box. So in our case we want MySQL, my host is localhost, my port is 3306, I believe that is the default. And the database doesn't exist, but we will create that here in a moment. And as far as the username and password for my database engine, it's root and the password is empty. Which of course is not secure at all, but this is a development box, so that's okay. All right, so we want to create this first app database. And we're going to do that inside of our management tools. Since I'm using phpAdmin that is, of course what you're going to see on screen. And we are just going to create that new database. Now, we could call this whatever we wanted, and then we could change the value in the .env file. But since the default here is first_app, which is basically the name of this project, we'll just run with that, it makes sense. And that's typically what I'd do in the real world anyway. If I need to create a database for an application, it's usually named after the application. So we are just going to put in the name of the database that we want to create and create it. And voila, we are good to go. Now of course we don't have any tables, but that's okay because we will use Artisan to create those tables in the next lesson.


