

- Overview
- Transcript
4.2 Setting Up Our Database
We naturally need a data store for storing our tickets. We'll create our database and perform the necessary migrations in this lesson. We'll also create our first ticket to get some data in the database.
1.Introduction
1.1Introduction02:09
1.2What You Need07:42
2.The Static Site Project
2.1View and Routing Basics10:22
2.2Layouts and Sub-Views07:58
3.The Shoutboard Project
3.1Database Configuration and Migrations14:23
3.2Creating the Model09:38
3.3Creating Messages14:20
3.4Viewing Messages07:41
3.5Adding a Message Title With Migrations07:07
4.A Ticket System
4.1Introduction to Controllers09:02
4.2Setting Up Our Database16:09
4.3Viewing a List of Tickets08:51
4.4Viewing and Editing Individual Tickets13:08
4.5Adding Authentication10:01
4.6Linking Tickets With Users14:58
5.Conclusion
5.1Conclusion01:22
4.2 Setting Up Our Database
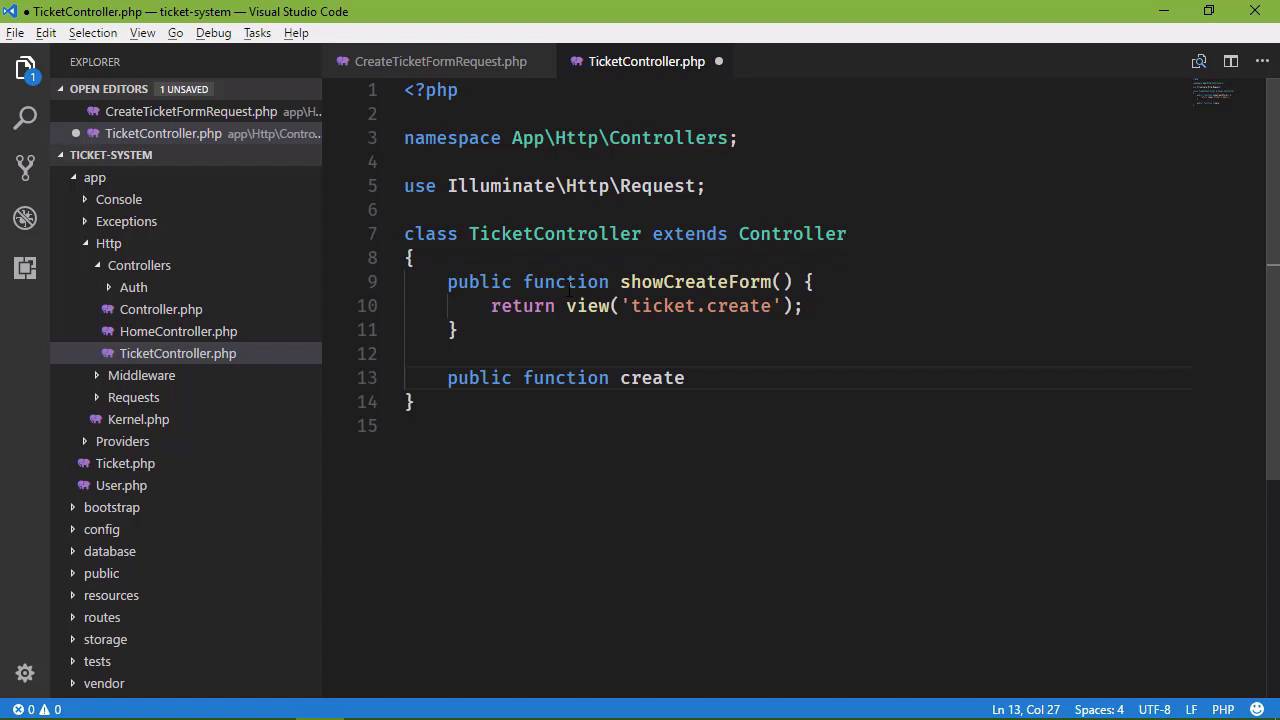
The next thing we need to do with our ticket system is start working with data. So that means that we need to create our database and then create our migrations in our model. So let's go to our tool for managing our databases. And let's create a database, I'm just going to call it ticketsystem for the of the better word and once we have that database then we need to go to our application and change the database config, as well as the .env file. So let's start with .env, we need to change the database name to ticketsystem and I'm going to go ahead and just copy that because we will use it again. My username and password are both root. And then we need to go to the database, not the database, the confg folder and then database.php, we want to go to the mysql-connection and we will make those same changes. So our username is root, password is root, and of course that is going to differ for you, based upon your configuration. So that is good to go. I also need to go to the app folder and providers and service providers. Since I'm using an older version of MySQL, and I need to add that schema defaultStringLenght to 191. So that should work. I also need a use statement for the schema. So let's use Illuminate and really, let's just copy this cuz that's a lot easier. So we'll then add Facades\Schema. So that should work there, and then we just need to create our migration. So let's do that, php artisan make:migration. This is going to create a table called the tickets, so we'll call it to create_tickets_table and then we will also use the option to create the tickets table itself. So this is going to create a class that we can then modify. It is going to be inside of our database folder and migrations. And we need to refresh the folder. And there it is. So let's think about what we need. We of course need an ID, so that we can refer to an individual ticket. We also need to note who is submitting the ticket. And eventually we are going to have actual users. We're going to have user authentication and things like that, but for right now, let's just use an email address. So we'll have an email, and that's not correct, that needs to be a string called email. And let's have a Length of 50. And then we need a subject or a title. So let's just stick with title as the term that we are going to use. Let's make that 50 as well. And then we need the description of the ticket. So let's use text in this case, so that we don't have to worry about the limit, and we will call this description. So it's a lot like what we did in the previous project, at least right now. Eventually, we are going to change that. So now, we can run our migration. So php artisan migrate and that is going to do all of those migrations and we are good to go, as far as that is concerned. So let's go ahead and create a model now, because that's the next thing that we need before we can start storing this information in the database. So we're going to make a model. This is for our tickets. So it's going to be called just Ticket. And that model was created successfully. Now we can go ahead and use mass assignment, here. At least for the email, the title, and the description. So let's go to the app folder. There is our ticket class and we are just going to add that fillable field, so protected fillable, and that is going to be an array. We want email and title and then description. Now we know that we are going to have a form for submitting or creating tickets. So let's go ahead and create that form request. So that we can go ahead and have that. So php artisan make:request. And let's call this CreateTicketFormRequest, because this is for creating a ticket. Now, we might, could, eventually use this for editing ticket, some things like that. But we're just going to stick with create ticket form request, because as you are writing your applications, a lot of times you might think that you can reuse certain things. But you don't really know until you actually start implementing those ideas. So you can keep it in the back of your mind that you need to look at that at some point, but you also need to get your job done. So, it's okay to just start to get things working and then start incorporating other ideas, as your application is working. So let's go to our HTTP folder. There is the Requests folder and there is our create ticket form request. And we want to have some validation already set up. So let's go ahead, we're going to have some fields called inputEmail and this is going to be an email address. So let's just do that. That's going to force it to be required anyway, at least it should. And we also have the title. So input title and that is of course going to be required and then the description. So inputDescription and that is required as well. So we have our validation all set up, and that now we just need to make that request. Now first of all, we need a form for doing that, but we also need a controller method for handling that request. Now, we created a home controller in the previous lesson and we could come in here and add another method for creating a ticket. But now we're getting into the realm of working with tickets and that's not really something that the home controller is responsible for. The home controller is for doing the home-y things, like the homepage, or the about page. Creating and working with tickets should be a separate controller, called a ticket controller. So let's use Artisan to make a controller and we'll call it TicketController. That's, of course, going to create that controller class and we could have an index method here, that would display all of our tickets and eventually we will, but for right now, we are more concerned with creating a ticket. So, we need two methods. One for the get request, that is going to display the creation form. The second is for actually creating that ticket and storing it in the database. So we can call these methods whatever we want. But we also want to be somewhat descriptive as to what they are doing. Because the ticket controller is going to be responsible for not only creating tickets, but also editing them as well. So let's do this, we'll say showCreateForm. That's pretty descriptive as to what it is doing, it's a little wordy. But we can at least see the name of that method and know what exactly it does. And we are going to return a view. We are going to put all of our views inside of a folder called tickets. And this will be The create viewer. And then we will have a second method. And we will say createTicket or we could just use create, because really, creating a ticket is going to be sufficient. If we see the name, we know that we are creating the ticket, we're not anything or anything like that. So we want to create but we also want to accept that create ticket form request. So let's go ahead and type in that TicketFormRequest. We do neet to use statement here and then we will create our model, but lets add that use statement first. So that's just inside App\Http\Requests. So, let's add that use statement and then, CreateTicketFormRequest. So we have that class available to us now. Now, remember that, whenever our request Is valid. That is, we have an email address, we have a title, we have a description then the code inside of this method is going to execute. So, all we really need to do is create our model and then store that in the database. So we need a use statement for our ticket class, that is App and then Ticket and then inside of our method, it'll say ticket = new Ticket. We will pass in an array that contains all of our information for that ticket. So we will have an email address, and we are going to receive that from our request. So let's go ahead And say $request.get and that is inputEmail. Let's go ahead and copy that because we are going to use the same pattern two times. We have a title as well as the description. And, of course, those fields are going to be inputTitle. And InputDescription, so that we will have those. And then we just want to save that. So then we will say ticket, and we will call the save method. That will take care of that. And then we want to redirect well, where do we want to redirect? We can redirect right now just to the root of our application. Eventually we would probably want to redirect to the index of our tickets, so that we can see all of the tickets that we have submitted. So we have our code ready to go, we just need our views. So let's go to our resources folder. Let's go to the home folder and let's just copy this because we're going to use that as a basis for our tickets. So let's rename this to ticket and then we have the index.blade.php. We don't need that here. Instead, we need the create.blade.php and instead of using this mark up, we're going to have a form. Now, I'm not going to type this on screen because there's a lot of mark up but there is really nothing extra ordinary here. We have three fields for the email, the title and the description and there's also the CSRF field. Because if you'll remember for every post request, we need this CSRF field, so that we can verify that the request is coming from the client that we expect it to be coming from. So this is going to be our view and now we just need to set up our routes because the only route we have is for the root of our application. So let's just copy this. Paste it a couple of times. We need a get request. We also need a post request. As far as the URL is concerned, we're going to have tickets and then create. And this is going to be the same URL for both of these requests. One for displaying the form. So we need to change the controller to TicketController. And then I believe it was showCreateForm, that's what we use for the get request. And then for the post request, it was create. So we should be good to go. Let's start up our dev server, so php artisan serve. And then let's go to, ideally we would have a link here and eventually we will, but let's go to tickets and then create. And so we get ticket create not found, well, it exists, because it's right there. However, there were two dots in between blade and php. So that's probably the problem. Let's go back, refresh the page and there we go, but there is no styling, whatsoever, but at least we have content. So now we have two options. The reason why there is a no styling is because of the paths that are specified for our assets, it's loading everything as if they were inside of the ticket folder. So there are no slashes in front of these URLs, so it's going to default into whatever folder we are currently in and that is the ticket's folder. So, we have two options, both of which mean that we have to open up our layout page. Now we can go to each one of these URLs and we can just put a slash in front of them and that's going to be fine or we could do something like this, we could use that URL function that we have seen before and let layer though create that URL for us. Either way, we are going to get the same results in this case. So I'm just going to take the easy way out and just put a slash in front of everything, just so that we can get moving on. So let's add those slashes, that should be enough, let's go back and refresh. We should see our styling and we do. So as far as the email address, it doesn't matter what it is, as long as it is a valid email address. The title, this is a test ticket and let's hope this works. So whenever we click on the Create Ticket button, it should create our ticket but it didn't, the page has expired due to inactivity. Okay. Now, let's just do that again. Maybe we, well, I don't know. Let's do foo@bar.com again, this is the test ticket, and this is a test ticket. Let's click on create ticket, and now we have this action as unauthorized. And you know why? Because whenever we created our form request, we did not change the authorized. Very important thing there. So let's see if we can refresh this and submit those values and of course, we get that again. Okay, third time's a charm. That's, at least what they say. So, let's do this. This is a test. Let's click on create ticket and my JavaScript in the C sharp is coming out here with a dot operator. I apologize. I'm sure you saw that and were screaming at me to fix that and now it's fixed. Okay, so, four times a charm, our email address, our title at this point, who cares? And let's create that ticket, and there we go, we have finally created our ticket that are stored within our database. And now, we just need to display our tickets. And we're going to do it a little bit differently in the next lesson. Instead of just displaying all of the information, we're going to have a table and eventually we will have pagination for that table. So, we would get started with that in the next lesson.


