

- Overview
- Transcript
3.3 Creating Messages
We have a form for creating messages, but we're not doing anything when the user submits the form. We'll write the code to save and validate messages in this lesson.
1.Introduction
1.1Introduction02:09
1.2What You Need07:42
2.The Static Site Project
2.1View and Routing Basics10:22
2.2Layouts and Sub-Views07:58
3.The Shoutboard Project
3.1Database Configuration and Migrations14:23
3.2Creating the Model09:38
3.3Creating Messages14:20
3.4Viewing Messages07:41
3.5Adding a Message Title With Migrations07:07
4.A Ticket System
4.1Introduction to Controllers09:02
4.2Setting Up Our Database16:09
4.3Viewing a List of Tickets08:51
4.4Viewing and Editing Individual Tickets13:08
4.5Adding Authentication10:01
4.6Linking Tickets With Users14:58
5.Conclusion
5.1Conclusion01:22
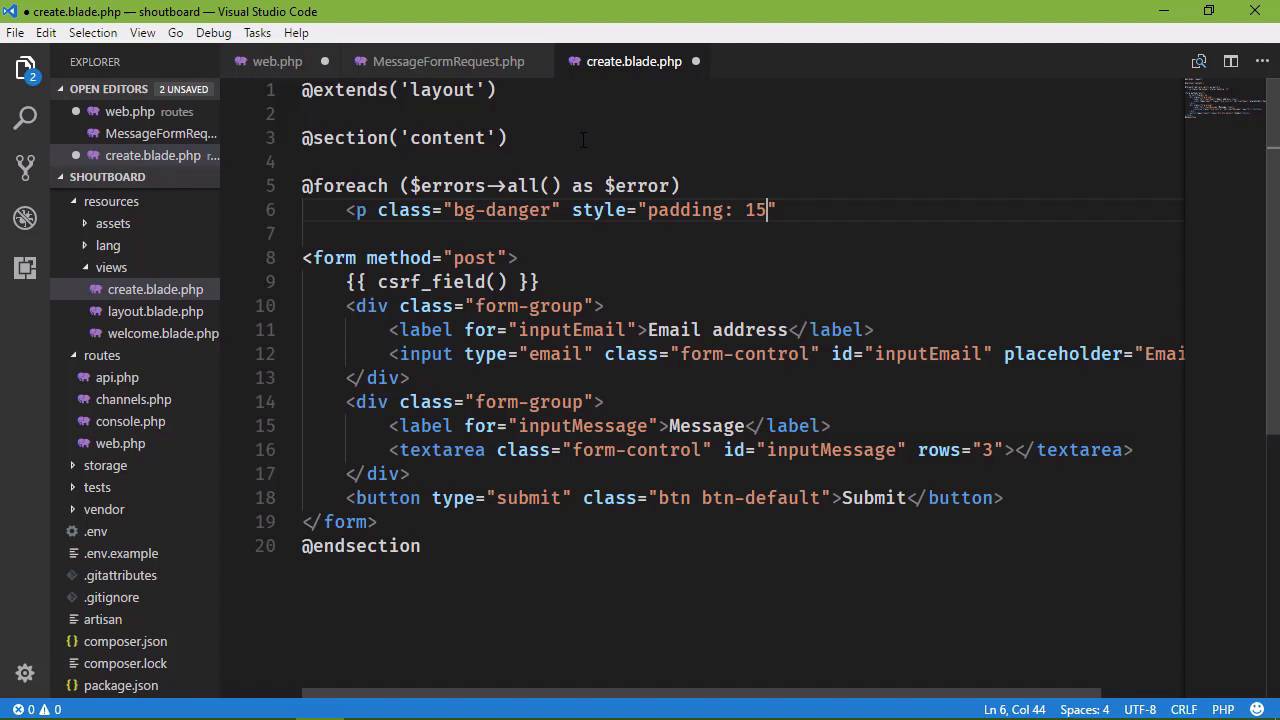
3.3 Creating Messages
Our ShoutBoard application is ready to receive user input. We have set it up so that we have a form whenever we click on the submit button, that request is actually submitted and handled by one of our routes. But we aren't doing anything with that data. So, we want to take that email address and that message and store that in the database. But we want to do more than that, we also want to validate that information. Because we need to check. To make sure that the email address that the user typed is a valid email. Now we can't actually check to see if that email works, but we can at least see if it looks like a valid email address. And then we also want to ensure that the user has typed in a message, because otherwise we don't need to store anything in the database if there's nothing there to store. So we could do this manually, we could manually validate the inputs, and then go from there. Or we can rely upon a feature of Laravel called Form Requests. Basically, what we do is create a class, and the class will define the rules for a particular request. If that request passes those validation rules. Then we go ahead and further process that request. That is taking the information from the form and then storing it in the database. If not, then we can display the error messages to the user. So that they can fix the problems. So let's create one of these request objects. We're going to do that with Artisan, so we say PHP Artisan. We want to make a request and then we just name the request. This is for creating a new message for our shoutboard, so let's say, MessageFormRequest. And that is going to create our request. You can see that it was created successfully. This creates a new class inside of the app > Http > requests folder. And it's simply the name of whatever you typed for the name of that request. And it gives you two methods, by default. The first is authorize, and we can see that this determines that the user is authorized to make this request. And it defaults to false. So if we actually had to be logged in to submit a message, then this would be where we wanted to see if the user is logged in. And even if we had something like permissions so that only certain users could then create new messages, then we could check permissions here. But since we are letting everybody create new messages then. Every user is going to be authorized to make this request. So you can think of this as a programmatic way of working with an HTTP post request. Is the user authorized to make that request? Yes or no. And then, there are the validation rules. And basically what we want to do here is list the fields that we are expecting from the form. And then specify the rules that we want to apply to them. So the first was input email. And then we specify the rules. Well this is going to be a required field, so we definitely want required there. But we can also have other rules as well and we just separate them with a pipe character. So the input email is required. But we also want to ensure that it is a valid email address. So there is another validator called email and that is just going to ensure that it is a valid email address. And then if we wanted to ensure that the email address had a minimum character length of 10 characters, then we could say min and then 10. And we can keep going, adding more validators as we need to. But in this case, all we really care about is if there is an email address and that's it. And the next one is inputMessage and all we care about here is if we have an actual message. So we are just going to use the required validator. Now, I'm using required and email here. We could probably get away with just saying email because if it's left blank, that's obviously not a valid address so the validation would fail. But let's have both required an email because whenever we display the error messages, we will actually see different error messages there. So these are the two rules that we are going to define here. And that's pretty much all that we need to do. We could take this further if we wanted to get down and dirty with the details of validation for this particular request. But this is going to be sufficient. And for most requests using the built-in validators we find, we could define our own validators if we wanted to but in this case we don't need to. So, we want to use this from request inside of our routss. Because, what we end up needing to do is whenever we define our route for our post request. We're going to type hint. We're going to say that the data coming in is one of these message from request objects. So, we want to add a use statement for our MessageFormRequest. So let's go ahead and do that. We'll just copy that and then add that use statement and then MessageFormRequest. And since we're here, let's go ahead and also add a use statement for app, and then our model class which is simply called Message because we're going to be using that here in a few moments. So here's the beauty about a FormRequest. If it passes validation, then the code inside of this function is going to execute. So that's exactly what we want. However, if the request fails validation, it's going to perform a redirect, and it's simply going to redirect back to the page before the post request. So that is essentially going to be back to the get create route. So we don't even have to check inside of this function if the request is valid. It's automatically being done for us and it's automatically being handled for us. But we do want to display any error messages as to why validation might have failed. So let's go to our create view and we don't have to put this inside of the form element. In fact we're not going to do that. But we do want to be inside of the content section. And we're going to use a Foreach loop and we have a variable called Errors. And for all of our errors we want to display the error message. So we're simply looping over them. And for our markup let's use a p element, let's have a class of bg-danger, and let's be bad and add an inline style. Padding is going to be 15 pixels. And then we want to display our error, so we will have that. Now, I don't think I've ever mentioned. Whenever we use these double curly braces, we're kind of switching into PHP in that we are using an expression here. So we are displaying the error message and that's really all that we need to do here. And then we will end our foreach loop with an @endforeach. And let's also do this, let's go to our route and instead of returning the view for our post request. Let's redirect. Because if the request is actually successful then eventually we're going to redirect anyway. So we're just going to redirect back to the main page if the request validates in this case. So let's fire up the server. So php artisan serve, and then we will run our application. So we're going to go to the create message. If we click on the Submit button, and there we see our error messages. The input email field is required. The input message field is required. Now if we type something into the email address field, that is not an email address. Let's submit that. Well the browser is catching up because I probably used type email. And I did. So let's change this to text. Let's also add the name attributes because that's kind of important here. So we'll have name and then name as well for the text area. Let's go back to the browser and let's go back to this page. Let's not submit anything. And we should get our error message. There we go. And if we type something that is not a valid email address, let's submit that. And we can now see that the input email must be a valid email address. So we're going to get different messages based upon the validation rule that failed. So let's change this back to email. Because that's why we have these new tools for the browsers. And then let's go to our route because whenever we submit a valid request we want to take that information and store it in the database. So we are going to create a new message object. So we'll just new up Message. And then we will pass in an array that has all of the information that we want to store within the database. So we have two things. We have the email. So let's do that, and that is going to be given to us through our request object. We have a method called get, and then we specify the field that we want to retrieve. So our email is going to be set to the input email from the form and then we would do the same thing for message, except that we will specify message. We will use the get method to then retrieve the inputMessage field from our request. And then we will simply say message->save(), and that should save it into the database. So now, let's go back to the browser. Let's go to our create view and we are going to type in, This is our first message. Whenever we click on the Submit button, we should be taken to the main page but that was definitely not the case. And we're giving a message just for the input message. So let's see if I mistyped something. Let's go to our FormRequest class, inputMessage. That is correct. Let's go to the view. Let's make sure that I typed the attributes in correctly. Of course. That should not be message, that should be name. So once again, let's go to our view and we will type in an email address, a valid email address in this case, and this is our first message. And let's submit the form and we're going to get an error. It says MassAssignmentException. So what is this MassAssignment? Well, whenever we created our message object inside of our route. We created a new message object, we passed in an array that has the information that this message needs. We are setting or mass-assigning, if you will, our properties, email and message. Now, that's a really convenient thing to do, however, there are some issues with this approach. Because if we just blindly pass information into our model, well, we could end up setting data that doesn't need to be set. In this particular case that's not an issue, because we just want to set an email address, then we want to set a message. But if we had some type of permissions or a role based system where only certain people could post a message then this could be an issue and it's really our issue because we are the ones that are writing the code. So by default, there is built-in protection for mass assignment so that we have to opt in for this particular feature. So, what we would do inside of our model is specify the properties that we want to be able to mass assign. And, that simply is going to be the two properties that we are concerned with. So, we need to go to our app folder, we need to go to the message class. And inside of our class, we just need to set something called fillable. This is going to be an array of the properties that we want to be able to mass assign. And in our case, that is email and then message. So that now any time that we pass in the email and message to our model, we're not going to see that exception because it's just going to allow these to be mass assigned. So if we go back, let's just refresh this. Let's see if this is going to work. This is of course going to re-submit that same request, including all of the post data and there we go. So let's first of all verify that we have information in the database and then in the next lesson, we can start displaying our messages. So here we are looking at our messages table. And of course this was done before we actually created that message. So let's click on the Browse tab and here we go. We have a record here. It has an Id of 1, we have an email, we have a message, the time that it was created and the time that it was updated. So our code works. We are retrieving information from the user, we are also validating that information. We are then storing it into the database if it is valid and now we just need to display our messages and we would do that in the next lesson.


