

- Overview
- Transcript
4.1 Introduction to Controllers
We've been using simple functions to handle our requests, but an MVC application typically relies upon controllers for that functionality. In this lesson, I'll introduce you to Laravel controllers.
1.Introduction
1.1Introduction02:09
1.2What You Need07:42
2.The Static Site Project
2.1View and Routing Basics10:22
2.2Layouts and Sub-Views07:58
3.The Shoutboard Project
3.1Database Configuration and Migrations14:23
3.2Creating the Model09:38
3.3Creating Messages14:20
3.4Viewing Messages07:41
3.5Adding a Message Title With Migrations07:07
4.A Ticket System
4.1Introduction to Controllers09:02
4.2Setting Up Our Database16:09
4.3Viewing a List of Tickets08:51
4.4Viewing and Editing Individual Tickets13:08
4.5Adding Authentication10:01
4.6Linking Tickets With Users14:58
5.Conclusion
5.1Conclusion01:22
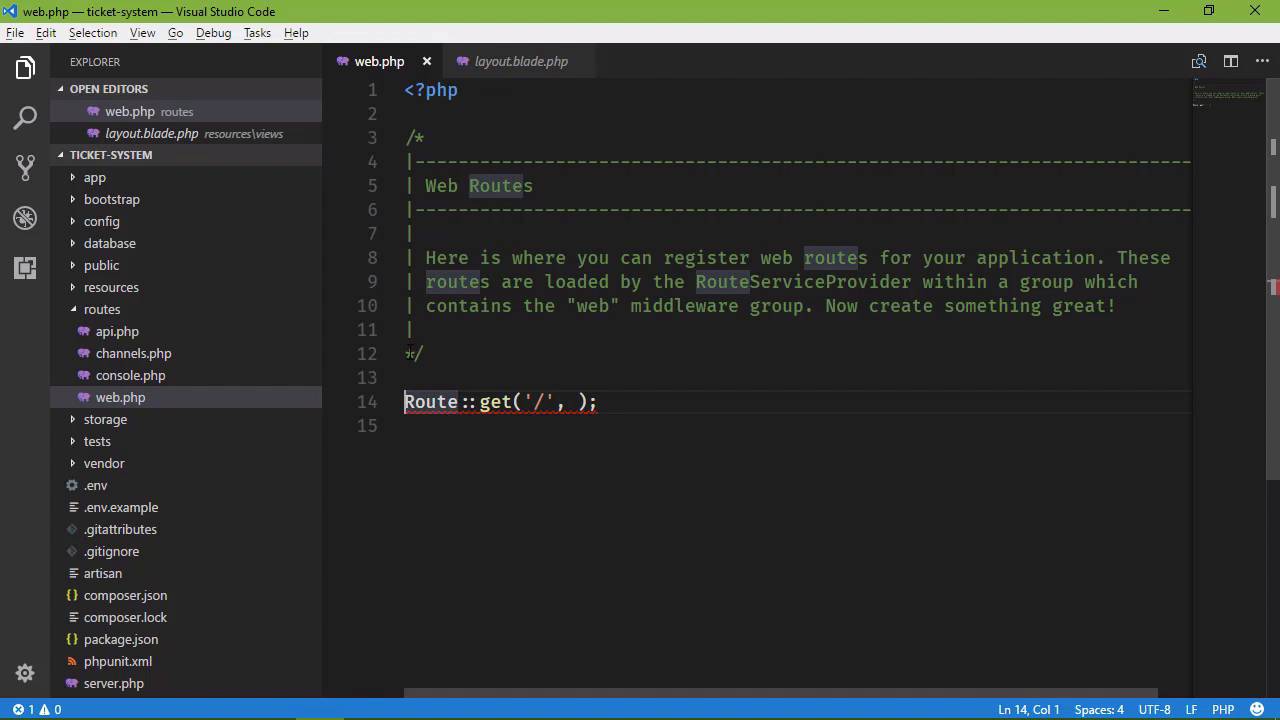
4.1 Introduction to Controllers
Our next project is going to be a ticket system, something that users can come and submit a ticket, and then we can respond to those tickets. So before we start diving into the project, I want to point out where the design came from. At least as far as what we are going to see in the browser. And it is this template, SB Admin from Start Bootstrap. I am design challenged, if you will. I have no problem laying up mark up doing CSS and coming up with something as long as I know what that something is supposed to look like. And that is my problem. So resources like start bootstrap are wonderful for people like me who can't design outside of a web paper bag. So I'm using this template for the user interface. So there's going to be a lot of similarities there, but of course there are going to be some differences because it is going to be modified. And I've gone ahead and created this project. It's called ticket-system, but you can of course call it whatever you want to. And, I've gone ahead and set up a few things. The first is, I added all of the assets for the SP Admin template to this project. That is done inside of the public folder. I removed everything that was inside of the public folder, except index.php, Favicon, htaccess and robots. Robots we should get rid of anyway because, well, that's just not a good thing to have within your applications. So the CSS folder, JS and vendor folders, all of those are from the svadmin template. That is where we want to put all of our static assets. So those are and I've also created a layout page. If we go to resources views, there is layout.blade.php. And right now there is just a single content section. There is nothing else here except of course, for the markup. There's also a menu, which we will probably want to break out into a separate file later on but this is going to be sufficient for now. So what we're going to start, with this lesson, Is creating a controller. We have talked about the model, the M. We've talked about the view, the V, now it's time to talk about the controller. As far as our application is concern the controller is well, the controller. It is going to handle the requests coming from the user, that is, user input. It is going to take that user input and try to respond, so that means it could be just returning a simple view, or it could be interacting with the database to get information sending that information to the view which will then be displayed to the user. So, the controllers very much the controller of the application. And if you're like me, you'll probably scratching you're head and saying, well we've been doing that in a way with these in line functions. And yes, we have. And yes we could do that. However, the problem here is that controllers allow us to logically group things together. So for example, we are going to have two parts to our application if you will. We will have what I'm going to call the home part which would be the homepage, the very first page that people would see. As well as things like the contact page and the about us page. That would be all things that I would considered home. And then we will have a controller for everything about our tickets, so creating, editing, updating tickets as well as viewing tickets, those are handled by the tickets controller. So, we have different controllers for doing specific things and that's why we would want use controllers here. So, we can go ahead and get rid of that in line function because we are going to replace that with a controller right now. So we want to go to the command line, and let's create a controller. We can do that with artisan, so we're going to say PHPartisan make, and we want to make a controller and then we specify the name of that controller. And I'm going to just called this HomeController, so this is going to show. Our default page for our application as well as a page for people to submit tickets. Now, we see that there's a parser error and that's probably because this here. So let's comment this out save it and let's run that again and there we go our controller is created successfully now our controller is inside of app HTTP controllers. And well it's not there let's refresh. And there it is, home controller. And it's nothing more than a class that extends controller. And what we will do is write methods that are then going to handle our requests. So it's something like what we have done with those inline functions. But those functions are actually going to be methods on our controller. So we're going to start with our welcome page, if you will but this is typically called the index. So, we're going to say public function index and then we are going to return a view. Now when it comes to the vies we typically name our views The name of the method that is returning that view. So this method is called index. We are going to return a view called index. So let's go to our resources folder. Let's go to views. Let's create a new file called index.blade.php and for right now, let's just do this. We will extend the layout, so that we will use a layout, then we will have our section of content and then let's just have Hello World here. We will come back and change this to be something that other than that. It'll be a simple welcome page, but for right now Hello World is going top work. So we need to save this files. Let's go ahead and do that. Now when it comes to our route, we specify the method on the controller that we want to handle this particular route. And we do that with a string. We say HomeController. And then at index. And that's it. It's automatically going to use the index method on our home controller for this route. So we still specify the path. In this case, it is still just the slash. And now we should be good to go. So let's PHP artisan serve. And we will go to the browser. Let's refresh the page. And there we go. We have our Hello World. Now there's a problem with what we did. If we go and look at our resources, insider views. We have index.blade.php that in itself is fine, but remember I talked about that we are going to have two controllers. We're going to have a home controller, which we just created, then we're going to have a tickets controller. And the tickets controller will probably have a method called index. So then we need some organization for our views. We should put our views inside of a folder for a given controller. So we have a home controller. Let's create a new folder called Home. And then we will put all of our views for that controller inside of that home folder. Then, whenever we create our tickets controller it will create a tickets folder and then put all of its views inside of that folder. But now, if we go back to the browser and refresh. Well, we can't find that index view, so what we need to do is, inside of our controller, whenever we call the view method, we need to specify the folder that it's in, home .index. So now, it's going to look inside of the home folder, it's going to find the index view, and it's going to use it there. So let's go back to our code and let's change this from hello world to actually having some markup. It's not complicated at all We are just saying welcome, and our services are wonderful but if you have a problem please contact us. That's really what we want. So if we go back and refresh, we at least have something that looks a little bit better. And so in the next lesson, we are going to build the contact view. And it's going to be a lot like what we did in our previous project. We will need to create our database and our modal. We will need to create our form request so that we can validate the incoming data. And really the main difference is that we are going to be using a controller instead of an inline function.


