
 Lessons: 14Length: 2.4 hours
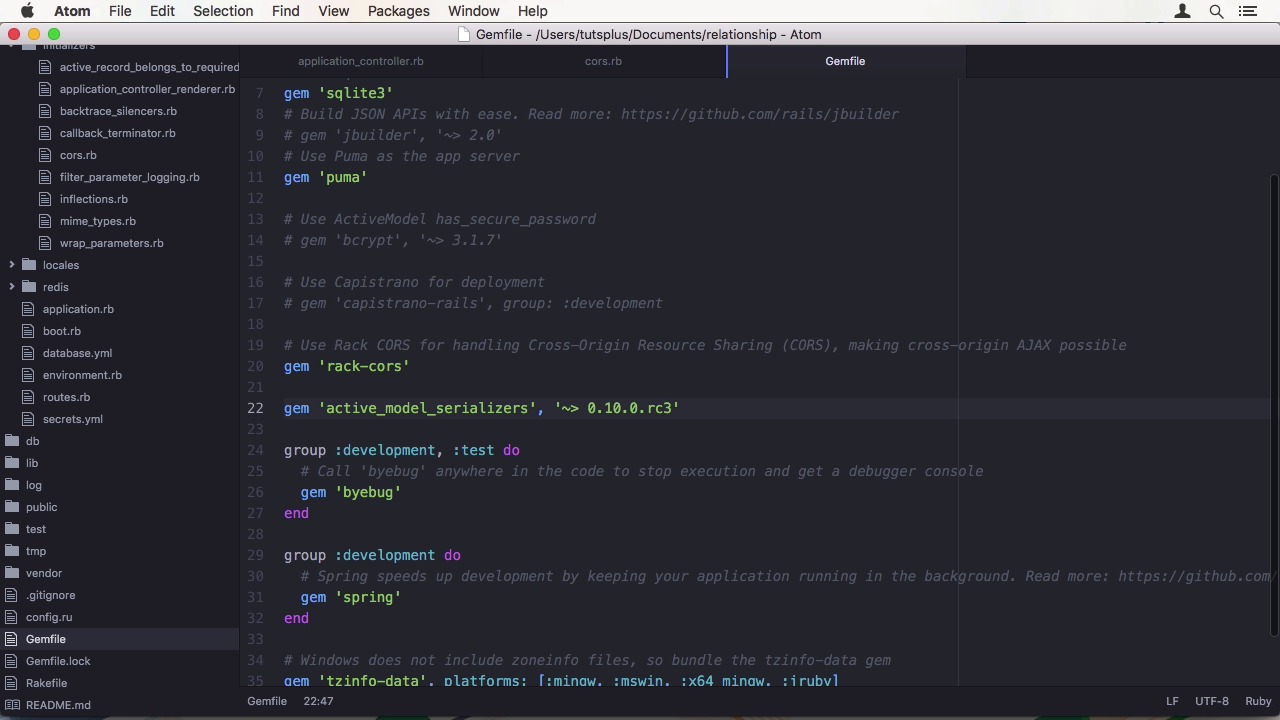
- Overview
- Transcript
2.1 Generate and Prepare the Application
In this lesson we’ll install the Rails 5 beta, generate our back-end application, and then prepare it for the actual development by setting up CORS and Active Model Serializers.
Related Links
1.Introduction
1.1Introduction01:05
1.2Project Overview03:23
2.Rails Back-End
2.1Generate and Prepare the Application09:19
2.2Create Companies and Contacts10:35
2.3Add Projects, Tasks, and Offers14:47
2.4Track Customer Interaction12:01
2.5Secure API Access07:46
3.Ember Front-End
3.1Generate and Prepare the Ember-CLI Application08:34
3.2Application Layout and Authentication15:36
3.3Manage Companies and Contacts15:54
3.4Manage Projects, Tasks, and Offers19:18
3.5Add Customer Interaction14:11
4.Deployment
4.1Deploy to Heroku and Amazon S308:28
5.Conclusion
5.1Conclusion03:02
2.1 Generate and Prepare the Application
Hi and welcome back to Create a Full-Stack Rails and Ember App. In this lesson, we are going to generate a Rails app and apply some initial configuration before we can get started on writing actual application code. Let's jump into the shell. Before you continue with the course make sure you have Ruby 2.2.2 or later since Rails 5 depends on it. Then we have to install the rails beta, which can be done by installing the rails gem with a dash, dash pre option. Normally the output would also list the various dependencies of rails. Like if a record, rail ties and so on, but since I have rails already installed, it won't show. Make sure you have the correct rails version by running rails -v. It should be rails 5.0.0.beta1 or higher. Now we can initialize a rails application. We start with the standard rails new. And now I'm going to name the application relationship. And I also supply, the --API option to create an API on the application. You might have heard of the rails API gem before. This gem has been merged into race car to allow developers to create API only beckons without any fuse. Let's jump into the app directory. Before we dive into the code, I want to point out a major change to the CLI. When I run rails -h, you can see there are many commands here that you would normally expect to be a rake task. Well, the rails command now consolidates all the commands that were previously scattered all over the place. When you want to migrate your database schema, run rails DB migrate. When you want to generate a model, run rails G model, and so on. So what does an API on the application mean? When you open up your application controller, for instance, you can see it doesn't inherit from action controller place anymore, but from action controller API, which includes far less functionality since you won't need it and having no fuse. As you can also see, the fuse directory is missing and when you look at your initializers, there are a few differences. For instance, the course initializer, which takes care of cross-origin requests and allows the browser to send option requests that determine if the origin it is using is allowed to access a specific resource with a specific HTTP method. We need to set this since when we develop locally, at least the parts are different which would cause the chorus mechanism to activate. We might also deploy it to different [INAUDIBLE] mains in production later but I'm keeping the simple by allowing every origin to use our API. Next up is the gem file. The first difference you might notice is that rails five uses puma as its default development server. Here, we also have to un-command the rack-cars gem. We are also going to add the active model serializers gem. With ration, 0.10.0.rc3. We want active model serializers to be able to control the chase output of our API, since rails would just apply the two chase method. Let's hop back into the shell and do a quick panel install to get a new chance. And we are golden. Well, almost. And by users JSON API as its default adapter since version 2.0, which is a great thing because it's standardized and well documented. Your only downfall is, there are changes a lot, in terms of data processing on the server side. And we will have to make a few adaptions. As you can see it has many top level keys, which here are links, data, and inclusion. You can also see the way multi word keys are displayed, with dashes. This is no hard proof. But a suggestion by JSON API, and it's good to stick with the defaults, if you can. Right now, active model serializers doesn't have an option to change to key format. We could, of course, change the adapter on the Ember JS side of things, but why should we change something that complies to standards? Right now, there is no pull request, which might have been already merged when you watch this. But I'm going to have to work around this issue in some way. So besides teaching you how to create an application in rails five and EmberJS, I'm also going to show you how to navigate through these issues when doing development with beta versions and the ecosystem hasn't adapted yet. Since I know this will probably be solved by the gem itself in a reasonable time, I'm doing the least amount of work possible to get this fixed. Here, it is creating a custom initializer or active model serializer that uses the part of the pull request that fixed the issue to subclass the already provided JSON API serializer adaptor from active model serializers and override three methods to texturize the keys. All that is left to do is to register the new adapter with active model serializers. And then use this adapter as the default. With our customization finished, I'm going to add something that I normally do with all my APIs, and that is to create a root controller with an index method and supply the URLs to our resources, of which we have none right now. But if we want to point to the client's resource, for example, we would add a key with the resource name and then the URL to it. We also have to change the routes file to point the router out to this controller. To test if everything is working, let's fire up the server for the first time. In the shell, run bin/rails server. You can see Puma is loading. And when we switch to the browser and wizard, local host or three thousand, we can see our empty hash that gets rendered by root controller. Since there was no error during boot and request time, we know our class time adapter hack is working as well. So, in this first episode, we initialized a rails application in API only mode, we configured cors, and added active model serializers with a custom hack to work with JSON API. In the next lesson, we are going to add our first two resources. Which are going to be, contacts and companies that we want to manage in our CRM application. See you there.


