
 Lessons: 14Length: 2.4 hours
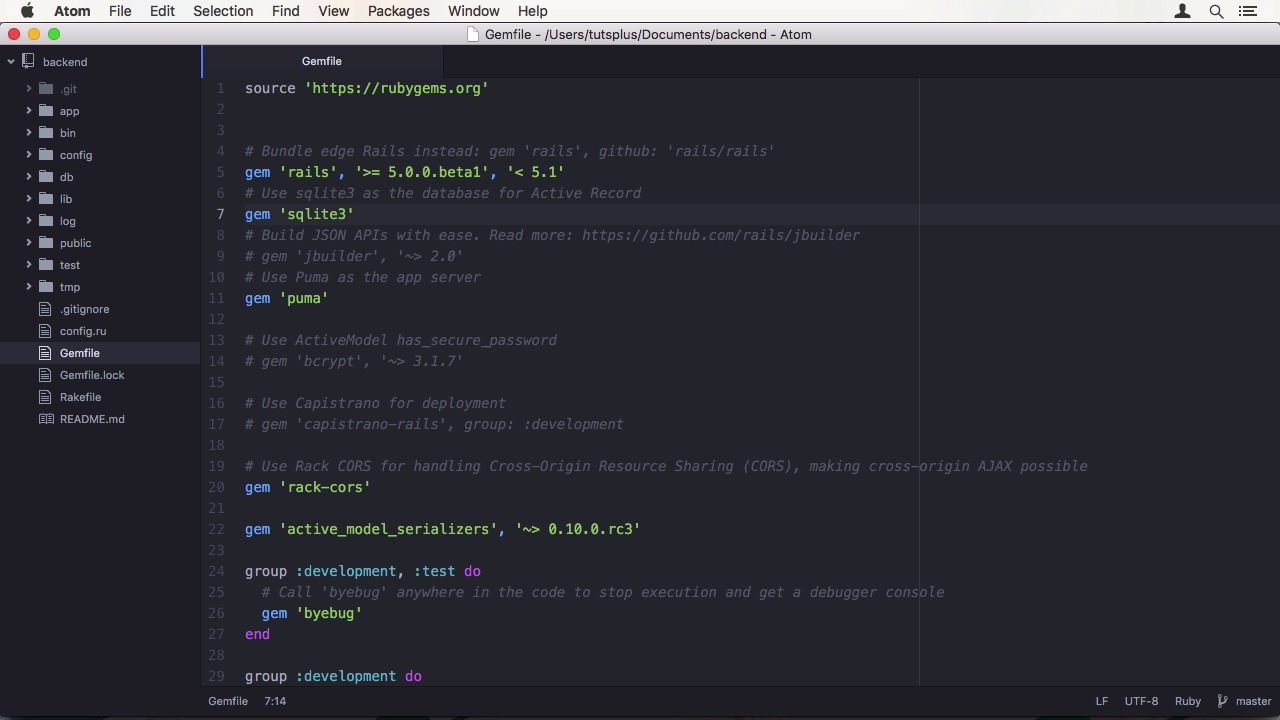
- Overview
- Transcript
4.1 Deploy to Heroku and Amazon S3
Now that you’ve created this great app, it shouldn’t just run on your computer. Let’s deploy it! In this lesson, we will deploy the CRM to Heroku for the Rails back-end and to Amazon S3 for the front-end assets.
Related Links
1.Introduction
1.1Introduction01:05
1.2Project Overview03:23
2.Rails Back-End
2.1Generate and Prepare the Application09:19
2.2Create Companies and Contacts10:35
2.3Add Projects, Tasks, and Offers14:47
2.4Track Customer Interaction12:01
2.5Secure API Access07:46
3.Ember Front-End
3.1Generate and Prepare the Ember-CLI Application08:34
3.2Application Layout and Authentication15:36
3.3Manage Companies and Contacts15:54
3.4Manage Projects, Tasks, and Offers19:18
3.5Add Customer Interaction14:11
4.Deployment
4.1Deploy to Heroku and Amazon S308:28
5.Conclusion
5.1Conclusion03:02
4.1 Deploy to Heroku and Amazon S3
Hi and welcome back to Create a Full-Stack Rails and Ember app. In the last lesson, we finished our application and now it's time to deploy it. We will be using Heroku and Emerson s3 to do so. If you don't already have it, get the heroku toolbelt and follow the instructions to login with your credentials. I have also created an Emerson S3 packet that allows for public read. To actually deploy our application, we will use the ember-cli-deploy add-on. It is maintained by the ember-cli team. Specifically, we are using the Lightning Approach. Which means we will be deploying the assets to s3. Add the content of the index file to redis. We will then use to Rails backend to serve the content from redis. Since we are deploying our assets to a different domain, we need to use fingerprinting in Ember. Well, fingerprinting will be used regardless. Meaning the files get a hash appended to their names. What we need to set a pre-pinned option to our s3 package URL. Let's start with a backend. Since we need writers first. We have to create a heroku app with heroku create. This will create an app with a random URL. Then we need to add the heroku-postgresql add on to the app using the heroku dev plan, which is the free one. The same thing goes for heroku-redis. To use the redis URL from heroku, we can print it with heroku config:get REDIS_URL. We only need the part after the colon since the h username, which is just a dummy, actually breaks the URL in Ember deploy. In our frontend shell, we can export it as PROD_REDIS_URL and add the redis protocol again. Now we need to install the Ember-cli add-ons. First, ember-cli-deploy, and then ember-cli-deploy-lightning-pack. We can override the deploy file. It contains a lot of configuration already. I have exported the AWS KEY and AWS SECRET environment variables. And now I only have to set the packet name which is tutsplus-relationship. As well as the region, which is eu-central-1 or Frankfurt. Everything else is fine. Now we only need to set the prepend option for the fingerprinting functionality. It's going to be https://tutsplus-relationship.s3.amazonaw- s.com/relationship/. And don't forget the trailing slash. This folder is defined in the deploy file as well. To deploy the application, just run ember deploy prod. The last argument is the environment. Which you can also configure in the deploy file. To activate the current revision we have to run the command provided in the output. Back to our Rails backend. In the gem file, we first have to add the pg gem and a few others. We are going to limit the escalade jam to just development and test. Then we can create a new group for production. With the pg gem and the Rails then that out logging gem, which is part of the Rails trifecta gem you should have on heroku that also includes a gem for assets we don't need. We also need redis. After a bundle install we are good to go gem wise. But we have to also set Ruby 2.2.2 in our gem file. So heroku doesn't use 2.0 which won't work with Rails 5. Then we can do a git commit and a git push of the master branch to the heroku origin. After that is done, we also need to manually run the migrations on heroku. So the deployment worked. We verified that. Now we need to add the frontend support. We have to change the routes file. So we scope our API resources on the stash API. When we have custom domains, we could have used subdomains as well. But this is not an option for us. Then we also need to define a catch all route, that also points to route index. The second change is adding an initializer for redis, that sets a global variable to connect to the database provided by heroku. Our last change to adapt the root controller. We didn't use the URLs anyways. So let's reuse the index method. First we have to change application controller to action controller API so we don't get problems with the authorization code. Then we first need to fetch the current revision from redis. That is relationship:index:current. And then we render HTML from redis, the key relationship:index and then the current revision. Cast this to HTML save to avoid escaping. With our changes complete, we can git add, git commit, and git push to deploy it to heroku again. Now we just need to set the environment variables. First GOOGLE_CLIENT_ID and then GOOGLE_CLIENT_SECRET. In our Ember app, you also have to adapt the torii settings for production. First redirect URI to our application URL. And then the apiKey, which we can pass in, since it is going to be public anyways. Lastly, we also need to set the apiHost to our API namespace. Now we can commit our changes in Ember and deploy it with a --activate flag. So the revision immediately gets activated. The final step is to update the redirect URIs and their credentials for your app in the Google Developer's Console. We can put our deployment URL here. Now when we visit our deployed app, we can hit the login button and get signed in with Google. For this to work, you might have to wait a few minutes until Google updates its servers. Let's try it out by adding a new company. Add a name. And save. And here's our data, perfect.


