
 Lessons: 12Length: 1.9 hours
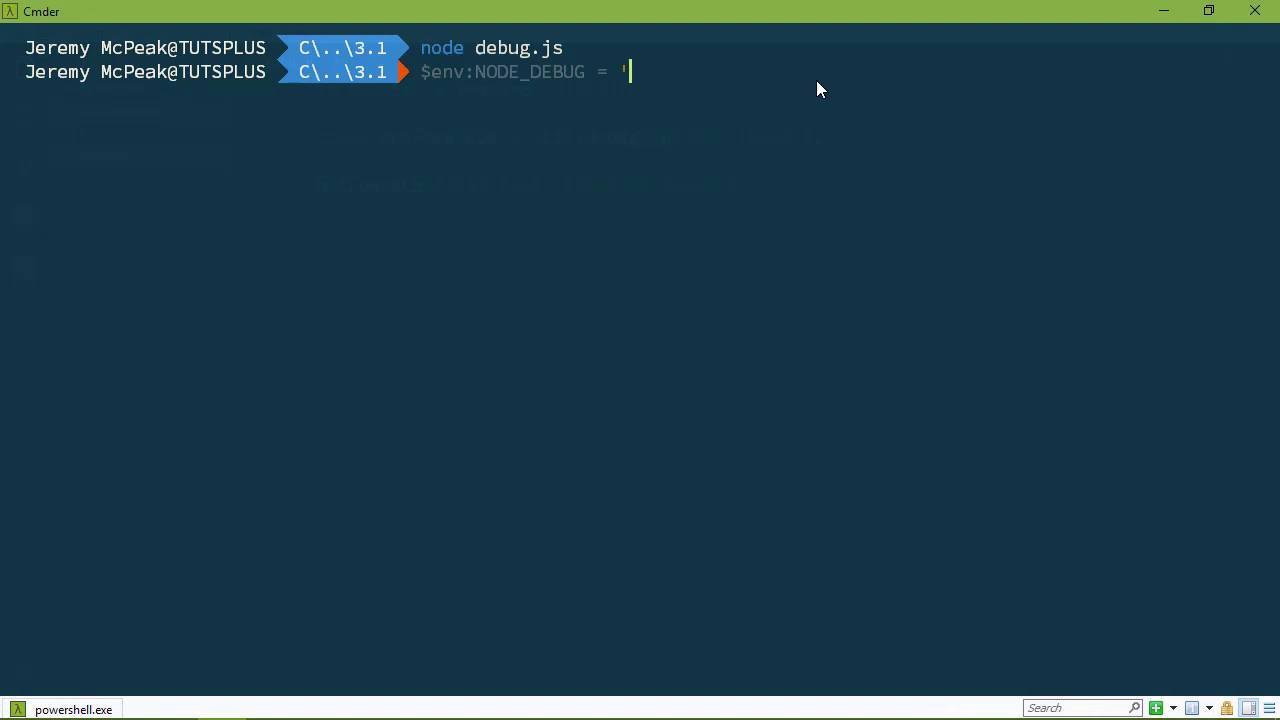
- Overview
- Transcript
3.1 The `util` Module
Node.js has a util package that provides many useful utilities. We'll look at the most common ones in this lesson.
1.Introduction
1.1Introduction01:50
1.2Getting Set Up07:33
2.Node.js Concepts
2.1The Event Loop and Async Programming10:29
2.2The Asynchronous Pattern12:06
2.3Using Readable Streams11:18
2.4Writing Is Just as Important09:57
2.5Writing Modules (and Other Stuff)14:57
2.6Writing an HTTP Server16:21
3.Tools for Node.js Developers
3.1The `util` Module11:18
3.2NPM11:23
3.3Creating a package.json File06:54
4.Conclusion
4.1Conclusion01:13
3.1 The `util` Module
In this lesson, I'm going to introduce you to the utility module. Now, it's actually called util, but I don't like saying util. I like saying utility. So that's what I'm going to call it and there are many useful utilities that the util module gives you. However, there's just a few that we're going to talk about. Because I would imagine that if you're going to use any of them, then these are going to be the most used. So let's create our folder, 3.1 and let's fire up code. Now since we're talking about tools, let me briefly talk about Visual Studio Code. This has nothing to do with node itself, but probably the most important tool that we use is our code editor. And as you've seen throughout this course, I use Visual Studio Code. Primarily because when it comes to doing anything JavaScript, Visual Studio Code is the best tool available. It just is. The JavaScript tooling is unparalleled. There's nothing out there that can give you the same amount of tools that Visual Studio Code does, except maybe actual Visual Studio. So if you are on Windows, Mac, Linux, it's cross platform. You can use it on your system and you can debug your node applications. It's built in right there, you can do it if you want and it also has a lot of wonderful JavaScript tooling. I'm sure you've seen the little pop-up occur whenever I've been typing code. So like for example, let me create this debug.js file. Because that's the first utility that we're going to look at. So if I do this, we are going to require util and then we're going to say, util. This here is called IntelliSense. And the Microsoft, they pretty much invented it. And there are many tools that kinda do IntelliSense, but none that give you this deep of support. It is a wonderful tool, especially if you are brand new to a new environment or a new package and IntelliSense can give you a lot of information about what is available here. Just like here, we can see all of the methods that are available. If you do plan on doing a lot of node development or spending a lot of time with JavaScript, I highly recommend Visual Studio Code. It is the best JavaScript code editor available. So the first thing we are going to look at is creating a debug log. Now so far, every time we've written something to the console, we've done so with console.log. Now that's okay, but this is also something that we would use primarily just for generalized messages. We don't want to flood the console with any type of debug information. The debug information is there primarily. So that as we are running or debugging our code, then we can see the messages pop-up to track things or to get a little bit more information there. So console.log doesn't really fit that bill. So instead, what we can do is create a debug log. So with the previous lesson in mind where we created an HTTP server, let's think about you know creating a debug log that would log any information when something was not found. So we could create this and let's make it a constant. A notFoundLog and we would use util dot and then we would call a method called debug log. We pass it a unique name, so that we could refer to this however we needed to. In this case, it's going to be not-found and this is going to return a function. So that we say, notFoundLog and then we would log our message. The page can't be found. Now of course, we would actually have some more information there. Let's do cannot be found. There we go, that single quote always gets me. And so let's go to the console and let's run that. So we will say, node debug.js and we don't see that message. Because by default, it's hidden. We essentially have to opt-in in order to see that message. Now, how we do that depends upon our operating system. It also depends upon the command line interface that you're using. So for Mac and Linux, you would say, NODE-DEBUG. This is an environment variable and we are going to change the value of this, so that it is equal to whatever the log name is. So ours is not-found and then you would say, node and then debug.js. That would set the NODE_DEBUG environment variable to not found. And then whenever the program runs, you will see that message. Now if you're on Windows or if you're on Mac and Linux and you're using PowerShell, then the syntaxes, well, it's a little different. If you're on Windows, I recommend you use PowerShell and not just the normal command line interface just because PowerShell is so much better. So with PowerShell we would say, $env and then NODE_DEBUG = and then we set this to a string that contains the name of the debug log. So we're going to say that NODE_DEBUG = not-found. So that now whenever I run this, we see the message not-found. The page cannot be found, but what if we had multiple debug logs and we wanted to see them all at the same time? We have a not-found, let's say that we had one when an error occurs. So we will have a util.debuglog and then let's just call it ('error log') and let's write something to that log. So we will say, errorlog and ('error occurred'), and let's go to the command line. Now if I run this again, all we are going to see is just the not-found. We also need to opt-in to see the error log, as well. So for PowerShell, that's going to be the same thing. In fact, let's do that. But when it comes to the value that we want to set, we just separate the names with a comma. So we have not-found and then error-log. And whenever we run the application, we see both of those messages and the same thing passes on over to Mac and Linux as well. If you are using something other than PowerShell, then you say, NODE_DEBUG= and then not-found, error-log and then node and then debug.js. So there you go. Now if you wanted to clear this out, you set it to a star. So if you say, NODE_DEBUG=*. Or if you're on PowerShell, environment NODE_DEBUG=* that clears that out. That has to be a string, that clears that out. S if you run it again, the messages aren't displayed. So that's the first tool. The second allows us to inspect objects. So let's create a new file, we'll call it inspect.js and we want to, first of all, bring in the utility modules. So let's do that and the method is inspect, and then we pass in the object that we want to inspect. So let's say that we have a firstName that is set to 'John'. We'll have a lastName that is set to 'Doe' and that's okay. Now this by itself isn't going to do anything, we need to write it to the console or write it to whatever log that we want to see it in. But whenever we run this node, inspect, then we see that object printed out. Now if we wanted to add some color to it, we can pass a second argument. That would be an object, that would have a property called colors and we will set that to true. And in this case, we're going to see that the values change color. But everything else primarily stays the same. Now when it comes to methods, let's have a method called sayH()i that we just return a string that says 'hi'. That's real complicated. If we look at it, it doesn't really give us anything, except that it's a function. It would be nice if it kind of displayed more, but I can understand why it doesn't display more. Because if you have a really big method or function, then, yeah, you don't wanna see that onscreen. So that is a nice little utility. However, let's do this and let's inspect the util object, because that would give us a lot of information as to what is available to use. So if we go and let's clear the screen first, because this is rather long, then we can see all of the properties and methods. Now most of them are methods, but we can see those methods and what it provides. Now this format used to be pretty usefu, l but now it's not. This was for string interpolation, so that you wouldn't have to concatenate strings together. But we have that feature now built into JavaScript. So that might go away sometime. I'm not going to say soon, but sometime. The inspect method is what we are currently looking at, but then there's these other methods that I wanted to talk about. This is and then Array, Boolean, Buffer, Null, NullOrUndefined. These are useful if you want to try to figure out what type of object or value that you are working with. So let's comment that out and I'm just gonna put this here instead of creating another file. So let's write this to the console. We'll say, util is and let's do number and then we will pass in an actual number. Let's see what we get. We see that, that's true. If we pass in a string that contains a number, what do we get? We get false. So as you can see, there are many of these methods available. So they are a nice and easy way of trying to figure out what type of value or object that you're using. And that's it and there are many others, but those are the ones that you will more than likely use if you use the util module.


