
 Lessons: 12Length: 1.4 hours
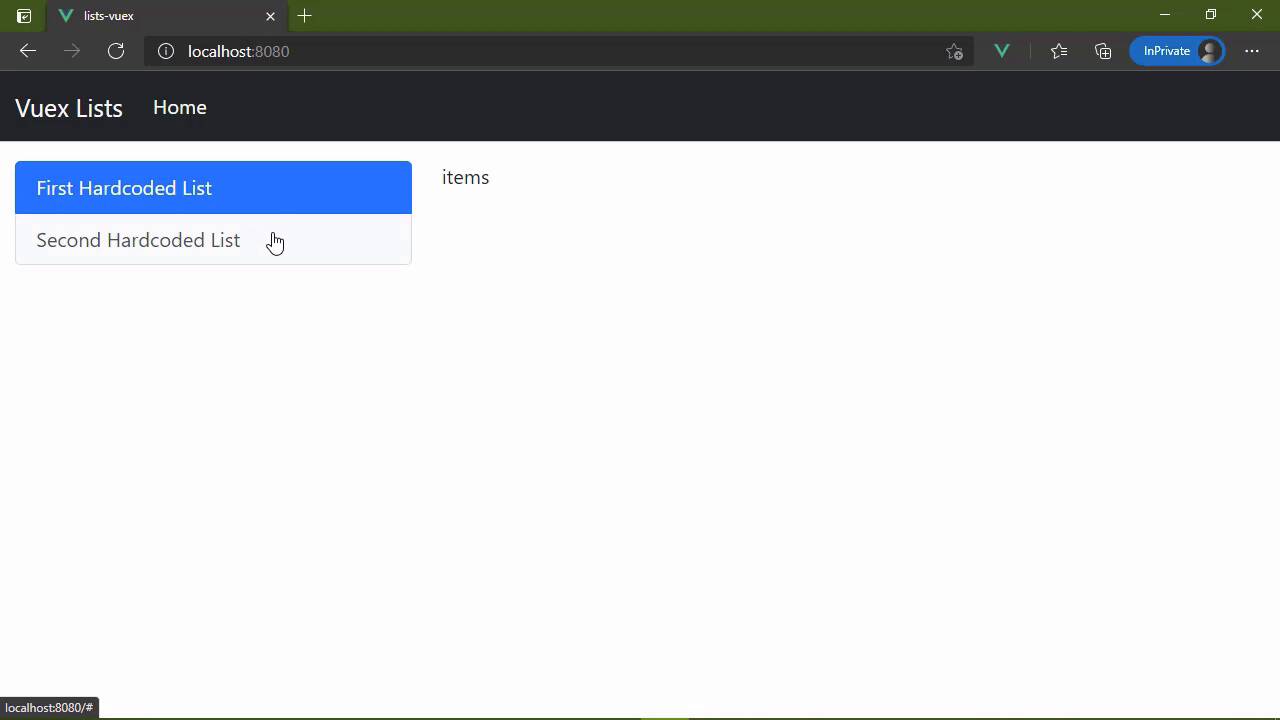
- Overview
- Transcript
2.4 Committing and Tracking Changes
We change state in our Vuex store by committing changes. You'll learn how and why this is important in this lesson.
1.Introduction
1.1Introduction01:25
2.Using Vuex
2.1Setting Up the Project05:54
2.2Displaying a List07:03
2.3Adding State04:57
2.4Committing and Tracking Changes09:03
2.5Using Getters to Compute Values08:44
2.6Dispatching Actions to Perform Asynchronous Work06:53
2.7Using Mapping Functions08:14
3.Advanced Vuex
3.1Using Vuex With the Composition API08:17
3.2Getter Methods09:04
3.3Don't Track Everything and Make Your Actions Chainable13:21
4.Conclusion
4.1Conclusion00:57
2.4 Committing and Tracking Changes
In the previous lesson, we finally started using our Vuex store for storing state. Now, of course, that state is hard coded but there's nothing wrong with that as we are developing our application. Eventually the lists within our state is going to be dynamically populated, but we'll get there, we have a few things to tackle first. Like for example, in this lesson, we're going to focus on the lists component, because I want to be able to track which list we click on. Now there is something subtle going on here. Whenever you click on one of these lists, you can see that the item that we click on has a very light gray background. Well, that is, of course, because these are links and the active pseudo class is being applied to those links, so that if we give anything else focus in the page, then that indicator goes away. But since we are using a bootstrap list group, there is a class that we can apply to whichever list group item that we want to be active. Now, of course, in this case, both of those are active and we don't want that, but that's the general idea, so that we can click on one of these lists and we will track which one is currently active. Now we're going to look at this in two different ways. Our first implementation is going to be what we would use for a typical Vue application. Because this is itself a component, it is typically responsible for managing its own state. So we would do something like this where we would have some data, we would have a property called list, or let's call it selectedListId. And let's initialize it as -1, so that the idea is that nothing is selected by default. So that whenever we click on one of these items, then we will update that selectedListId property. So we could do that very easily here by adding a click event listener. We will set selectedListId = the list.id that we click on. And then, of course, we want to dynamically add or remove that active class. So we're going to bind the active class to the condition that list.id = selectedListId. So very simple, straightforward. There's nothing new as far as this is concerned, and we can definitely see that that is working. Now, as I mentioned, for a typical Vue application, this would be our approach, because the lists component would then be responsible for managing its own state. And if we needed to update anything else within the application, then we can of course emit an event, saying that hey, this list was selected and inside of the Home.vue, it could listen for that event, and then load the appropriate items. But since we are using Vuex to manage our state, we can approach this in a completely different way, even to the point that our components become really nothing more than just the UI. And they simply react to the changes that occur within our state because our state itself is going to be reactive. And that's what makes this whole thing work. Our Vuex store is reactive, so therefore our components can react to those changes. So what we're going to do might not make a whole lot of sense just yet, but it will after we implement all of the functionality here. So we're going to get rid of this local selectedListId and instead we are going to add this to our Vuex store. We're just gonna add it as another property inside of our state. So that inside of the component, we are going to rely upon that state. So here whenever we want to apply the active class, we're going to use our store.state and then selectedListId. But then we need to do something to set this value. Now, the first thing you might think is we could do something like this to where we are just directly updating the selectedListId from our state. And this is going to work, from a functionality standpoint, that is perfectly okay. But that's not really how we are supposed to update our state. Instead, we want to mutate it. Now, I have specifically used that term mutate because if we go back and look at whenever we create our Vuex store, there is this property called mutations. This is what we use to update the state of our store. We don't do so directly. We write mutations and we use those mutations, and a mutation is nothing more than a method. So we can have a method called selectList. And there are two things that are passed to this method. The first is the state that we're working with, which is essentially everything inside of our state property. And then we have the payload that we are going to pass to that. So our method then could look something like this to where we would update our selectedListId = payload.id. And so then the question becomes, how do we execute this mutation? Well, we do so by using our store. This $store object has a method called commit. So we are committing a mutation. We pass in the name of the mutation that we wants to execute, and then we provide the payload. Since our list object has an ID property, we can just pass it in list, and that's going to be just fine. So if we save this, let's make sure everything is saved. And let's just do a hard refresh to make sure everything is loaded freshly. We can see that we have the same functionality. Now you might think okay, what did we gain there? Well, by committing our mutations, we have the ability to track the changes that are made to our Vuex store, which is incredibly useful as you're debugging your application. And eventually, if you have the Vue Developer Tools installed, you will be able to see that happen. Now in older versions of Vue, in Vue 2 and Vuex 3, there is the ability to actually see the Vuex store, see the changes that are made, you can actually roll back changes if you want to. But Vuex 4, which is the latest version, is not yet supported with the new developer tools. It will get there, but for right now, what we could do is use a plugin. So let's go to our Vuex store and we're going to import another function. It's called createLogger. And this is a plugin. So we're going to add another property to our initialization object, simply called plugins. And this is an array and each element in this array is a plugin. So we're going to call the createLogger function that is going to serve as our plugin. And if we go back to the browser, let's pull up the developer tools and let's go to the console. So right now, of course, we don't see anything, but whenever we mutate our data store, we are going to see that mutation. So we see the mutation that occurred, we see the time that it occurred. We can also see what the previous state was before the mutation. We can see what the mutation itself is, and then the state after the mutation. So we can see that selectedListId was -1. Then the mutation occurred, and now it is the value of 1. And we'll see the same kind of thing whenever we click on the selected hardcoded list. There's another mutation. If we dive in there, we can see that the previous state, selected ID was 1, then the mutation occurred. And now we have the new state. So by committing our mutations, we now have an incredibly powerful ability to debug our applications. If something isn't updating quite right, it's usually something related to a mutation. So we can see the mutations that occur. We can see the states before and after those mutations, and that is a wonderful thing. So now that we are tracking which list we select, we of course want to load the items for that list, and we will do that in the next lesson.


