

- Overview
- Transcript
1.3 Setting Up the Development Environment
In this lesson we will spend a few minutes learning about the Python virtual environment, how to use it, and why we use it. This is a very nice way to sandbox your app and all of its Python dependencies. We will also set up a new project and app using Django.
1.Introduction
1.1Introduction00:53
1.2Prerequisites05:48
1.3Setting Up the Development Environment07:41
2.Building the Rest API
2.1Creating the Invoice Model08:10
2.2Adding a Serializer05:06
2.3Getting All of the Invoices07:52
2.4Getting an Individual Invoice07:58
2.5Creating a New Invoice08:49
2.6Updating an Existing Invoice05:21
2.7Deleting an Invoice02:59
3.Conclusion
3.1Goodbye01:19
1.3 Setting Up the Development Environment
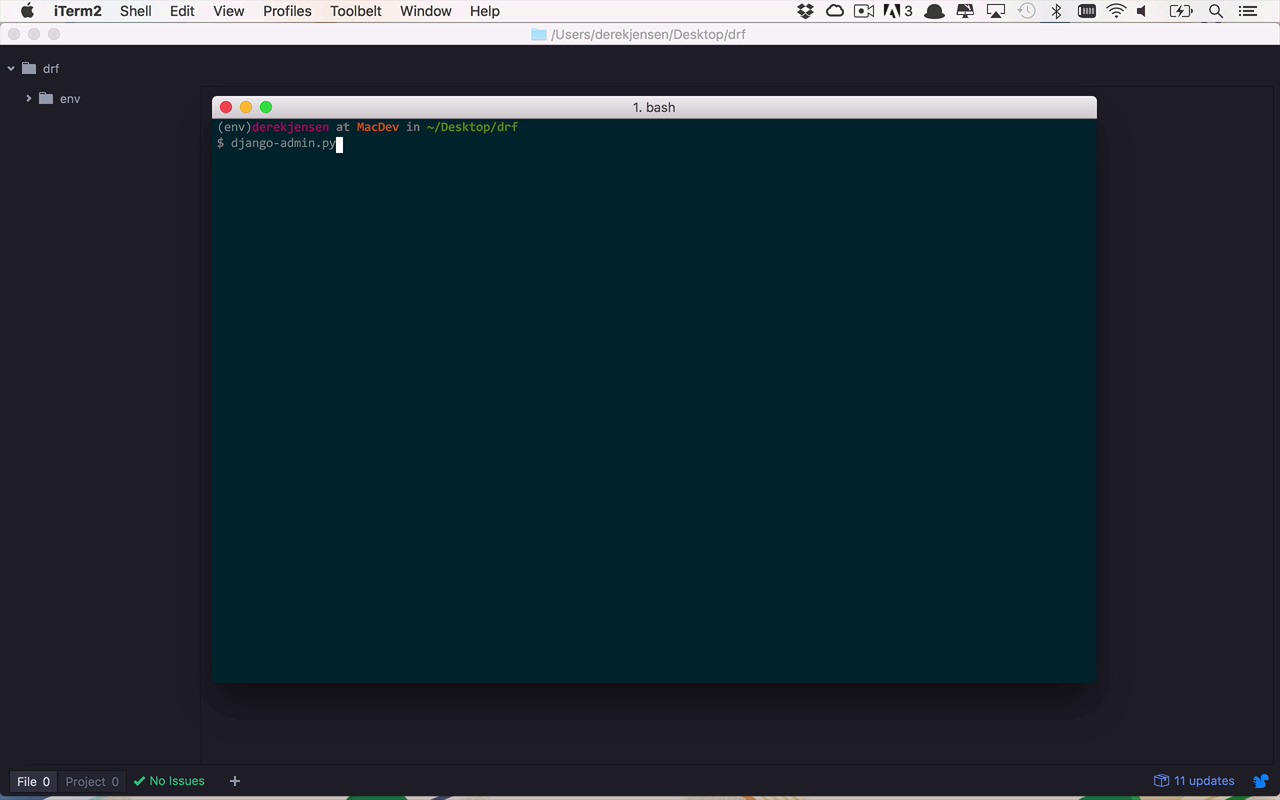
So now that we have all of our tools and knowledge ready to go, let's go ahead and build out our development environment by creating our Django project, as well as our Django app, and make sure that we have everything installed inside of a nice little sandbox known as a virtual environment. So we're gonna create a virtual environment within a folder that we've created somewhere on our machine, so as you can see here, on my desktop, I've created a DRF folder. Now within here, I'm gonna create what's known as a virtual environment. And a virtual environment in the world of Python is kind of like a sandbox, which means that you can do things within the context of this virtual environment that's not going to affect the things that are installed globally on your machine. So if I wanted to go through and start to build out Django applications, I could install Django globally on my machine but then I'm installing it a certain version on my machine. Maybe I overwrote a certain version on my machine and I start to get these versions kind of mixed up and crossed all over the place. So the nice thing about a virtual environment is that it's all kind of encapsulated in and of itself and it's not affecting anything globally on your machine. Everything is being contained within this environment. And that if I don't like it later on and I wanna use a different version, I can scrap this environment and just create a new one. So it's kinda nice. So let's start by doing that. So here I am within my DRF folder on my desktop. And I'm gonna start by creating a virtual environment using the virtualenv command. And I need to give it a name. So I'm going to call it env. But you could call it anything you want. And as you can see on the left here in Atom, it creates a folder that's going to contain a lot of the tools that are necessary to work with this environment, including PIP which is what we're going to use to handle the installation of Django and the Django rest framework. So before we can actually take advantage of this virtual environment, we have to activate it. And we activate it using the source command that we're going into ENV into the bin folder, and we use the activate command. So once we do that, now as you can see, the name of my virtual environment shows up before my command prompt here. So you can see in parentheses env. So that tells me that I am within this virtual environment. And if any point in time I wanna get out of it, I simply use the deactivate command and it will take me out of it. But I wanna be within my virtual environment for this course so that I don't overwrite anything that I have locally and everything is self contained here. So now that I'm in here, I can start to install the necessary tools that I'm gonna need to be able to create a Django application, as well as take advantage of the Django rest framework. So the first thing that I need to do is install Django. So I'm gonna say pip install django, and that's gonna go out and download whatever the latest version of Django is. In this case it is going to be 1.10.2. So now that has been successfully installed within my virtual environment. And now that I've installed Django, I can also install the Django REST framework in the very same fashion. And it's gonna go out and download the latest version of the Django REST framework, which happens to be 3.5.1. So now that I've done this, I can start to actually use Django to create my project as well as my app. So in this course we are going to be building a very simple invoiced-style application that's going to allow me to create an invoice, get a list of invoices, maybe update an invoice to track who owes me money and how much they've paid and things like that. So the way that we're gonna do this is we're gonna use some built-in tools that Django provides. And if you don't have much experience with these, then I would highly recommend you take a look at my Getting Started with Django courses that will go into much greater detail on what the Django admin script does and how to use it to create projects as well as apps. So the first thing that we need to do is create a containing project, and a project is really, like I said, a container for several different pieces of functionality that can be broken up into separate apps within that project. So in order to do that, we're going to use the start project command, and we need to give this a name. And I'm gonna call this the invoicesproject, but you could call it, once again, anything that you would like. That would be fine. And as you can see, it creates an invoicesproject container folder where I am in my virtual environment. So now I have my project. And now I wanna be able to create an app within that project. So let's go into our invoicesproject folder, and as you can see in here, I have an invoicesproject sub folder, as well as a manage.py file. And that file is what we're going to be able to use to do a lot of the maintenance of our, not only project, but as well as the subsequent apps within that project. So I wanna use that manage.py and I wanna start an app. So in this case I want to create an app that's going to house the functionality that I wanna build, and I'm gonna call this invoices. So this is going to start an app called invoices. So that's pretty much it for the command prompt at the moment. So now if we switch over to, Atom in this case, I'm gonna open up my invoices project sub folder, and you can see now that I have my invoices app within here, as well as some other supporting invoices project stuff within this folder here, and I have a manage.py here. So what I wanna do at this point is I want to go into my invoicesproject and I wanna take a look at my settings. So by default, when you create a project, it doesn't know about the applications that you want to use by default, cuz you create the project first and then you create the apps in subsequent steps after that. So you have to let the project know about the apps that you want to use in this particular case. So what you need to go down is take a look at the installed apps here and we need to let it know a couple different things. We need to let it know that we are gonna be using the rest framework that we installed when we installed the Django rest framework, so we're gonna need to let it know about that. As well as needing to let it know about the configuration file that was created in here for our invoices app, which if you look into invoices > apps, we have this InvoicesConfig here. We need to let it know about that as well. So if we head back over to settings, we also need to let it know that we need to use our invoices app, which is going to be found within invoices.apps.InvoicesConfig, just like that. So we can go ahead and save that. So that's pretty much all we're gonna need to worry about as far as the settings for the project. So we can close this out and we can close out our apps.py. And now that we have that set up and all of those things installed, we should be able to switch back over to our command prompt here. Let's clear this out, and let's go ahead and run our web server. So I can run my manage.py and I can execute a command here called run server. And it's going to start up my app server and you see here that we have some unapplied migrations. That's gonna be okay for the moment, we'll talk about the migrations in a few moments. So the next thing that I wanna do is I'm gonna open up a browser window and I want to browse to my local host. So I wanna go to 127.0.0.1 and I wanna go to a specific port here. And as you can see, if you look at my command prompt here, it's opened up on port 8000, so let's go to port 8000 and run that. And you can see now that it worked, so congratulations on your first Django-powered page. So we have Django installed, as well as the Django rest framework, and we have everything configured to a point where we now are able to execute our application and have it show up in the browser.


