
 Lessons: 13Length: 1.2 hours
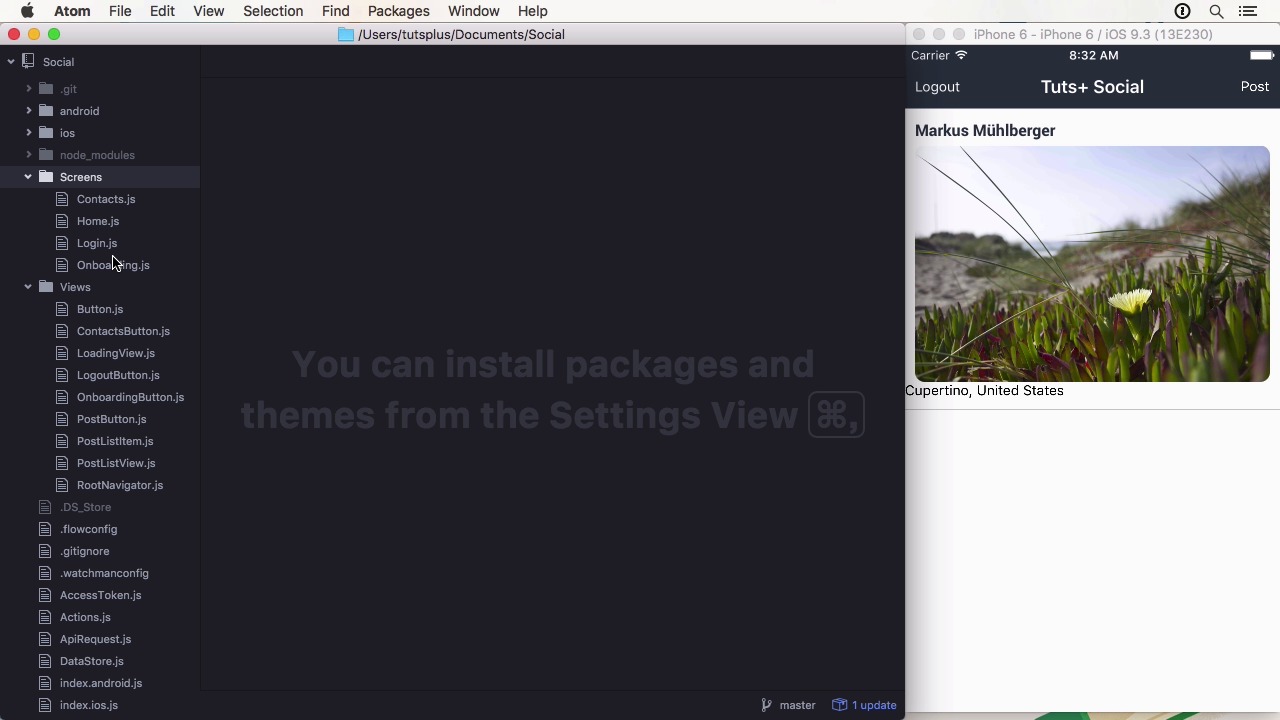
- Overview
- Transcript
1.2 Project Overview
In this lesson, I'll give you a brief overview of the course project: a social photo sharing app. I'll also show you how the course repository is organized.
1.Introduction
1.1Introduction01:03
1.2Project Overview02:01
1.3Installation and Setup06:50
2.Set Up the Project
2.1Create a Firebase Back-End06:22
2.2Design Your UI With React Native Elements06:08
2.3Create a Navigator With React Navigation07:30
3.Create the App
3.1Create the Login Screen13:42
3.2Add a Sign-Up Screen07:30
3.3Follow Contacts From Your Address Book07:37
3.4Post Images to Firebase03:32
3.5Show the Timeline04:20
3.6Add Location to Posts03:54
4.Conclusion
4.1Conclusion01:29
1.2 Project Overview
Hi, and welcome back to Build a Social app with React Native. In this overview lesson, we are going to look at the finished project and where the source code is located. In this course, we will create a photo sharing app using Firebase as a backing. The application will feature login and sign-up as you can see here. And also have a profile screen that displays the gravitar image, the name and some stats about the user. You can also add contacts from the address book, if it's a user with an email registered with the app. Although we don't use the following data for anything, it is good to know how to do it. The main functionality is, of course, posting and displaying images in a timeline. We are using an external image picker that can also use the camera on real devices. When uploading a picture, there is also location data attached to the post, so we can see where the image was uploaded from. To do this, we are using reverse geocoding with another library. Firebase plays an essential part as a back-end because its real time functionality allows us not to worry about refreshing the data. This gets done automatically. When we have a look at the code for a project, you will find everything in the root folder. I only changed the index.ios.js file, but you could certainly copy it over to the Android-specific one as well. Every lesson has its own commit and is tagged with the lesson number, as always. This was a very quick overview of the app. In the next lesson, we will get started by installing and configuring React Native and its dependencies. See you there.


