
 Lessons: 13Length: 1.2 hours
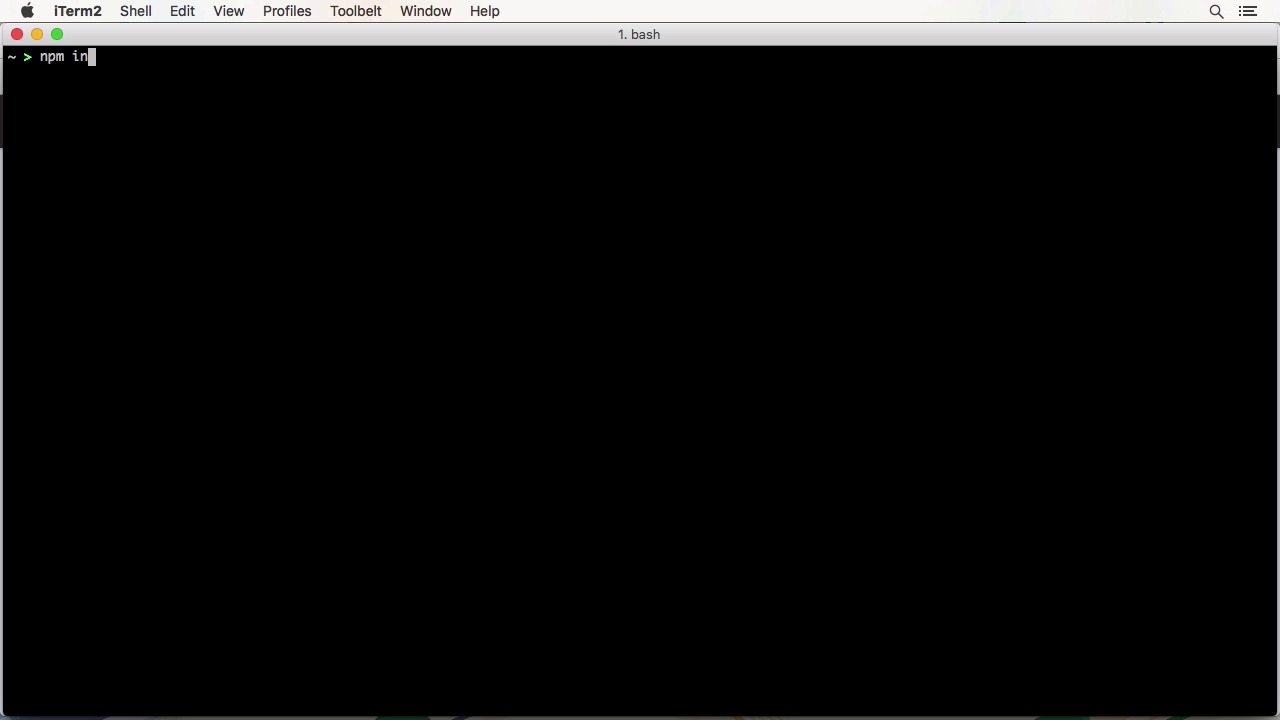
- Overview
- Transcript
1.3 Installation and Setup
It all depends on your operating system and target platform! In this lesson, we’ll have a look at installing the prerequisites for React Native on macOS for iOS and Android targets.
Related Links
1.Introduction
1.1Introduction01:03
1.2Project Overview02:01
1.3Installation and Setup06:50
2.Set Up the Project
2.1Create a Firebase Back-End06:22
2.2Design Your UI With React Native Elements06:08
2.3Create a Navigator With React Navigation07:30
3.Create the App
3.1Create the Login Screen13:42
3.2Add a Sign-Up Screen07:30
3.3Follow Contacts From Your Address Book07:37
3.4Post Images to Firebase03:32
3.5Show the Timeline04:20
3.6Add Location to Posts03:54
4.Conclusion
4.1Conclusion01:29
1.3 Installation and Setup
Hi and welcome back to Build a Social App With React Native. In this lesson we are going to install all prerequisites and dependencies and draft Native together. Before you can begin with the setup, you have to choose a target platform you want to start with. If you're on Windows or Linux, the choice is easy, you have to use the Android development environment. On Mac OS you have two options. You can either choose Android as well, or go with iOS. The setup is a little bit different between these two. This doesn't mean you can't develop your app for both platforms. To get started, it's just easier to start with one. In this lesson, I will cover the installation steps for both macOS options. Some of the setup steps for Android are similar on Linux or Windows, especially when it comes to configuring the SDK. Okay, let's get started. To install React Native for macOS, you need node.js and Watchman. The easiest way to install them is by using home root. You can do this with the command brew install node and brew install watchman. On Linux you can install nodejs by using the install instructions for your distribution. On Windows the React Native team recommends Chocolatey. Choco install nodejs.install and choco install python2 are the commands you need to use. Next is the React Native CLI. Be sure to install the CLI and not React Native itself. You need to use npm for that and run npm install -g to install it globally, React Native CLI. When you want to get going with iOS, then you have to download and install Xcode from the Mac App Store. This will also install the simulator and other necessary tools. After installing, you need to also install the Xcode command line tools, so React Native can automatically compile and run your code on the iOS assimilator. Normally, this gets done when you install Xcode, or, a least, when you start it for the first time. And yourself. This is everything you need to get started with iOS. Let's try it out by generating a new project and running it. To initialize a project, call react-native init and let's name it AwesomeProject. Then we change into this directory and run React Native run IOS. Awesome, this welcome screen means you are running your first React Native app. If you get an error about instruments not being found, make sure you have selected your build tools by running xcode-select -r to reset the defaults. You might also need to use Studio for this. When you want to use Android, there are a few more steps to do. First, you need Android Studio, which provides the Android SDK and the emulator. You also need the recent version of the Java Development Kit. Choose the custom installation, and make sure that the Android SDK, Android SDK Platform, Performance Intel HAXM and Android Virtual Device options are checked. The performance option won't be available on Linux. Then we need the actual SDK. React Native, at the time of the recording, requires Android 6.0 Marshmallow. To install it, you need to launch the SDK manager, in Appearance & Behavior > System Settings > Android SDK. Or you could just use the little icon to the settings on the welcome page. There are four packages you need to install from the Android 6.0 category. Make sure they are all checked. These are Google APIs, Android SDK Platform 23, Intel X86 item 64 system image, and Google APIs Intel X86 Atom 64 system image. Finally, from the SDK tools, we need to the Android SDK build tools 23.0.1 package selected. To download and install these, click Apply. The React Native CLI needs to know where the SDK is located. In your .profile file for the shell you're using export the Android home variable. These locations are the defaults. If you changed them during installation, they might be different. For Windows users, setting an environment variable is a bit different. Please check that React Native documentation on how to do that. Before we can run our React Native app on an Android device, we need one. To create an AVD, launch GAVD Manager from within Android Studio. You can do that easily by opening the project in Android Studio and clicking on the icon that looks like a smartphone. You should already have an AVD that Android Studio created for you. We just need to tweak some settings. Choose Android 6.0 API level 23. And there's a target setting. And enter item x86_64 under CPU ABI. Then click OK and start the emulator. If you have a physical Android device, you can also use that after you enable USB debugging on it. If everything is set up correctly, we can now run react-native run-android in our sample project and see it in action. To recap, in this lesson, we have installed all prerequisites for developing a React Native app. In the next lesson we will set up a firebase app that acts as our backend. See you there.


