
 Lessons: 13Length: 1.2 hours
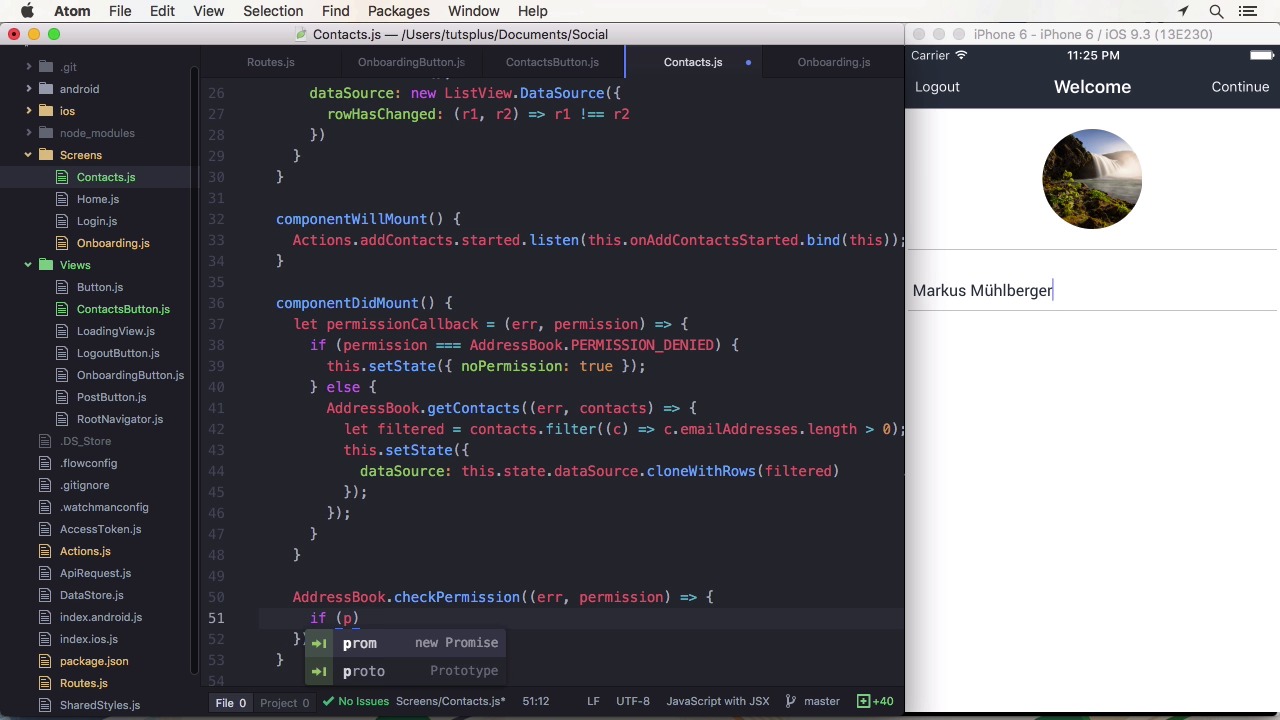
- Overview
- Transcript
3.4 Post Images to Firebase
In this lesson we are going to upload pictures from the photo library to the Firebase back-end with an external picker component.
Related Links
1.Introduction
1.1Introduction01:03
1.2Project Overview02:01
1.3Installation and Setup06:50
2.Set Up the Project
2.1Create a Firebase Back-End06:22
2.2Design Your UI With React Native Elements06:08
2.3Create a Navigator With React Navigation07:30
3.Create the App
3.1Create the Login Screen13:42
3.2Add a Sign-Up Screen07:30
3.3Follow Contacts From Your Address Book07:37
3.4Post Images to Firebase03:32
3.5Show the Timeline04:20
3.6Add Location to Posts03:54
4.Conclusion
4.1Conclusion01:29
3.4 Post Images to Firebase
Hi and welcome back to Build a Social App with React Native. In this lesson we are going to finally post some pictures to the timeline. We're going to use another library to conveniently receive picker that can add the picture from the library or the camera. It is called react-native-image-picker, and we have to install it with yarn add react-native-image-picker, as well as link the native modules with react-native link. Like before with the contact, we also need to ask for permission to access the library and the camera. This can be done in the Xcode project again. The image picker needs to be imported and I want to access it by adding a button to the header. Since we are going to need the component as a reference, we need to be a bit tricky about it. In componentDidMount, let's add a call to navigation.setParams and pass the hash with the key showImagePicker and the value of this._show ImagePicker.bind with the parameter this. That allows us to reference the function with the component as a context so we can query the properties, state, and so on. Okay, let's add the onPress call back to the button. We can access the function through navigate.state.params.showImagePicker and call it. Now we have to implement the image picker function to show the image picker and give some options. I only want to allow photos, no videos, and set the quality to be way lower. I also want the title Select Image for the picker. After an image has been picked we get it in a callback that contains the image as a parameter. Firebase storage would be ideal to store the images. But, unfortunately, storing files there doesn't really work with React Native. So I'm going to store it in the database as a base 64 encoded image. The image picker provides us with the data for it. We just have to upload it to Firebase. This can be done by using this props.firebase.push to the post resource and pass the user_id, which we can get from the auth props, as well as the created_at property from the current date. The milliseconds can be retrieved with getTime, as well as the image data. In my example, I'm just using the JPEG MIME type, but you probably want to add MIME type detection for your code. With that, we have completed our image upload functionality. Let's try it out. There are a few stock images in the photo library in the simulator. I'm going to post a few images as various users so we can see more content in the next lesson, where we are going to display the images we have been uploading. See you there.


