
 Lessons: 13Length: 1.2 hours
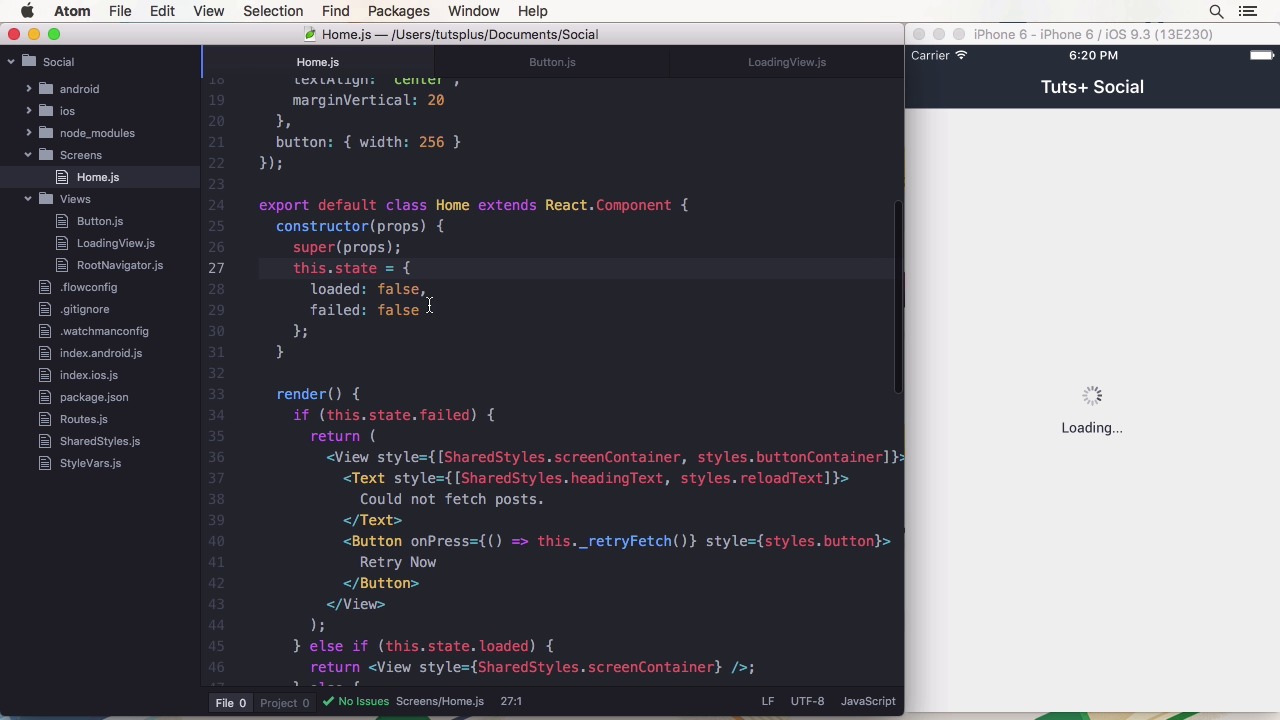
- Overview
- Transcript
2.3 Create a Navigator With React Navigation
In this lesson I’ll show you how to use React Navigation, a complete navigation library, recommended by the React Native developers.
Related Links
1.Introduction
1.1Introduction01:03
1.2Project Overview02:01
1.3Installation and Setup06:50
2.Set Up the Project
2.1Create a Firebase Back-End06:22
2.2Design Your UI With React Native Elements06:08
2.3Create a Navigator With React Navigation07:30
3.Create the App
3.1Create the Login Screen13:42
3.2Add a Sign-Up Screen07:30
3.3Follow Contacts From Your Address Book07:37
3.4Post Images to Firebase03:32
3.5Show the Timeline04:20
3.6Add Location to Posts03:54
4.Conclusion
4.1Conclusion01:29
2.3 Create a Navigator With React Navigation
Hi, and welcome back to Build a Social App With React Native. In this lesson, we are going to add navigation to our application. React Navigation is a library that allows you to easily add navigation to your app. It offers a number of common navigators. A Navigator lets you define your app's navigation structure. Let's have a look at a few common ones. The most simple one is the Stack Navigator. Every time you transition to another view, it gets pushed on a pile. On iOS the view appears from the right. On Android, it slides up from the bottom. If you want to go back, you remove the views one by one from the Stack again. A Tab Navigator offers different tabs that can be opened directly from anywhere in the app, by using a tab on the bottom of the screen. Finally, there is the Drawer Navigator, you can pull it in from the left. Some apps use it in iOS, but in my opinion this is more an Android style navigation. It all depends on if it makes sense for your app. If you define a path with your navigation item, you can also deep link to specific items within your app. It takes a bit more setup work in the iOS or Android project, but it's certainly possible. In a class project, we are going to have two types of navigators. One will be the tab navigator which we will use to switch from the timeline to the profile and back. And the second is the stack navigator for everything else. Let's build something. First all of we need to install the React Navigation library in our project. This can simply be done by running yarn add react-navigation. Now let's get rid of almost everything in the index.js file. We only need the bare minimum of the inputs, React and the AppRegistry. This means we can also get rid of the main component for now and the stylesheet. Okay, let's import the StackNavigator and TabNavigator components from React Navigation. We will keep everything related to the navigation in this file. If you are creating cross platform apps, you might want to extract the navigation into a separate file as well. This is what we are going to do in the next lesson. Now let's start with the MainNavigator. It's a TabNavigator that has two tabs, the timeline and the profile. Each receives its own navigator again. The ProfileNavigator is purely for optics. Since it is the easier solution for me to add a navigation bar to the top, although there isn't any navigation going on for now. You will do the same when you are developing pure and native apps. So we need a TimelineNavigator. First of all, let's add the navigation. I'm going to have a timeline screen to show all posts, as well as a PostDetailScreen that shows a single one. And we'll get a path so we can receive the post study conveniently. It also needs a title, and a tab icon for the tab bar. This goes into the navigation options property, we have to set afterwards. Luckily we are using React Native elements so we can use the many icons that are provided for us there. The tabBarIcon attribute takes a function and provides us with a tint column. That needs to be changed to indicate if a tab is active or not. If we didn't do this, the icon would just be black. For a TimelineNavigator, I'm going to choose the image icon. The ProfileNavigator is much simpler and only gets one screen, the ProfileScreen. The icon I'm going to use here is going to be account-box to match the style of our image icon. I'm going to import the icon component from React Native elements so we can use it. Finally, we have to create an import to various screens we are using. I'm going to import them first, which will make the app throw an error for now. Luckily, we have a ProfileScreen already. The components can be very simple right now. I'm going to import React and Component as well as Text and View. The preferred export will be to class Timeline Screen which extends from Component. It has the static variable navigationOptions. That just specifies the type of photo navigation bar. In the render method, I'm going to return a text component that displays the name of the component. I can also copy it for PostDetail js and just update the name and attributes. And we're done. The navigator is fully working and shows two tabs with our icons as well as the navigation bars for both. Let's take it a step further and try out the stack navigator. I'm temporarily adding a button from React Native elements and make it start to transition. In the onPress call back, I'm calling navigate on the navigator which is available on the props and pass it the screen name, in our case Post as well as the parameters, here post_id. Because it's so easy, I'm also adding a second button that displays another post_id. In the PostDetail screen, I'm going to access the navigator from the props and read the parameter from its state to display it. Let's try it out. The first button leads me to a post with id 1, and the other to id 2, great. To recap, React Native is an easy drop-in solution to solve the navigation problem. It has different types of navigation that can be combined and nested. If you want you can also create a custom navigator. Deep-linking to specific screens in your app is also possible with paths. In the next lesson, we are going to start with the app functionality beginning with the login screen. See you there.


