
 Lessons: 10Length: 1.2 hours
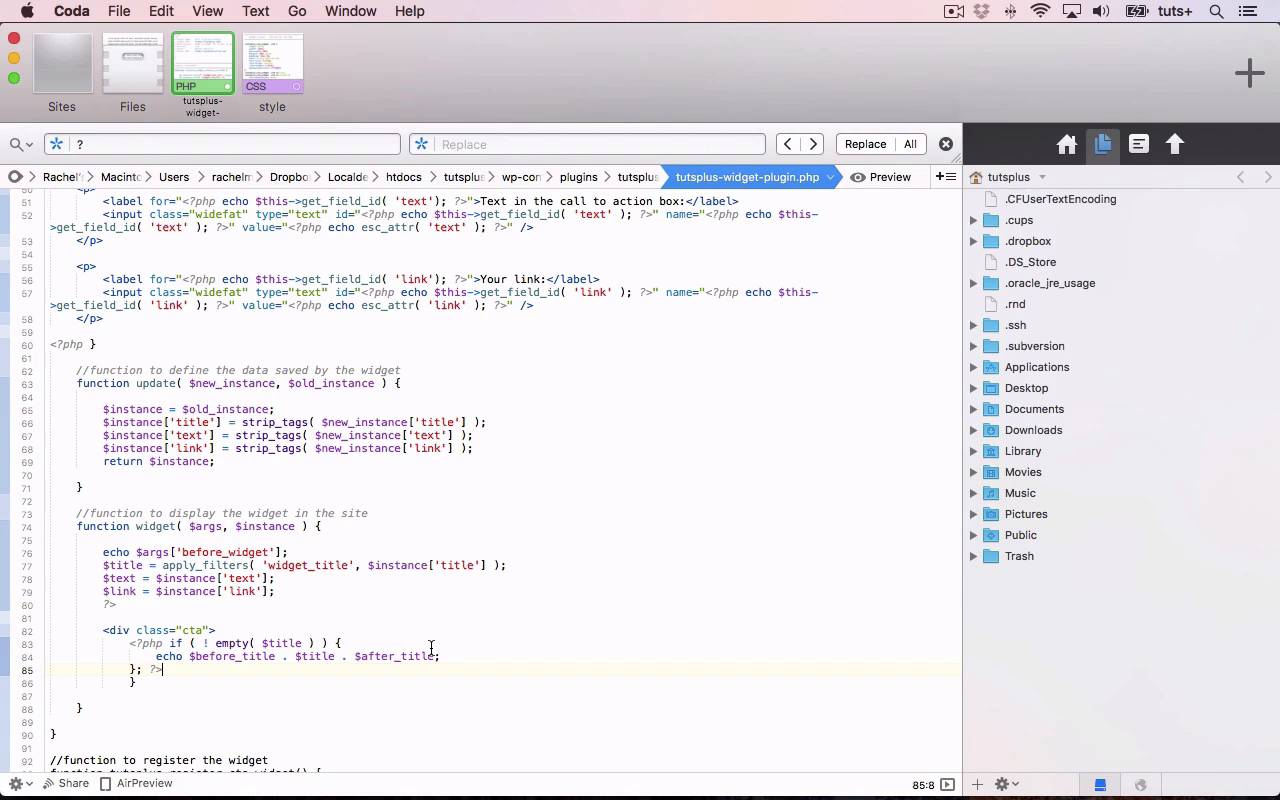

- Overview
- Transcript
5.2 Save User Edits to the Widget
In this lesson, you’ll learn how to write the code to enable user edits to your widget to be saved. You’ll also learn how to output your widget in a widget area.
Related Links
1.Introduction
1.1Introduction00:59
2.Plugin Best Practice
2.1Best Practice for Coding Plugins06:48
3.Creating a Hook-Activation Plugin
3.1Action and Filter Hooks06:26
3.2Coding a Plugin for Activation With a Hook11:47
4.Creating a Shortcode Plugin
4.1Creating a Simple Shortcode06:23
4.2Creating a Shortcode With Editable Content05:40
4.3Creating a Shortcode With Editable Parameters10:21
5.Code a Widget Plugin
5.1Creating the Widget12:23
5.2Save User Edits to the Widget10:30
6.Conclusion
6.1Conclusion02:52
5.2 Save User Edits to the Widget
Hello and welcome back to this Tuts+ course on practical projects to learn to code plugins. In this part of the course we're gonna continue to create our widget. In the previous part we've added the code for our widget class. So we constructed the widget, and we constructed the form to display the widget here in the Widgets screen, the Widgets admin screen. And you can also find it in the Customizer. But so far this widget won't actually do anything. We won't be able to save any data to it, and it won't display in any widget areas, despite having been added here. What we need to do is add a couple more functions to that class in order to get it to work properly, so let's do that. So here's our plugin file with the code for our widget. And here we have the class, let me just highlight all of that code. So we're still working within that class, and after the code that we've already created. And again I'm gonna use commenting to remind me of where I'm up to. So we're now adding a function which will define the data to save, and save it. So we add a function called update, which has two parameters, the new_instance and the old_instance. Both of those are variables, which we'll define in our function. So we need to first define another function called instance. And first we start off by defining that as the old_instance, and you'll see in a moment that that's the previous data that was already there. So our instance of the title is the new_instance of the title, if there is a new_instance. So in other words, first we define instance as the existing data that's already there. So if you open up this widget and there's already data in it, it'll define instance as that. But then if you change that, it'll redefine instance for the title as the new version of that data. And then we'll add the same for the text and the link. And then finally, we return the value of instance. We'll then use this array of values, this instance array, in our function which we're writing next, to output the widget on the site. So let me just check, I've got all my braces okay, yeah. Now the next thing is to write the function to display it on the site. So this has two parameters, args and instance. So the first thing we do is echo out any arguments before the widget. And those aren't defined here within our widget, but in the general definitions for the widget area. We then go on to define some more variables, using our instance array that we've already used, and output those. And I'll code that, and then work through it with you. So we're first echoing out any arguments before the widget, and then we're defining three new variables, title, text, and link. Text and link are simply what's been defined here in our update function, and the title applies a filter to the widget title. So we now close our PHP, and start to code some HTML. And this will start to look familiar. So here we're starting our div cta, and then if the title isn't empty we eco that out, with before and after the title first. And those WordPress variables that allow you to define what goes before and after titles of widgets. You can change those when registering a widget area. So let me just check my braces again. Yep, that's all looking good. So we've now got that, let's just close that div for tidiness. And a bit of spacing so we can see what's going on. So next after the title I want to echo the link and the text. [INAUDIBLE] [INAUDIBLE] So I'm now echoing out the link wrapped around the text, in a similar way to how we did earlier round with the other plugins that we created. And then that div is closed, and then we also need to echo arguments after widget. I'm gonna copy this, And paste it there, and for the sake of keeping my variables separate, I'm gonna add those up here. So let's add some more commenting. Okay so let me just check all my braces again, that's my class. I've got another one here that's not got a use, so let me just double check. So that one there, That's my widget function, So that should be there, and that should be deleted. I think I've got too many braces, so that's the brace around my class. And this is the function I added for the data, and then this is the function I added for the output. So I've already registered the widget, and that means my code for the widget plugin is complete. So now let's try it out. So I've added it to my sidebar, I'm gonna keep the Title empty. I'll add my text, and I'll add just a blank link there, and I'll save my widget. Now that's not saving, so let's just check what's going on with my code. Right I've spent a little bit of a time going through my code, and I've realized that it's that that I got wrong. With this escape attribute, it needs to be the variable itself. So it needs to be this variable that we've defined down here. So let's try saving that, and now I'll try typing some text in here. And I'll just put a hash for the link, save that. Not saving, but it is putting your text here and your link here, [LAUGH] so that's something. Let's go back and have another look. Right so I've gone through this in detail, you can see how easy it is to make tiny little mistakes on such a big, massive code like this, that will impact on the whole thing. And what it was was here, I had to get_field_id for the name of my input, and it should have been get_field_name. So I've changed each of those, the three instances of that, and I've saved it. And now when I go into my site, it will work. So now I'll save that, and that's saved correctly. And now we'll see, when I get into the site and refresh it, here it is over in my widget area. Now I don't like the styling of this very much, it's a bit garish. And for some reason it's got padding, or it's got margins here, that's making it look a bit odd. So you can see that I've now fixed it, so when you hover over it the color changes and you get underline, and it's nicely set out in my widget area. And let's just take a look at the code, and change the margins, the width, and the padding, so it was all layout CSS. And you'll find that if you're converting something that's originally designed to go into the flow of your post, to put into a widget area, you'll need to adjust that so that it looks right in your widget area. So that's how you create a widget plugin. In the next part of the course we'll run over what we've covered in this course, and recap on what you've learned. See you next time, and thanks for watching.


