
 Lessons: 10Length: 1.2 hours
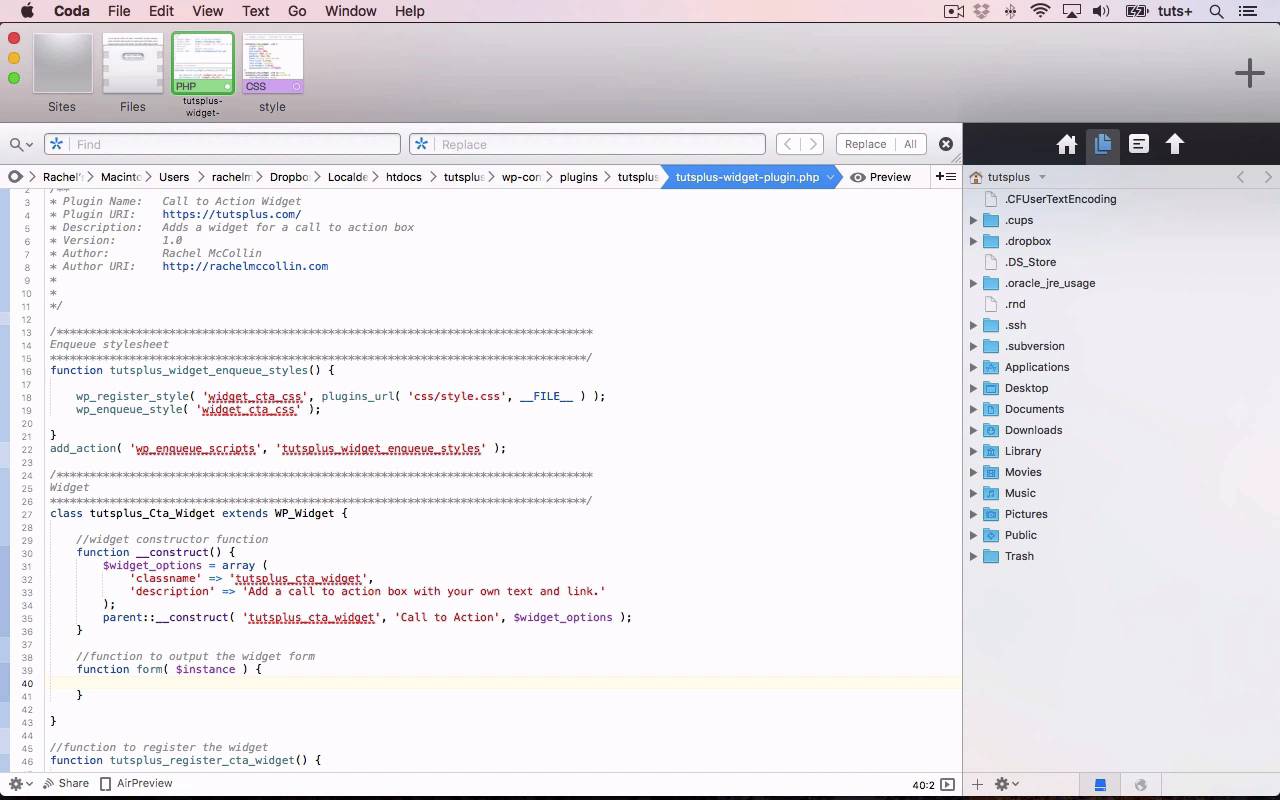

- Overview
- Transcript
5.1 Creating the Widget
In this lesson I’ll show you the basics of coding a widget plugin, and we’ll write the basic code to create the widget.
Related Links
1.Introduction
1.1Introduction00:59
2.Plugin Best Practice
2.1Best Practice for Coding Plugins06:48
3.Creating a Hook-Activation Plugin
3.1Action and Filter Hooks06:26
3.2Coding a Plugin for Activation With a Hook11:47
4.Creating a Shortcode Plugin
4.1Creating a Simple Shortcode06:23
4.2Creating a Shortcode With Editable Content05:40
4.3Creating a Shortcode With Editable Parameters10:21
5.Code a Widget Plugin
5.1Creating the Widget12:23
5.2Save User Edits to the Widget10:30
6.Conclusion
6.1Conclusion02:52
5.1 Creating the Widget
Hello, and welcome back to this Tuts Plus Course on Practical Projects to Learn to Code Plugins. In this part of the course, I'm gonna show you how to create a widget plugin. And that widget will output a call to action box, similar to the ones that we've been coding earlier on in our shortcode and our function activated by a hook. Coding a widget is significantly more complicated than the previous two examples, so we'll do that in the next two parts of the course. So, in this part, I'll show you the code that will create the widget that you can then populate in your widget screen. But having done that, the widget won't actually work, it won't save any data and it won't output to the site. That's what we'll cover in the next part of the course. So let's get started. Here's my widget's plugin, and it starts in a very similar way to the other plugins that we've already been working with. So again, I've encued my style-sheet, and under that I've got space for my functionality and my code for my widget. Now, there are two elements of creating a widget. The first one is that you have to create a class because when you're creating a widget in WordPress, you use the wp widget class, and you extend that to create your own widget, which I'll show you shortly. The other thing you do is create a function to actually register your widget. So let's start with the class. So you can see here that I've got a unique name, including my prefix for my widget. And the extends: WP_Widg. Unlike a function, you don't add brackets there. And you'll also see that the capitalization is different. You use a capital for the CTA and the widget. I'm not using it for tuts plus because that's my prefix that I use in lowercase with all of my code. So that's my class, and I'll be populating that shortly. The other thing we need to do is write that function. So because there's gonna be a lot of code here I'm gonna add comments, plenty of comments as we go along. So that's my function which will register the widget. And I use add action to hook that to the widget's init hook So my first parameter is widgets init. And my second parameter is the name of my function. So that's a hook provided by WordPress which you use when setting up any widget. And within my function, I just use one line of code. And I use a function provided by WordPress called register widget. And that has one parameter, which is the name of my widget that I've defined up here. So that's the easy bit. Now, let's start creating this class. The first thing to create is something called a constructor function, and that's the basic code that constructs our widget. So again, I'm adding comments so I know what's going on, because there's a lot of code here. So that is how you code a construct function. Function, double underscore, construct. Inside my function, I write the code to actually construct that widget. So I'm defining two variables here, but I've missed something out which is that needs to be in an array of variables. Making sure I spell it correctly. And that's widget options, which is my array. I'll indent those so I can see they're inside my array. And then close my array. And then finally Let's correct that typo, there. So the first thing within my class is this constructor function. So I open my constructor function. And then within that, firstly, I define an array of variables, which are the widget options. Firstly, the classname, which will be used when outputting it. And I'll have been used that with my styling. And then, the description. And that's text that will appear in the widgets admin screen or in the customizer when you're editing the widget in WordPress. And then finally, we need this parent::__construct function which has three parameters. The first is the name of our widget, which is different from this class name here, it's the widget itself. The call to action is the title of the widget. And then the widget options variable. So that's our first function within our class, which is the constructor function. We then need to write another function which will define the form. And within that, we add all the HTML which will be output to display the form in the widget screen. We start in this by defining some variables, and then we go on to code that HTML. An instance is a parameter we'll be using within our function. So let's take a look at this piece of code which might look like double Dutch to you. What it's doing here is checking whether title in this instance of title is empty. If is not empty, the title variable is set as the value of title in this instance of the form. If it is empty, it's therefore blank. The first parameter here is what it's set at if it's not empty. And then, this blank here, is what it's set at if it is empty, if that makes sense. So we then do that again for the text and the link. And I'm gonna copy that and paste it, and then edit each line because that's quicker than typing the whole thing out again and again. Now, in this case, I'm gonna set a default value which will be populated in my form. So I put those in the form to give people a little bit of a clue as to what they need to input. So now, we've defined those title, link, and text variables. We now need to start coding some HTML. So I'll close PHP, open a p tag, and then a label and a form. So first off, we have a label for the field with the id of title, this one up here. So it's a label for that field. And that's the label. And then, we output the text title. And close the label. And then, we need to add an input. So that's our first label and input. So you can see, we're using get_field_id repeatedly. And that's getting the ID of the field called title, which is taken from up here. So we've got title as the label for it, with it being a label for this field here, title. And this is an input, which is a text input, with an ID again that gets the field ID with a name that gets the field ID. And with a value that uses echo esc_attr, which is escape attribute, so no HTML is output. The title again. So that's our first paragraph with that label and input, and that's where somebody would input the title. Now, I'm gonna copy and paste that, and then edit it to do the next paragraph which will be text. And then finally, do the same again for the link. And I'm gonna make this a bit longer. So this title, text, and the call to action box in your link is what people will see as labels for these fields. So you can see we've got three almost identical paragraphs, one for each field. We then simply open PHP again, and that's the function to construct the widget and to output the widget form. So if I save those, we'll be able to see a widget form in our backend. So let's take a look at the widget’s page. And I’m getting an error. Let's go back to the code and take a look where that problem is. Right, what I've done is I've accidentally put a closing brace here where it should keep going right to down here. And I'm getting another error. Let's check that. All right, that's because I need another brace outside my class. Yeah, because it's registering this as being part of the class cuz that hasn't been closed. So again, let's save it. And here we are. We've got a call to action box. So I can then add that to my sidebar widget here, and you can see the default text is in here. Now, at the moment, if I change that nothing will happen. It won't save my data and it won't output it to the site. So in the next part of the course, that's what I'll show you how to do. See you next time, and thanks for watching.


