
 Lessons: 12Length: 1.4 hours
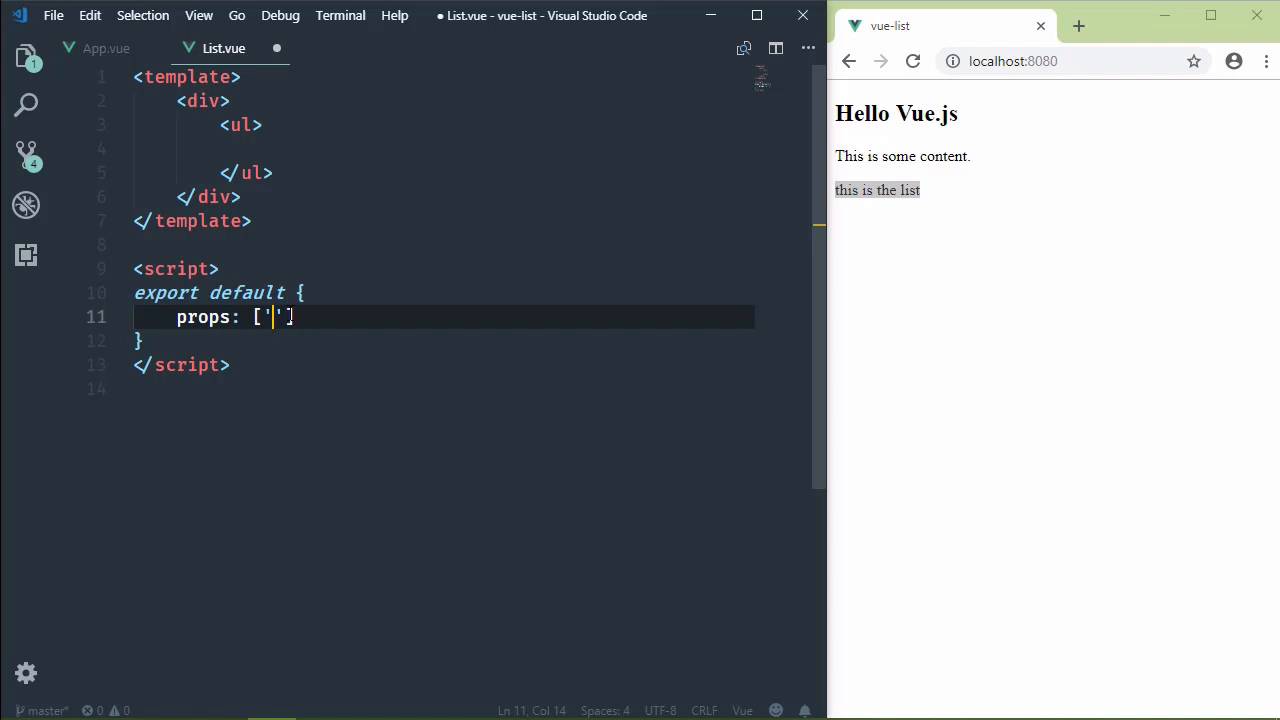
- Overview
- Transcript
3.1 Passing Props and Iterating a Collection
Many components we build aren't self-sufficient and need data to work with. In this lesson, we'll build a list component that accepts a collection of items to display.
1.Introduction
1.1Introduction01:48
2.The Obligatory "Hello World" Example
2.1Basic Structure04:55
2.2Single-File Component Structure09:51
3.The List Example
3.1Passing Props and Iterating a Collection12:41
3.2Displaying More Data08:56
3.3Using External Data11:41
4.The Contact Form Example
4.1Building the Form08:45
4.2Handling Events08:42
4.3Binding Form Controls to Component Data06:07
4.4Defining Computed Properties04:40
4.5Manipulating Style05:48
5.Conclusion
5.1Conclusion00:58
3.1 Passing Props and Iterating a Collection
In the previous session we created a view project. And we also created a single file component to replicate the results from our first lesson. So it wasn't that spectacular. But at least got us familiar with single file components, and using the Vue CLI. In this lesson, we are going to write a real component. And that's not to say that what we have now isn't a real component. But typically, whenever, we look to Vue to build interactive UI's, they are data driven UIs. So we are going to build a list component. Something that we can supply data to, and it will display that data in a list. So the first thing we need to do is create a new file. Because we break our components into individual files. And we're going to call this List.view. Now by convention, we typically use a capital letter to begin the name of our component file. And the name of that file is descriptive as to what it is. We know that it is a Vue component, because it has a .vue extension. So I'm going to call this List.vue, because this is going to be a list component. And we are going to go ahead and add in the template, and the script. Now before we do anything else, it would be useful to go ahead and include this list component inside of our app component. Now let me briefly talk about the app component. Typically what we do is we create a master component, something that is going to essentially initialize, and perhaps even drive the rest of the application. And that is what this app component is. So right now, we're just displaying a title and some content. But in a real world app component, we would have perhaps the entire application. We would have the layout, or maybe not the layout. But we would include all of the components necessary for running our application. So what I want to do, then, is we'll keep our title and our content. But below that we will have our list. So that we will have an element that represents our list. And then we will provide the data to it. Now by doing this, we are going to end up with the same issue from the previous lesson. We need a root element for our template. So what I'm going to do is just add another div element, and we will paste everything back in there. This way we can wrap our title and our content with a div element. And then we can wrap our list with another div element, and that will be nice. Now I want you to notice the element that I'm using to represent our list component. I have called it list, but there's nothing magical about this name. Because right now, Vue doesn't understand what this list element is. In fact, if we go to the browser and look at the console, we are going to see an error. And it basically says that it doesn't know what this list is. So what we need to do then, is tell our app component that we have a component that we want to use called list. So this is a two step process. The first thing we have to do is import that. So just like was done inside of main.js, where the app component was imported in here. We essentially need to do the same thing for our list component right here inside of app. So we will say import List, and we can call this whatever we wanted. I'm going to call it List, but we could call it, myAwesomeList, if that's what we wanted to do. But List is just fine. It's nice, and simple, and sweet, and that's what it's going to be. So we want to import List from, and then we specify the file, List.vue. And then we need to tell Vue that we are going to use this List component. So we need to kind of register it. And we do that inside of this object that we are going to export. And we add a property called components. And this is an object, and the properties are the components that we want to use. So we are importing the List component, and then we are registering that with the components property. And whenever we save this, we will see this refresh. And the error goes away. Now of course, we don't see anything directly within the browser, because there's nothing in the template. So if we add a div element, and say that this is the list, then whenever we save it, we will see that content there. So we have successfully imported and registered that list component. So now we just need to display a list. And we can do that with a ul element. And then we're going to have a bunch of li elements. But really, we want this to be dynamic. Because we don't want to supply data to this list component, and then manually display each item within that data. So the first thing we need to do is decide how we are going to pass data to this component, because that's what we do. We pass data to a component through what we call props. And since we are working with a list, we're going to be displaying items of that list. We can create a prop called list items. And we could just assume that it's an array. And we will iterate over that array to display all of the items. So the first thing we need to do, then, is tell our component that we want a prop called list items. So we are going to add a props property. This is an array. And the elements in the array are string values with the names of the props for our component. So in this case we'll have a prop called listItems. And now that we have this props, and we're going to assume that it's an array, we need to iterate over that array. And we could do that with a for loop. However, one of the beautiful things about Vue is its declarative syntax. In the old days, we would have a for loop within JavaScript. Well with Vue, we use a declarative syntax in our template. And we have these things called Vue directives. So what we would then do is have an li element, and we would use a directive that represents a for loop, and it's actually a for in loop. Now a Vue directive begins with v-, and there are a lot of directives. In fact, Visual Studio Code popped up several that we could use. However, the one that we want to use is v-for. So we have that directive that is going to essentially work like a for in loop. So if we look at the format of a for in, we have for, and then our variable, item in listItems. Then we have our curly braces, and then we do something with item inside of the for loop's body. Well, we essentially do the same thing, except we don't have to declare a variable. What we do is we have Item in listItems. I mean, I guess we are still declaring. But we don't have to use var, or let, or anything like that. And so for each item in listItems, we want to display that item. So then how do we display the item? Well, in just normal text, what we do is use two sets of curly braces. And then inside, we use our variable name, so in this case, item. Now one thing about Vue directives, if we look at this, this is JavaScript right there. And that is going to be interpreted as JavaScript. So this is not an HTML attribute, or anything like this. You can consider this a JavaScript expression. The same is true for the double curly braces. Whatever is inside of the curly braces is a JavaScript expression. So we could do something like this. Instead of item, if we really wanted to, we could have 1- 1, and that would of course result in 0. But of course, we don't see anything right now, because we aren't passing any data to it. But let's just leave this as item. And let's pass data to it. So let's go back to our app component. And we pass data as an attribute, basically. But in the case of our attribute, we defined a prop called listItems. Well our props cannot be camel case, they have to be kebab case. So we essentially have list-items. But Vue is going to match our list-items with the listItems prop. So we're not going to lose anything there. And then we simply pass in the value that we want. So let's do fruit. We'll have apples, oranges, and bananas. And let's save it, and let's see what happens. Well, it works, [LAUGH] we get a list of things, which is nice. However, it's not exactly what we expected. It is iterating over each character in the string. And that's because we supplied a string. Okay, so let's use array syntax, then. Because we did use JavaScript syntax for the for directive. It kinda makes sense that perhaps we could use JavaScript syntax here. So we are going to use square brackets. And we're going to wrap each item with quotes. Now this is going to get us a step closer. But it's still not going to work, because we are essentially just passing a single string to list-items. And all we are going to see is additional characters in our list. So what we have to do then, is we essentially have to tell Vue that what we have inside of our attribute's value is JavaScript. It needs to be interpreted as JavaScript. And we do that with a directive called v-bind. Now v-bind is a special directive, in that we have to say v-bind. And then we have a colon, and then the name of our prop, in this case list-items. So whenever I save this, Vue is then going to treat the contents of the value as an array. And if you were watching, you would see the code editor change the colors of this. So if I remove v-bind, and save it, we see that we just have a single string as far as the color coding is concerned. Add v-bind, and the color-coding changes. Now there is a shorthand for v-bind. We can just get rid of v-bind and use the colon, and then the name of our prop. And we still end up with the same results. And so we now have a working list component. And we could reuse this if we wanted to. If we wanted to list a set of guitars, which is really something that I like, we could have a Les Paul, we could have a PRS Starla. We could also have a Strat, and we are just going to have another list of values. And that's the beauty behind component driven development. We can write components to reuse whenever we need to, just like we've done here. Well, in the next lesson we are going to build upon this example. And we're going to make it more reactive to it's data.


