

- Overview
- Transcript
2.1 Models, Migrations, and Seeds
In this lesson, I’ll go over database migrations, and create the schema for our app’s database. Then, we’ll create two models and a seeder to generate sample data.
Related Links
1.Introduction
1.1Introduction01:25
1.2Setting Up Your Dev Environment06:05
2.Core Concepts
2.1Models, Migrations, and Seeds06:08
2.2Routing Overview03:16
2.3Views and Layouts04:57
3.Putting It All Together
3.1Navigation and Forms05:13
3.2Creating Records, Validation, and Session Data05:35
3.3Updating Records, Redirects, and Model Association07:01
4.Conclusion
4.1Conclusion00:48
2.1 Models, Migrations, and Seeds
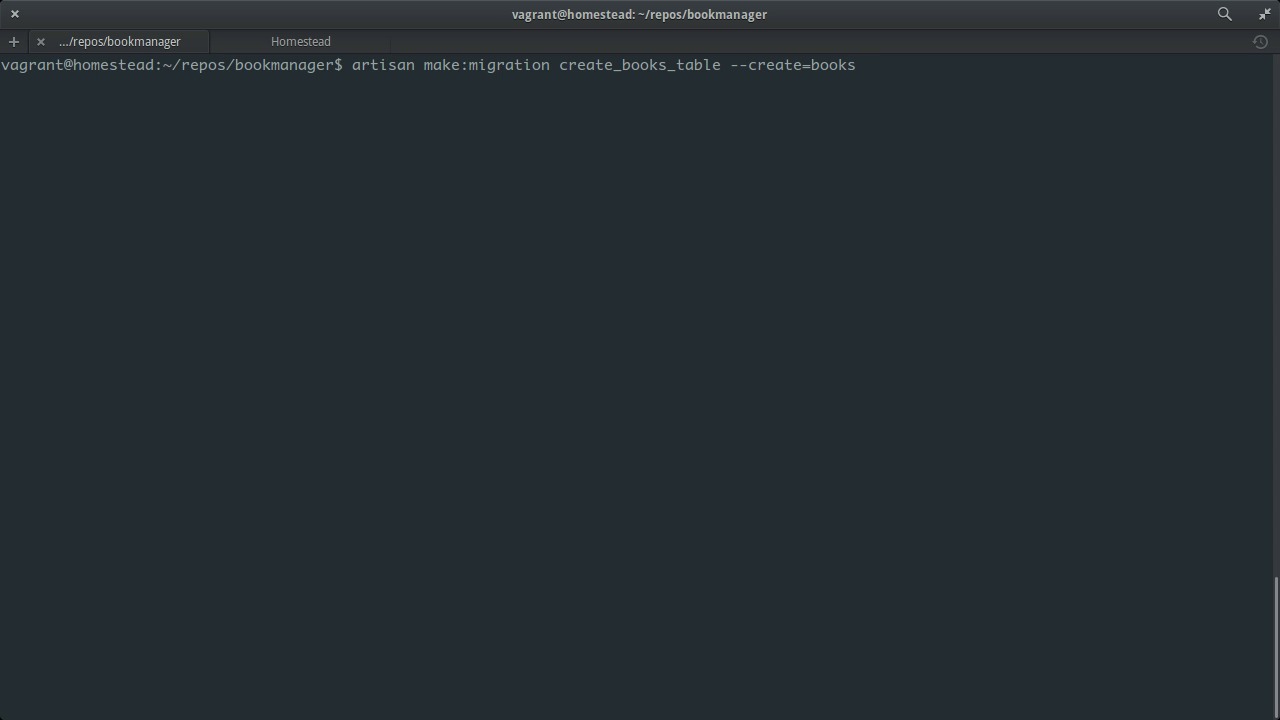
In the last lesson, we got our dev environment set up to work on our Lumen application. In this lesson, we'll get our database and our models set up. Before we do that, though, we need to set up our environment file. At the root level of your Lumen project, you'll see a file called .env.example. This is a template for your app's environment file, which let's your app know which database it needs to connect to and with what credentials. Let's copy that file to a new file, call it .env so we can have our own environment file, while keeping the template intact. While we're in this file, let's change the app key for our app. This key is used for encryption done by the app. For example, encrypting sessions. You'll want it to be something strong that no one can guess, and it needs to be 32 characters long. You can make one up or use the command line to generate one. Change DB_DATABASE to point to the database Homestead created for us, per the settings we put in Homestead.yaml. Now let's go into bootstrap/app.php. You'll see a line that's commented saying Dotenv::load. Let's uncomment that so our app will start using our new .env file. While we're here inside the application's bootstrapper, we'll also need to enable Eloquent. Lumen uses the same Eloquent ORM for working with databases that Laravel does. But Lumen, being a micro-framework, doesn't come with it enabled by default. Uncomment this line to enable it. Now that the app is set up to connect to the database, we need to lay down a schema for it. From our Lumen project folder inside the VM, we can use the Artisan command line tool to generate database migration. Migrations are scripts that alter the database in some way, usually the schema. We'll set up our tables inside migrations. That way, if someone else wants to run this app on another machine, all they have to do is run the migrations and they'll have everything set up exactly the way we do. Let's generate a migration for the author's table. We can find our migrations under the database folder/migrations. The up method gets called when we run the migration. The down method gets run if we decide to roll back the migration to a previous state. In this case, the up method is going to create the table with the columns we're specifying. The increments method sets the id to auto increment so that it gets generated automatically by the database. The timestamps method is just a quick helper which gives us created app and updated app columns on our table. The string, integer and date methods determine the data type of the column. Now let's generate a migration for the books table. Notice we have an author id column. That's how we associate a book to an author. Those are all the migrations we need for now. Let's run them from inside the VM. The migrate command compares what your database looks like now, and which migrations have already been run, with the changes from which migrations have yet to be run. In this case, since we haven't run any migrations yet, it'll run both migrations now and create both tables. To be able to actually make database queries on authors and books, we are going to need models for these two tables. In Laravel, you can use Artisan to generate the models. Right now in Lumen, you have to create them manually. But feature requests are out there to do it with Artisan for Lumen as well. Lets start by creating our models folder. All we need are blank models for now, one for author and one for book. To define the model, you create a class on the app models namespace that extends illuminate database eloquent model. Now that we have our schema and our models, the last thing we need is actual rows of sample data to populate our tables with. We'll do this by using the database seeder class that comes with Lumen. We can use Artisan to generate a custom seeder for us. Let's open up the seeder that got generated. You can find it under the database folder/seeds. We're going to need access to our models inside the seeder so that we can set up relationships between the sample books and their authors. We do that by putting use statements at the top of the file. Now let's populate the sample records here inside the run method of the seeder. It's a lot of stuff, so I'd recommend pasting from the course files. Before we can seed the database, we have to add our custom seeder to the main seeder, since that's what actually gets run. Inside the VM, let's go ahead and run the seeder. And that should've done it. Let's have a look inside the database and see what we ended up with. You can use any database GUI tool for this, I like to use Adminer. Here we've got our bookmanager database with our books table, its schema and its records. And also, the authors table, its schema and its records. You'll also see a migrations table. This is how Lumen keeps track of which database migrations have been run already and which ones have been not. In the next lesson, we'll set up the first route in our application.


