
 Lessons: 11Length: 1.3 hours
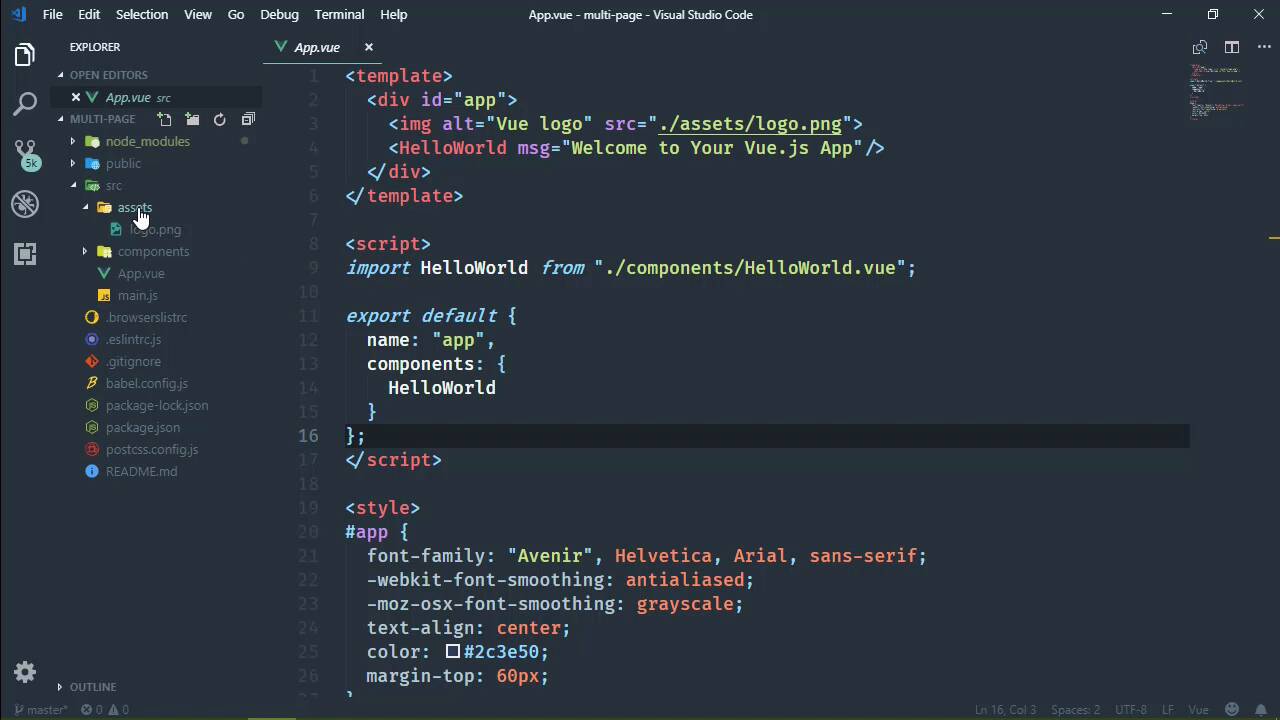
- Overview
- Transcript
3.1 Overview of Project Configuration Options
We don't always need to change our project's configuration, but when we do, it's helpful to know what is available. Let's use the UI to look at the available configuration options.
1.Introduction
1.1Introduction01:42
1.2What You Need04:10
2.Creating Projects
2.1Using the Command-Line Interface13:58
2.2Using the Vue UI13:41
3.Configuration Options
3.1Overview of Project Configuration Options08:54
3.2Configuring the Index Page08:28
3.3Adding a Second Page06:11
3.4Project vs. Public Assets10:12
3.5Using Environment Variables06:08
4.Deployment
4.1Building and Deploying Your Project05:05
5.Conclusion
5.1Conclusion00:50
3.1 Overview of Project Configuration Options
I've said that the Vue CLI exists to get us up and developing as quickly as possible. And that is certainly true. However, there are many other tools in general not for Vue.js, but in general that claim the same thing but they do so at the expense of customization, and that's extremely common. Here, you can use this tool to get up and running but you can't really change anything. Well, that's not the case with the Vue CLI, because whenever we create a project, we have a ton of options available that allow us to configure how our project is going to work. So in the next few lessons we are going to look at some of the more common and I would think some of the more important configuration options. Because they will be ones that you will undoubtedly want to use at some point in time. So I'm going to use the UI for the remainder of this course, because it allows me to go ahead and create as many projects as I need. And I don't have to open up individual command lines for those projects, I can just run them from the UI. So let's start by creating a new project, it doesn't matter where we put it, but I'm gonna put it inside of my home directory. And we aren't going to use that default that we created, because I don't want to have a single page application. Because a lot of times we want a multi-page application, SPAs are okay, but they're not a magic bullet. So what we're going to do is create a new project, let's call this multi-page. And we will use the manual option to create this, and we're going to use Babel, we will not use Router, we will still have the Linter and we will use config files. Let's go on to next, we'll save, or Lint on Save, which is fine with me, and let's use Prettier as well. So we could save this if we wanted to. In fact let's do that tutsplus- and let's say norouter and then we will create the new projects. Now while this is being created, I am still going to have to fire up another command line but this is for just spawning my code editor. So when this is up then we will CD into it and then we will start playing around with the configuration options. And I'm going to show you both ways of doing this, because you can do it through the UI, or you can use JavaScript to do it. So what do we call that, multi-page? So let's cd into multi-page, there we go. We'll just fire up the code editor. And while that is loading, we will just wait for our application to complete. Now we have already looked at the configuration options through the UI. However, I want to show the relationship between these settings, and then a file that is generated whenever we modify this, or we can create this file ourself, called vue.config.js. And that file is added to our project, and that is the configuration for our project basically. And more technically, it's the configuration for the CLI service, which is a component of the Vue CLI. So let's do this, I'm going to go ahead and run the serve task. We'll get that up and running so that we can have something to demonstrate with. And we're going to talk about this Assets directory. So if we look at this option that says that a directory to nest generated static assets. And just reading it, that doesn't mean anything. Now you might think that there's a direct correlation between the assets directory and then the assets directory inside of our source folder. Because we have source, then we have assets, and we have other things here. Well, that is not the case, this folder called assets can be named anything. The only reason why it's called assets is because that's what people typically call the folder that contains static assets. And so if we wanted to, we could modify our app component to reference the logo.png file from another directory. So if wanted to call that foo that would be fine, as long as we changed the assets folder name to foo. So there's no correlation between the assets configuration option and really anything that we have inside of our projects code. So let's look at our project in the browser now that it should be up and running. Let's inspect this, and we're going to see a URL that is generated that has nothing to do with the actual file on the file system inside of our source folder. So we can see the resulting URL is image/logo., and then we have a hash value.png. So there's nothing that says assets, there's nothing that has anything about the path inside of our source. So let's go back and let's modify our assets directory. Let's say that, okay, when our application is running we want all of static assets that have a generated URL and basically those are the assets that pass through Webpack. Now, we would be talking about that in a couple of lessons at least. But there is a very distinct difference between the static assets that we use inside of our source code, and then the static assets that we would define inside of the public folder. But that's for another lesson, in this lesson, all I'm going to do is change the value of this assets directory to assets. Because I want the end application, after we build our application, I want our assets to be served from a location that says assets/image/ and then the image name. So we're going to save this change here. Now we're not going to see any change as far as the resulting HTML. And that is because we just changed a setting of the CLI service, and in order to see those types of changes we have to restart the project. So we have to go back, we have to stop the task and then restart it. It'd be nice if there was a restart task button that might be something to recommend or suggest to the Vue CLI team. But anyway, whenever this is done then we will go back to our page, we will refresh it, and we will see a completely but won't be completely different but it will then have assets before image, logo.and so on and so forth. Now, while that is building, because we changed that option we now have this vue.onfig.js file. And we can see that there is this property called assetsDir, assets directory, and we set it to assets. I'm gonna add a semicolon, because that's just what I do. So now if we make a change here within our project code, that change would also be reflected inside of the configuration in the UI. However, we are not going to do that, at least as far the assets directory is concerned. So if we refresh this and if we inspect that, we can see that the URL changes, we have assets/img/logo and so on. So that's what the assets directory option is for. It's not where our assets are on the file system, it's the segment of the URL that is generated when Webpack processes our static assets. But doesn't necessarily need to change, but if you are obsessive about your URL segments and paths like I am, then it's something that you will probably change in every project.


