
 Lessons: 11Length: 1.3 hours
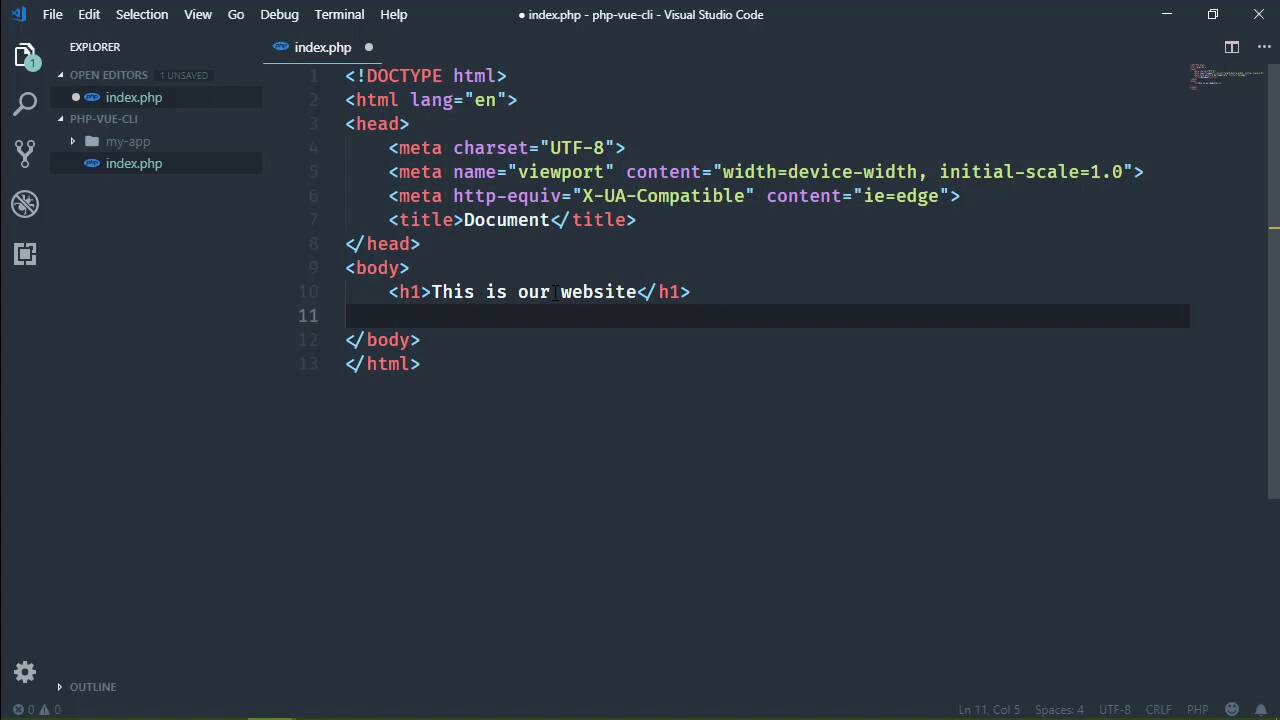
- Overview
- Transcript
4.1 Building and Deploying Your Project
In this lesson, I'll show you how to build your project for deployment. We'll also build a very quick and bare-bones PHP application to deploy our project to.
1.Introduction
1.1Introduction01:42
1.2What You Need04:10
2.Creating Projects
2.1Using the Command-Line Interface13:58
2.2Using the Vue UI13:41
3.Configuration Options
3.1Overview of Project Configuration Options08:54
3.2Configuring the Index Page08:28
3.3Adding a Second Page06:11
3.4Project vs. Public Assets10:12
3.5Using Environment Variables06:08
4.Deployment
4.1Building and Deploying Your Project05:05
5.Conclusion
5.1Conclusion00:50
4.1 Building and Deploying Your Project
When you are ready to deploy your project, you of course want to run the build task, which will build your project in the production mode. And it will spit out all the files you need to deploy to your server. So in this lesson, we are going to do just that. However, we aren't going to deploy to a server. Instead, we're going to build an environment to simulate a server. Now, as far as the server is concerned, it doesn't matter what the back end technology is. It can be a node application, it could be a PHP, ASP.NET, Ruby, Python, Perl, anything. It doesn't matter, as long as it is an HTTP server that will serve the files that are generated from running the build task. So let's get the build task started. This is going to build our project. It's going to add a distribution folder in our project that will have all of the files that we will then copy to our production environment. So as far as our production environment is concerned, I'm going to use PHP because we can get up and running very quickly that way. So I am going to create a folder. I'm gonna call this php-view-cli and that is going to be the basis there. I do want to copy over the guitar pictures because the idea is that these pictures were already on the server, something that wasn't available for us to add to our project. So let's add that to my-app folder because that's where those assets are. They were inside of an assets folder. And then images, and that should've been nested, but that's okay. We can easily fix that, and that's a starting point. So with a command line, let's cd into that, php, there we go. Let's fire up the code editor so that we can edit that. We need some kind of index page for this. It can be HTML or PHP. It doesn't matter, but I'm going to do PHP. So we'll create a new file, call it index.php. And let's have, well, we really don't need much. Let's say that This is our website. Let's also have a link that will take us to our Vue application. So we'll have an a element with an href attribute that goes to my-app. And as far as the text is concerned, really doesn't matter. This is the vue dot or vue clie app. There we go. Okay, so let's go ahead and get this running. We can do that very easily with php-S localhost and let's do port 5555. That's going to start the server up and running. And let's open up a browser window. I'm going to do this in incognito. And there we have our website. Of course, if we click on our link, we get a 404 because our files don't exist there yet. So we want to go into our projects. We have that distribution folder, dist for short. Now of course, that is one of the settings that we can change. We saw that in the UI, but dist is fine. And what we want to do then is just copy these files and deploy them wherever we want them to go. So in our case, that is going to be inside of that php-vue-cli inside of my-app, and we'll just paste it in. Now, it, yeah, we have two assets, and that's okay. We have the assets that were a part of the project, which as you can see, have been separated into css, image, and js folders. But then we also have the images that contains the guitars. So behind the scenes, Webpack did all of this for us. It took all of the css, all the images, JavaScript. And there we go. It's separated them all and everything is built so we should be able to just refresh the page here. And we see our app so the Index Page works. Let's go to the Guitars page, and there is our Guitars Page. If we go back to index, voila! So everything worked including the settings that we changed in the previous lesson. So whenever we ran the builds task, it used our production environment variable for the base URL and we saw the results, right there in the browser. So deployment is very, very simple. Just take your files, put them wherever you want them to go, and you're done.


