
 Lessons: 10Length: 51 minutes
- Overview
- Transcript
5.1 Conclusion
That's it! You've now created a custom block for WordPress Gutenberg, all without writing a single line of PHP.
1.Introduction
1.1Introduction00:48
1.2Why Create Blocks Without JavaScript?03:25
2.Registering a Block
2.1Setting Up the ACF Plugin04:43
2.2Registering a Gutenberg Block With the ACF API06:17
3.Adding Fields to the Block
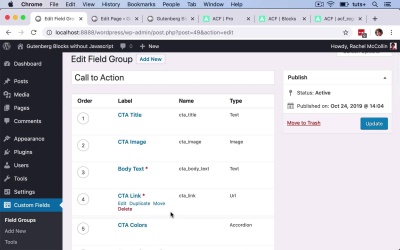
3.1Creating a Field Group and Adding Fields04:16
3.2Adding Block Settings03:49
4.Outputting the Block
4.1Setting Up the Block Class and Values08:17
4.2Writing the HTML06:14
4.3Adding the Block to a Post or Page10:49
5.Conclusion
5.1Conclusion02:16
5.1 Conclusion
Hello, and welcome back to this Tuts+ course on creating Gutenberg blocks in WordPress without JavaScript. In this past the course, I'm going to wrap up and recap on what you've learned. So this course was all about how to create a plug in writing in PHP, that would create a block for Gutenberg without you having to write any JavaScript. We started by installing the advanced custom fields plugin Which gives you the option to create blocks without JavaScript. We then created our own plugin using the ACF register block type function which is provided by advanced custom fields. And we set up our own arguments for that function and we hooked it to the ACF init hook. So that created a block that we can use. We then use that to create a field group. And that had a title, an image, body text, a link and settings for the background and the text color. So we save that to create our field group. So we created this tutsplus block callback function, which is the function that actually outputs the block on a page. So this fetches the fields and outputs them as variables. And then we wrote the HTML that would actually output that. So we added styling within the plugin, so that we could use PHP to call in some variables. For example, the ID of this instance of the block itself. And we styled the block so that we use that background color and the text color those two variables that were set using the color picker when we created the block. And also we added some layout styling to make it look the way we wanted it to. So we now have a block click creates a call to action box with some text, a title, a link, and an image, which is output on our page. So that's how you use the advanced custom fields plugin to create blocks in WordPress without writing JavaScript. I hope you found this course useful. Thanks for watching.


