
 Lessons: 16Length: 1.6 hours
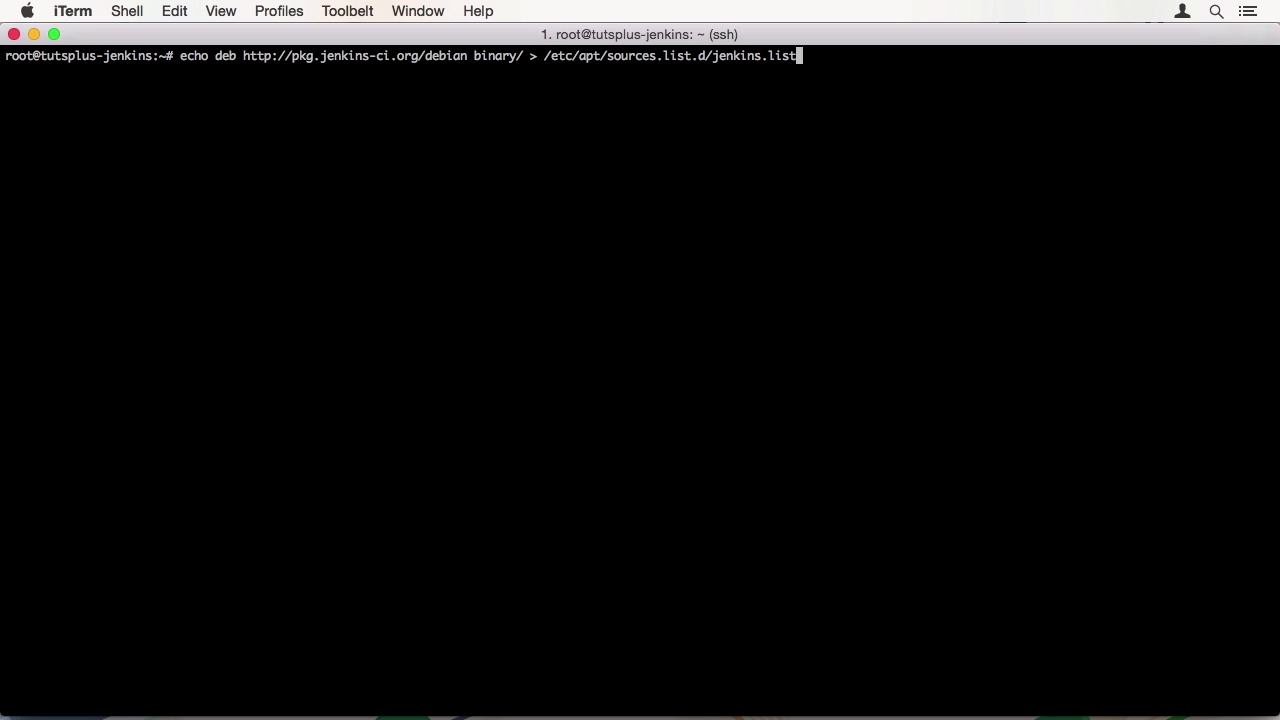
- Overview
- Transcript
4.1 Installing Jenkins on a VPS
For a final continuous integration option, we are going to use a Digital Ocean VPS to set up a Jenkins server for use with our Rails project. In this lesson, I’ll show you how to get the Jenkins server up and running.
Related Links
1.Introduction
1.1Introduction01:07
1.2What Is Continuous Integration?04:54
1.3Development Approaches: Git Flow and GitHub Flow04:38
1.4Project Overview01:42
2.Git Flow, Travis CI and Engine Yard
2.1Travis CI Overview09:01
2.2Test a New Feature07:43
2.3Release and Hotfix08:04
2.4Engine Yard Deployment08:27
3.GitHub Flow, Codeship and Heroku
3.1Codeship Overview09:24
3.2Develop a New Feature09:49
3.3Heroku Deployment05:38
4.Bonus: Custom Jenkins Server and Capistrano
4.1Installing Jenkins on a VPS02:31
4.2Jenkins Overview10:08
4.3Test a Ruby Project06:02
4.4Capistrano Deployment08:04
5.Conclusion
5.1Conclusion01:02
4.1 Installing Jenkins on a VPS
Hi, welcome back to Continuous Integration Workflow. In this lesson, we will setup the Jenkins CI server on a VPS on DigitalOcean. When creating your droplet, you have to respect the few things. Jenkins runs on Java, so you can't go with the smallest size. I'd recommend at least 2 gigabytes of RAM, otherwise Jenkins might just crash. I'm going to use Ubuntu for this example. All other settings are up to you. The first thing you have to do is to fetch the public key from Jenkins to add it to your apt keychain. This can be down by fetching it from the servers and piping it through to an apt-key add. Then we need to add Jenkins repository to our repository list and the ect/apt/sources.list.d/jenkins.list. And update our local package repository. The last step is just a simple apt get install Jenkins. This will install a whole bunch of packages that are required by it and might take a while. After everything has installed, we can start the Jenkins service. This will start the Jenkins web server on port 8080. At first, you will see a please wait page while Jenkins performs its internal setup steps. When this is done, it will change to an overview page. You can also see the many configuration options we have. Like securing access to Jenkins, which is highly recommended. This is what we will do in the next lesson. We will configure the Jenkins server and have a look around the interface. See you there.


