Quick and Easy JavaScript Testing with “Assert”
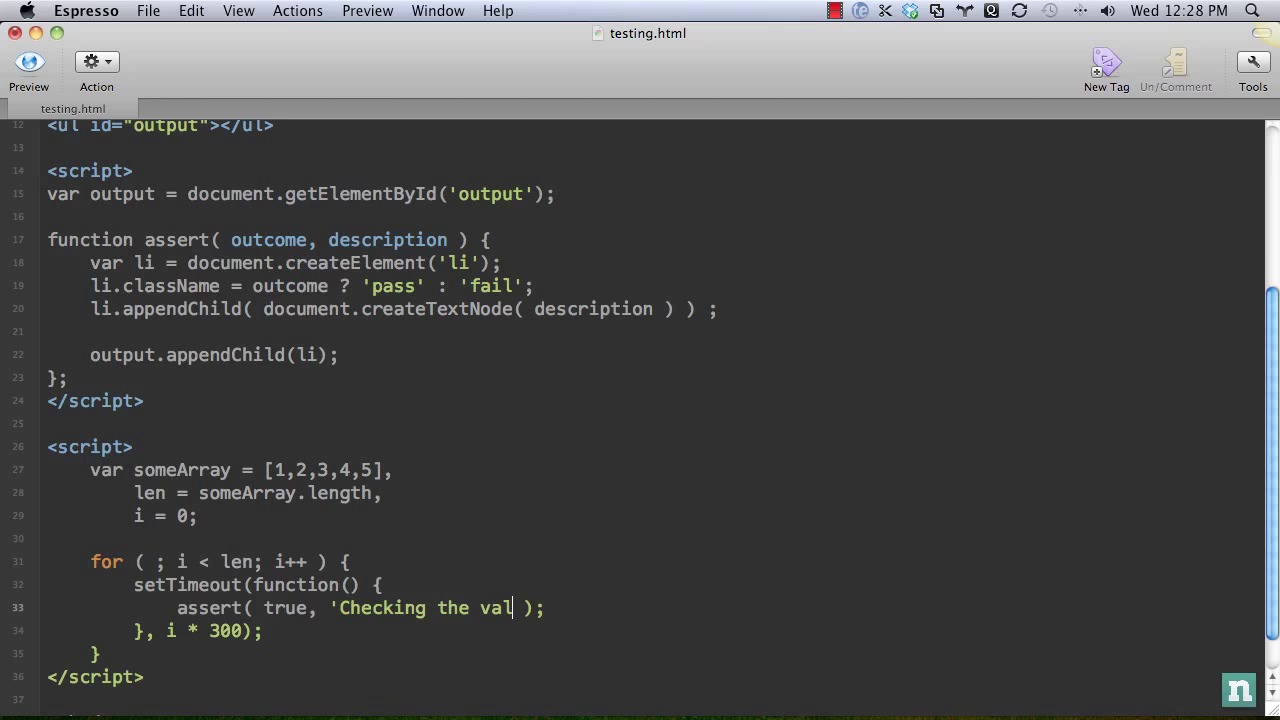
Years ago, I learned a deceptively simple "assert" function from John Resig, for testing your JavaScript. Amazingly, at barely five or six lines, this code provides a great level of power and control over your code, when testing. I'll show you how to use it in today's video quick tip.
Full Screencast

“Assert” Code
1 |
|
2 |
<!DOCTYPE HTML>
|
3 |
<html lang="en-US"> |
4 |
<head>
|
5 |
<meta charset="UTF-8"> |
6 |
<title>Easy JavaScript Testing </title> |
7 |
<style>
|
8 |
.pass:before { |
9 |
content: 'PASS: '; |
10 |
color: blue; |
11 |
font-weight: bold; |
12 |
}
|
13 |
|
14 |
.fail:before { |
15 |
content: 'FAIL: '; |
16 |
color: red; |
17 |
font-weight: bold; |
18 |
|
19 |
}
|
20 |
</style>
|
21 |
</head>
|
22 |
<body>
|
23 |
|
24 |
<ul id="output"></ul> |
25 |
|
26 |
<script>
|
27 |
var output = document.getElementById('output'); |
28 |
|
29 |
function assert( outcome, description ) { |
30 |
var li = document.createElement('li'); |
31 |
li.className = outcome ? 'pass' : 'fail'; |
32 |
li.appendChild( document.createTextNode( description ) ); |
33 |
|
34 |
output.appendChild(li); |
35 |
};
|
36 |
</script>
|
That’s all you need for most basic testing! The assert function accepts two parameters:
- outcome: A boolean, which references whether your test passed or failed
- description: A short description of your test.
The assert function then simply creates a list item, applies a class of either “pass” or “fail,” dependent upon whether your test returned true or false, and then appends the description to the list item. Finally, that block of coded is added to the page. It’s crazy simple, but works perfectly.
Test 1: Your First Example
1 |
|
2 |
function add(num1, num2) { |
3 |
return num1 + num2; |
4 |
}
|
5 |
|
6 |
var result = add(5, 20); |
7 |
assert( result == 24, 'Checking the add function'); |
8 |
|
9 |
// OR
|
10 |
assert( add( 5, 20 ) == 24, 'Checking the add function'); |

Test 2: Closures
1 |
|
2 |
var someArray = [1,2,3,4,5], |
3 |
len = someArray.length, |
4 |
i = 0; |
5 |
|
6 |
var count = 0; |
7 |
|
8 |
for ( ; i < len; i++ ) { |
9 |
setTimeout(function() { |
10 |
assert( count++ === i, 'Checking the value of: ' + i ); |
11 |
}, i * 300); |
12 |
}
|

This is a common issue, and the answer is to implement a closure, so that we can remember the value of "i." Otherwise, as we noticed above, the code will only render the final value in the sequence: 5.
1 |
|
2 |
var someArray = [1,2,3,4,5], |
3 |
len = someArray.length, |
4 |
i = 0; |
5 |
|
6 |
var count = 0; |
7 |
|
8 |
for ( ; i < len; i++ ) (function(i) { |
9 |
setTimeout(function() { |
10 |
assert( count++ === i, 'Checking the value of: ' + i ); |
11 |
}, i * 300); |
12 |
})(i); |

Conclusion
At first, it might appear as if only huge JavaScript libraries and such require some form of testing; however, that's far from the truth. As we've demonstrated, even a simple function, like Resig's "assert", can potentially save us from hours of debugging! So what do you personally use to test your code?


